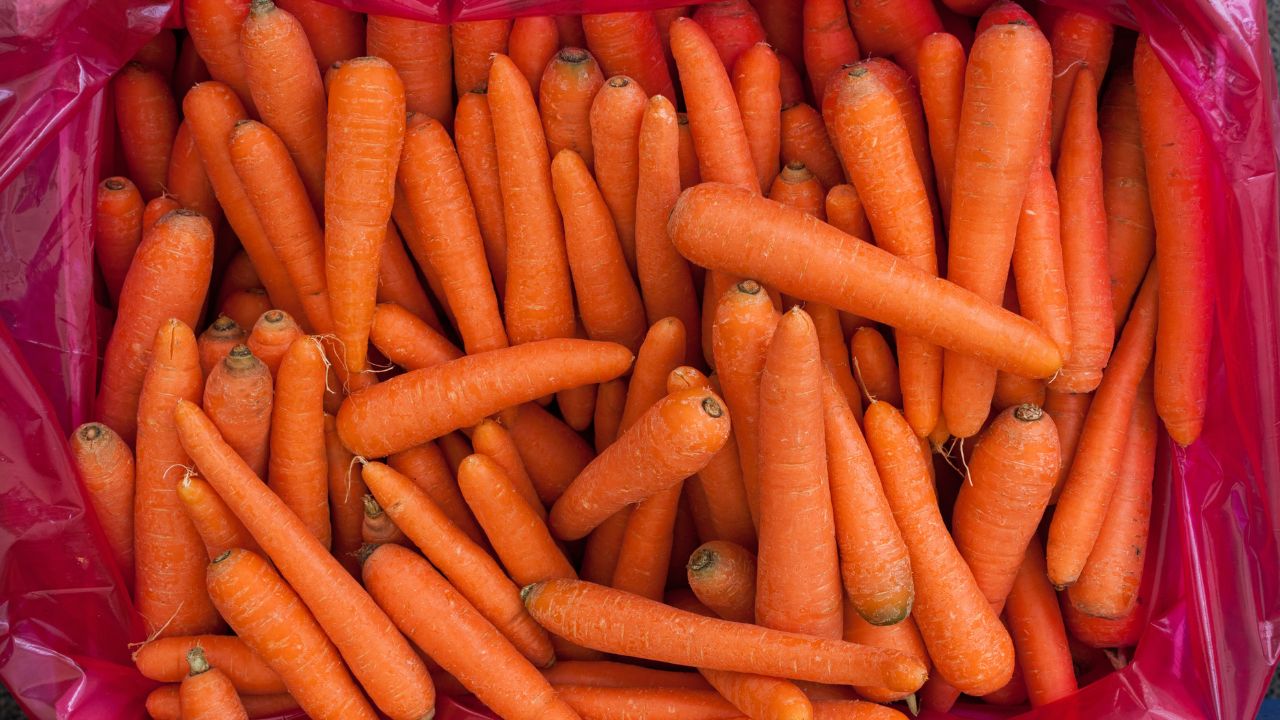
So you’ve just harvested a fresh batch of carrots, but you don’t have enough room in your refrigerator to store them all. Don’t worry – we’ve got you covered! In this article, we’ll share with you six creative and clever ways to store your carrots without refrigeration. Whether you’re looking to keep them fresh for weeks or want to preserve them for months, we’ve got the tips and tricks you need to keep your carrots in top condition. Say goodbye to wasted produce and hello to a pantry full of perfectly preserved carrots!
1. Root Cellar Storage
Building a Root Cellar
If you find yourself with a surplus of carrots and no refrigerator to store them in, building a root cellar can be a great solution. A root cellar is an underground storage space that provides cool and consistent temperatures, ideal for preserving vegetables like carrots. To build a root cellar, start by selecting a location that is dry, well-drained, and away from any major water sources. Dig a hole in the ground, large enough to accommodate the amount of carrots you want to store. Line the hole with a layer of gravel to help with drainage, and then layer the walls and floor with either concrete or stones. Install a ventilation system to ensure proper air circulation, and cover the entrance with a door that seals well to keep out pests and maintain a constant temperature.
Preparing the Root Cellar
Before storing your carrots in the root cellar, it’s important to prepare the space properly. Remove any debris or potential food sources for pests from the storage area. Check for any signs of moisture or leaks, as excess moisture can lead to rot. If necessary, seal any cracks or gaps to maintain proper humidity levels. You can also consider adding shelves or racks to organize your carrots and maximize storage space. Additionally, it’s a good idea to invest in a thermometer and hygrometer to monitor the temperature and humidity levels inside the root cellar.
Storing Carrots in a Root Cellar
To store carrots in a root cellar, begin by harvesting them when they are mature but still firm. Remove the carrot tops, leaving about an inch of stem attached to the carrot. Gently brush off any excess dirt, but try to avoid washing them, as moisture can promote rot. Place the carrots in boxes or crates, making sure to leave some space between each carrot to allow for proper air circulation. It’s also a good idea to layer the carrots with straw or wood shavings to provide insulation and help maintain humidity levels. Check on the carrots periodically and remove any that show signs of spoilage to prevent the spread of rot.
2. Sand Storage
Preparing the Sand Storage
Another effective method for storing carrots without refrigeration is using sand as a storage medium. Sand provides insulation and helps maintain a consistent temperature and humidity level, keeping the carrots fresh for an extended period of time. To prepare the sand storage, start by selecting a clean and dry location. Fill a container, such as a wooden box or plastic bin, with a layer of clean, dry sand. Place the carrots in the sand, making sure they are not touching each other. Cover the carrots completely with another layer of sand, ensuring there are no air pockets. Continue layering carrots and sand until the container is full, making sure to leave a few inches of space at the top.
Storing Carrots in Sand
When storing carrots in sand, it’s important to choose carrots that are in good condition, without any signs of damage or decay. Remove the carrot tops, leaving a small portion of the stem intact. Gently place the carrots in the sand, making sure they are fully covered and separated from each other. It’s essential to maintain the sand storage at a temperature between 32°F (0°C) and 40°F (4°C) and a humidity level of around 90%. Regularly check the carrots for any signs of rot or spoilage, and remove any affected carrots immediately to prevent further deterioration. With proper maintenance, carrots stored in sand can last for several months.
Maintaining the Sand Storage
To ensure the longevity of your stored carrots, it’s important to properly maintain the sand storage. Check the temperature and humidity levels regularly using a thermometer and hygrometer. If the temperature rises above 40°F (4°C), consider relocating the sand storage to a cooler area. Likewise, if the humidity drops below 90%, lightly mist the sand with water to increase the moisture level. Inspect the carrots periodically, paying attention to any soft spots or mold growth. Additionally, monitor the sand for signs of contamination or insect infestation. If any issues are detected, take immediate measures to address them and preserve the quality of your stored carrots.

3. Clamping
Selecting the Clamping Site
Clamping is a traditional method of storing root vegetables like carrots in a temporary outdoor structure that provides protection from freezing temperatures while maintaining a cool environment. When selecting a clamping site, choose a location that is well-drained and offers good insulation, such as a hillside or a raised mound. Ensure the area receives minimal exposure to direct sunlight and strong winds. Avoid low-lying areas that are prone to waterlogging, as excess moisture can lead to rot. The site should also be easily accessible for regular inspection and maintenance.
Building a Clamping Structure
To build a clamp for storing carrots, start by preparing the site. Clear away any vegetation or debris, and level the ground as much as possible. Build a base layer using straw or dry leaves to create insulation and protect the carrots from freezing temperatures. Place a layer of carrots on top of the base layer, making sure they are not touching each other. Continue layering carrots and insulation material, such as straw, leaves, or wood shavings. Finish by covering the entire clamp with a thick layer of straw or dry leaves, ensuring there are no gaps where cold air can enter. You can also use a tarp or plastic sheet to provide additional protection from moisture.
Storing Carrots in a Clamp
When storing carrots in a clamp, it’s important to use carrots that are in good condition, without any signs of damage or decay. Remove the carrot tops, leaving a short portion of the stem intact. Place the carrots in the clamp, making sure they are not touching each other. Layer the carrots with insulation material, such as straw or dry leaves, to provide insulation and maintain a cool environment. Cover the entire clamp with a thick layer of insulation material, making sure there are no gaps for cold air to enter. Regularly check the clamp for any signs of damage, such as tears in the covering, and repair them promptly to prevent exposure of the carrots to freezing temperatures and moisture.
Protecting Carrots in a Clamp
To protect your carrots stored in a clamp, it’s important to monitor the temperature and humidity levels regularly. Ideally, the temperature inside the clamp should remain between 32°F (0°C) and 40°F (4°C), while the humidity level should be around 90%. If the temperature drops significantly or rises above 40°F (4°C), consider adding additional insulation or relocating the clamp to a more suitable location. Likewise, if the humidity level drops below 90%, lightly mist the insulation material to increase the moisture level. Inspect the carrots periodically and remove any that show signs of rot or decay. Properly maintaining the clamp will ensure your carrots stay fresh and can be enjoyed for an extended period of time.
4. Outdoor Storage
Choosing the Right Outdoor Storage Location
When it comes to storing carrots without refrigeration, choosing the right outdoor storage location is crucial. Look for an area that offers protection from direct sunlight, as exposure to sunlight can cause carrots to become wilted and lose their freshness. A shaded spot under a tree or a covered patio can work well. It’s also important to consider the surrounding environment. Avoid areas that are prone to flooding or have a high level of humidity, as excess moisture can lead to rot. Additionally, select a location that is easily accessible for regular inspection and maintenance.
Preventing Exposure to Sunlight
One of the main concerns when storing carrots outdoors is protecting them from exposure to sunlight. Sunlight can cause carrots to become wilted and develop a bitter taste. To prevent sunlight exposure, cover the carrots with a layer of mulch or straw. This will act as a natural barrier, shielding the carrots from direct sunlight while allowing for proper air circulation. Alternatively, you can use burlap or shade cloth to create a temporary cover over the carrots. Remember to secure the cover properly to prevent it from being blown away by strong winds.
Protecting from Freezing Temperatures
Depending on the climate, freezing temperatures can pose a threat to outdoor-stored carrots. To protect your carrots from freezing, consider using a layer of insulation, such as straw or dry leaves. Start by placing a layer of insulation on the ground where the carrots will be stored. Then, place a layer of carrots on top of the insulation, taking care to leave some space between each carrot. Continue layering carrots and insulation until all the carrots are stored. Finally, cover the entire storage area with another layer of insulation. This extra layer will provide additional protection against freezing temperatures.
Trimming and Cleaning Carrots
Before storing carrots outdoors, it’s important to properly prepare them. Start by trimming off the carrot tops, leaving a short portion of the stem intact. This helps prevent moisture loss and prolongs the freshness of the carrots. Next, gently brush off any excess dirt from the carrots, but avoid washing them, as moisture can promote rot. If the carrots are particularly dirty, you can use a soft brush or cloth to remove the dirt. Once the carrots are clean and trimmed, they’re ready to be stored outdoors. Regularly check on the carrots and remove any that show signs of decay to prevent the spread of spoilage.
5. Burying in Soil
Selecting the Burying Site
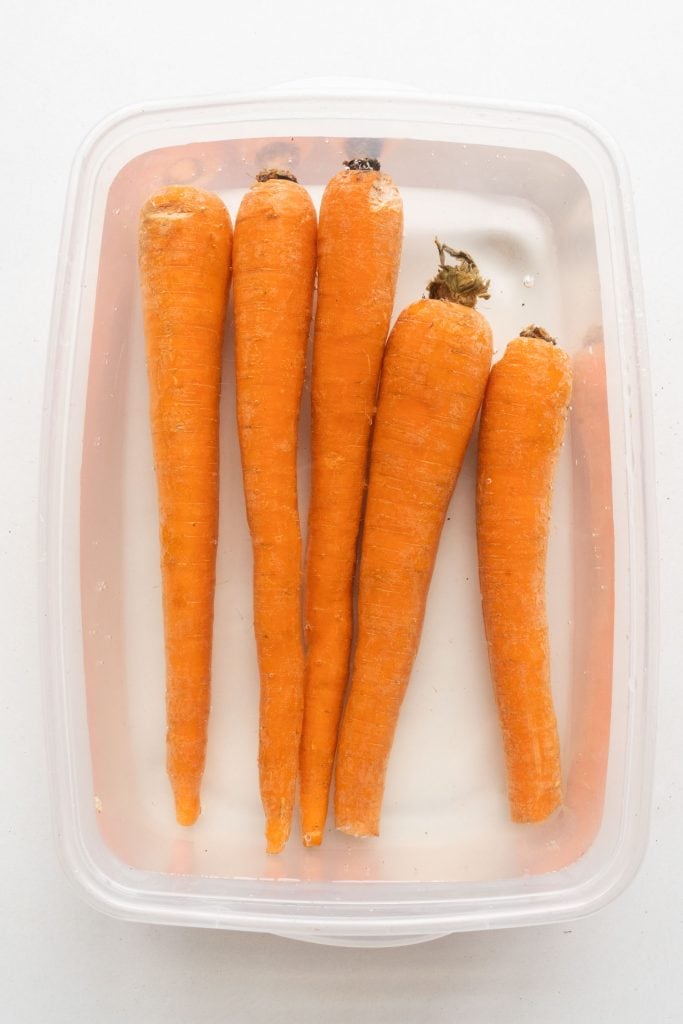
Burying carrots in soil is an ancient method of preserving root vegetables. When selecting a site for burying your carrots, choose an area that has well-drained soil and receives adequate sunlight. Avoid areas that are prone to flooding or have high clay content, as this can lead to waterlogging and rot. The site should also be easily accessible for digging and retrieving the carrots. Consider marking the burial location with a stake or other marker to aid in retrieval.
Preparing the Soil
Before burying your carrots, prepare the soil to ensure optimal conditions for storage. Start by removing any weeds or debris from the burial site. Loosen the soil using a garden fork or shovel to improve drainage and aeration. If the soil is heavy or compacted, consider adding organic matter, such as compost or well-rotted manure, to improve its structure. Incorporate the organic matter into the soil by tilling or digging. Finally, rake the soil surface to create a smooth and even bed for burying the carrots.
Burying Carrots in Soil
To bury carrots in soil, start by harvesting mature but firm carrots. Leave about an inch of stem attached to the carrot. Gently brush off any excess dirt, but avoid washing them, as moisture can promote rot. Dig a trench in the prepared soil, deep enough to accommodate the length of the carrots. Place the carrots in the trench, making sure they are not touching each other. Cover the carrots with soil, ensuring they are fully buried and there are no exposed portions. Firmly press down the soil to eliminate any air pockets. Finally, water the soil lightly to provide moisture but avoid saturating it.
Retrieving Buried Carrots
When the time comes to retrieve the buried carrots, simply dig them up using a garden fork or shovel. Start by carefully removing the top layer of soil, taking care not to damage the carrots. Gently loosen the soil around the carrots, and then lift them out of the ground. Shake off any excess soil, but avoid washing them, as moisture can promote rot. Once the carrots are cleaned, they can be stored in a cool and dry location, such as a root cellar or sand storage. Remember to inspect the carrots for any signs of damage or decay before storing them.
6. Fermentation
Preparing Carrots for Fermentation
Fermenting carrots is a great way to preserve their freshness and add a tangy flavor to your dishes. To prepare carrots for fermentation, start by selecting fresh and firm carrots. Remove the carrot tops, leaving a short portion of the stem intact. Gently wash the carrots to remove any dirt or debris. Next, cut the carrots into your desired shape, such as slices, sticks, or grated. It’s important to ensure the carrot pieces are uniform in size to ensure even fermentation.
Using Salt Brine Solution
Salt brine is an essential component of the fermentation process. To create a salt brine solution, dissolve salt in water at a ratio of approximately one tablespoon of salt per one cup of water. The salt concentration can be adjusted according to your preference, but keep in mind that a higher salt concentration will result in a longer fermentation period. Once the salt is fully dissolved, let the brine solution cool to room temperature before using it in the fermentation process.
Fermenting Carrots
To begin the fermentation process, place the prepared carrot pieces in a clean and sterilized fermentation vessel, such as a glass jar or ceramic crock. Pour the salt brine solution over the carrots, ensuring they are fully submerged. It is important to prevent exposure to air, as this can promote the growth of undesirable bacteria. To create an airtight seal, consider using a fermentation weight or a small plastic bag filled with brine to keep the carrots submerged. Place a lid or a fermentation airlock on the vessel to allow gases to escape during fermentation. Store the vessel in a cool and dark location, away from direct sunlight.
Storing Fermented Carrots
Once the carrots have reached your desired level of fermentation, typically around one to two weeks, it’s time to store them. Remove any brine or fermentation weights from the vessel. Transfer the fermented carrots to clean and sterilized storage containers, such as glass jars with a tight seal. Pack the carrots tightly in the containers, leaving minimal headspace to prevent air exposure. Place the lids on the containers and store them in a cool and dark location, such as a pantry or root cellar. Properly sealed and stored, fermented carrots can last for several months.

7. Drying
Prepping Carrots for Drying
Drying carrots is an excellent way to preserve them for long periods without refrigeration. To prep carrots for drying, start by selecting carrots that are firm and blemish-free. Remove the carrot tops, leaving a short portion of the stem attached. Gently wash the carrots to remove any dirt or debris. Next, cut the carrots into uniform slices or strips, around ¼ inch in thickness. Ensuring the carrot pieces are of similar size will promote even drying.
Methods for Drying Carrots
There are several methods for drying carrots, each with its own advantages. One method is air drying, which involves placing the carrot slices in a single layer on a clean and dry surface, such as a mesh tray. Position the tray in a well-ventilated area, away from direct sunlight and moisture. Turn the carrot slices every few hours to ensure even drying. Another method is oven drying, which requires preheating the oven to a low temperature, around 135°F (57°C). Place the carrot slices on a baking sheet and bake them in the oven for several hours, or until they are completely dry and crisp. A food dehydrator can also be used for drying carrots, following the manufacturer’s instructions.
Storing Dried Carrots
Proper storage is essential to maintain the quality and freshness of dried carrots. Once the carrot slices are completely dry and crisp, allow them to cool to room temperature. Transfer the dried carrot slices to clean, airtight storage containers, such as glass jars or resealable bags. It’s important to remove any excess air from the containers to prevent moisture absorption. Store the containers in a cool, dry, and dark location, such as a pantry or cupboard. If stored properly, dried carrots can be kept for several months or even up to a year.
Rehydrating Dried Carrots
When you’re ready to use the dried carrots, rehydrating them is a simple process. Start by placing the desired amount of dried carrot slices in a bowl or container. Pour boiling water over the carrots, ensuring they are fully submerged. Let the carrots soak for approximately 15 to 20 minutes, or until they have reached your desired level of rehydration. Drain any excess water, and the rehydrated carrots are ready to be used in soups, stews, or any other recipe that calls for fresh carrots. The rehydrated carrots will regain their original texture and flavor, making them a versatile ingredient in your kitchen.
8. Pickling
Preparing Carrots for Pickling
Pickling carrots is not only a great way to preserve them but also adds a unique tangy flavor to your culinary creations. To prepare carrots for pickling, start by selecting fresh and firm carrots. Remove the carrot tops, leaving a short portion of the stem intact. Gently wash the carrots to remove any dirt or debris. Next, cut the carrots into your desired shape, such as slices, sticks, or coins. It’s important to ensure the carrot pieces are of similar size to ensure even pickling.
Creating Pickling Solution
The pickling solution is a combination of vinegar, water, salt, and spices that gives the pickled carrots their distinct taste. To create the pickling solution, combine equal parts vinegar and water in a saucepan. Add salt and spices, such as garlic, dill, mustard seeds, or red pepper flakes, to customize the flavor according to your preference. Bring the pickling solution to a boil, stirring until the salt is fully dissolved. Let the solution cool to room temperature before using it for pickling.
Pickling Carrots
To begin the pickling process, place the prepared carrot pieces in clean, sterilized pickling jars. Pack the carrots tightly in the jars, leaving minimal headspace while ensuring they are fully submerged in the pickling solution. Pour the cooled pickling solution over the carrots, making sure they are completely covered. Gently tap the jars to release any air bubbles and use a clean utensil to remove any remaining air pockets. Secure the lids on the jars tightly. Store the pickling jars in a cool and dark location, allowing them to sit for at least 24 hours to allow the flavors to develop.
Storing Pickled Carrots
After the pickling process, it’s important to store the jars of pickled carrots properly. Store the sealed pickling jars in a cool and dark location, such as a pantry or cupboard. It’s best to let the pickled carrots sit for at least one to two weeks before consuming them to allow the flavors to further develop and meld together. Once opened, store the pickled carrots in the refrigerator to maintain their freshness. Properly stored, pickled carrots can be enjoyed for several months.
9. Canning
Preparing Carrots for Canning
Canning is a great preservation method that allows you to store carrots for an extended period without refrigeration. To prepare carrots for canning, start by selecting fresh and firm carrots. Remove the carrot tops, leaving a short portion of the stem intact. Gently wash the carrots to remove any dirt or debris. Next, cut the carrots into your desired shape, such as slices, sticks, or coins. It’s important to ensure the carrot pieces are of similar size to ensure even cooking during the canning process.
Canning Methods for Carrots
There are two canning methods you can use to preserve carrots: water bath canning and pressure canning. For water bath canning, pack the prepared carrot pieces into sterilized canning jars, leaving about 1 inch of headspace. Pour boiling water or a boiling vegetable broth over the carrots, ensuring they are fully covered and leaving the proper headspace. Remove any air bubbles, wipe the jar rims clean, and secure the lids on the jars. Process the jars in a boiling water bath for the recommended time according to your altitude and jar size. For pressure canning, follow a tested recipe that provides specific instructions for canning carrots. This method is necessary for ensuring safe preservation due to the low acidity of carrots.
Storing Canned Carrots
After the canning process is complete, it’s important to store the jars of canned carrots properly. Allow the jars to cool completely before handling them. Check the jar lids for proper sealing by pressing down on the center of the lid; if it doesn’t flex, the jar is properly sealed. Remove the metal bands and wipe the jars clean. Label each jar with the contents and date of canning. Store the sealed jars in a cool and dark location, such as a pantry or cupboard. Canned carrots can last for up to one year when stored properly. Once opened, refrigerate any leftover canned carrots and consume them within a few days.
10. Preservation as Carrot Powder
Drying Carrots for Powder
Preserving carrots as powder is a versatile method that allows for easy storage and use. To dry carrots for powder, start by selecting fresh and firm carrots. Remove the carrot tops, leaving a short portion of the stem intact. Gently wash the carrots to remove any dirt or debris. Next, cut the carrots into uniform slices or strips, around ¼ inch in thickness. Ensuring the carrot pieces are of similar size will promote even drying.
Processing Carrots into Powder
Once the carrot slices are completely dry and crisp, they can be processed into powder. Start by grinding the dried carrot slices into a fine powder using a blender, food processor, or spice grinder. Aim for a smooth and consistent texture. If desired, you can add spices or herbs during the grinding process to enhance the flavor of the carrot powder. Once ground, sieve the powder to remove any remaining larger particles or fibers. Store the carrot powder in clean, airtight containers, such as glass jars or resealable bags, to maintain its freshness.
Storing Carrot Powder
Proper storage is essential to maintain the flavor and quality of carrot powder. Transfer the carrot powder to clean, airtight containers, making sure to remove any excess air to prevent moisture absorption. Store the containers in a cool, dry, and dark location, such as a pantry or cupboard. Keep in mind that carrot powder is more susceptible to moisture than whole dried carrots, so it’s important to avoid exposing it to humid environments. When stored properly, carrot powder can last for several months to a year. However, it’s always a good idea to periodically check the powder for any signs of moisture or spoilage.
Using Carrot Powder
Carrot powder is a versatile ingredient that can be used in a variety of recipes. It can be added to baked goods, such as bread, muffins, or cookies, to enhance the flavor and nutritional value. Carrot powder can also be used as a colorful and nutritious addition to smoothies, soups, sauces, and dips. It can even be incorporated into salad dressings or spice blends for a hint of sweetness and vibrant color. When using carrot powder, start with a small amount and adjust according to your taste preferences. Experiment with different recipes and enjoy the convenience and versatility of this unique carrot preservation method.
By utilizing these creative methods of storing carrots without refrigeration, you can enjoy the freshness and nutritional benefits of this versatile vegetable even without access to a refrigerator. Whether you opt for root cellar storage, sand storage, clamping, outdoor storage, burying in soil, fermentation, drying, pickling, canning, or preservation as carrot powder, there is a method that suits your preferences and circumstances. With careful preparation and proper storage, you can savor the flavors of carrots throughout the year, even when they are out of season. So, start preserving your carrots using one of these methods and ensure their long-lasting availability in your kitchen. Happy storing!
