Ever found yourself munching on fresh, juicy blackberries only to be unpleasantly surprised by the crunch of the tiny seeds? Say goodbye to frustration because we’ve got the perfect solution for you. In this article, you will discover an effortless method to remove seeds from blackberries, ensuring a smooth and enjoyable snacking experience. So, get ready to elevate your blackberry indulgence to a whole new level with this simple yet effective technique.

Choosing the Right Blackberries
When it comes to selecting blackberries, choosing the right ones can make a huge difference in the outcome of your seedless blackberry puree. To ensure that you have the best-tasting and most flavorful blackberries, it’s important to know what to look for. First and foremost, you should aim for fully ripened blackberries. These are the ones that have reached their peak of sweetness and juiciness. Look for blackberries that are uniformly black, with no red or green patches. The deep, rich color is a sign that the blackberries are ripe and ready to be enjoyed.
Another important aspect to consider is the firmness of the blackberries. Opt for blackberries that are firm and plump. They should not feel overly soft or mushy when gently pressed. Firm blackberries are not only easier to work with when it comes to mashing and blending, but they also have a better texture and hold their shape well.
On the other hand, it’s crucial to avoid blackberries that are overripe or mushy. These berries tend to have a dull appearance, with discolored patches and a soft texture. Overripe blackberries can have a sour taste, and they may not provide you with the desired sweetness for your seedless puree. It’s best to leave these blackberries behind and opt for the ones that are at the peak of ripeness.
Preparing the Blackberries
Before you can start the process of removing the seeds from your blackberries, it’s important to prepare them properly. This step ensures that your blackberries are clean and ready for further processing.
The first step is to wash the blackberries thoroughly. Place the blackberries in a colander and rinse them under cold running water. Gently move the blackberries around to ensure that all sides are washed. This will help remove any dirt, debris, or potential contaminants that may be present on the surface of the berries.
After washing the blackberries, you’ll want to drain excess water. Allow the colander with the blackberries to sit for a few minutes to allow the water to drain. You can give the colander a gentle shake to help remove any excess water.
Next, it’s time to pat the blackberries dry. Take a paper towel and gently place it on top of the blackberries. Gently press the paper towel down on the berries to absorb any remaining moisture. This step is essential to prevent your seedless puree from becoming too watery during the mashing and blending process.

Freezing the Blackberries
Freezing the blackberries is a crucial step in the process of removing the seeds. Freezing not only helps to break down the cell walls of the blackberries, but it also makes it easier to separate the seeds from the pulp.
To freeze the blackberries, start by spreading them out in a single layer on a baking sheet. Make sure the blackberries are not touching each other, as this will help prevent them from sticking together during the freezing process.
Place the baking sheet with the blackberries in the freezer. It’s recommended to freeze the blackberries for a few hours or overnight. The longer you freeze them, the easier it will be to remove the seeds.
Thawing the Blackberries
Once the blackberries are completely frozen, it’s time to thaw them. Thawing the blackberries properly ensures that they’re ready for the next steps in the process.
To thaw the blackberries, take the baking sheet out of the freezer and allow it to sit at room temperature. The blackberries will gradually thaw as they reach room temperature. This can take anywhere from 1 to 2 hours, depending on the size and thickness of the blackberries.
As the blackberries thaw, you may notice some liquid being released. It’s important to drain this liquid to prevent it from diluting your seedless puree. Simply tilt the baking sheet slightly to pour off any excess liquid. This step will help ensure that your blackberries retain their full flavor and concentrate the taste in the seedless puree.

Mashing the Blackberries
Now that your blackberries are thawed and drained, it’s time to start mashing them to remove the seeds. Mashing the blackberries is a simple but effective method to break down the fruit and separate the seeds from the pulp.
You can use a fork or a potato masher to mash the blackberries. Start by placing a small amount of the blackberries on a plate or in a bowl. Using the fork or potato masher, gently apply pressure to the blackberries and start mashing them. Continue mashing until the blackberries are well broken down and the seeds start to separate from the pulp.
Continue this process with the rest of the blackberries until you have mashed all of them. Take your time and make sure that all the blackberries are mashed thoroughly. This step will ensure a smooth and uniform consistency in your seedless puree.
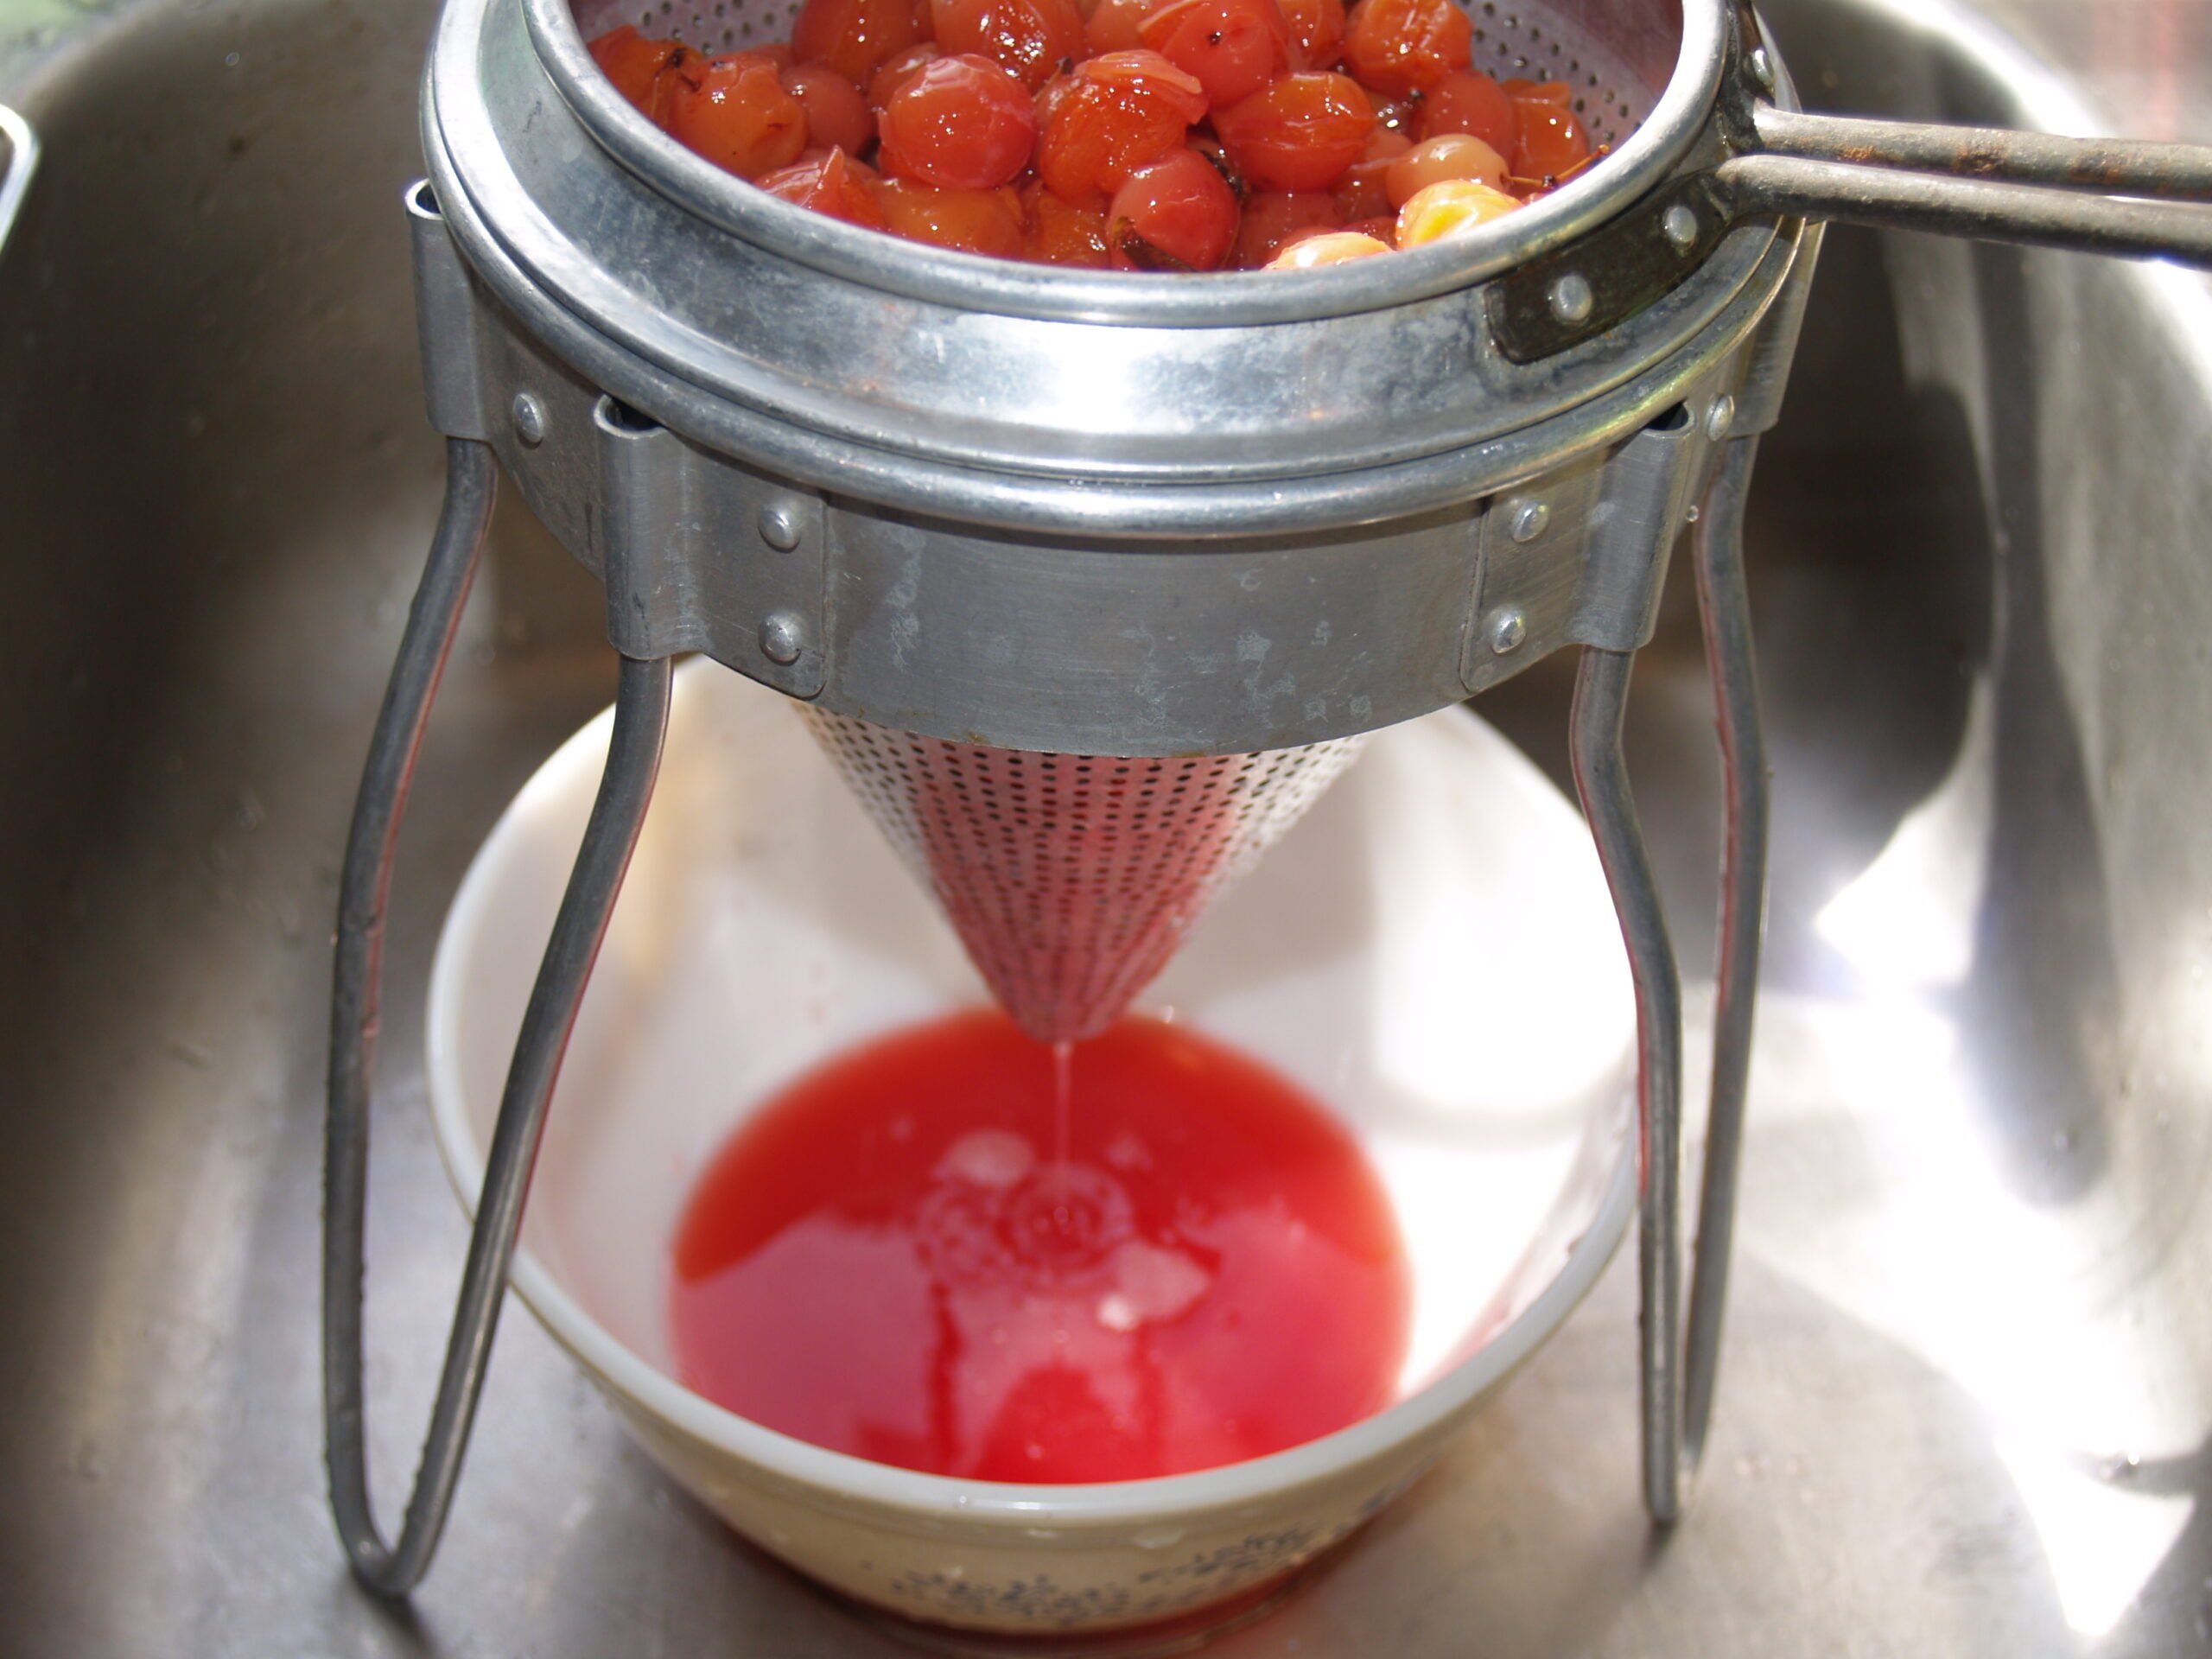
Straining the Mixture
Once you have mashed all the blackberries, it’s time to strain the mixture to remove the seeds. Straining the blackberry pulp helps to separate any remaining seeds and produce a smooth, seedless puree.
To strain the mixture, place a fine-mesh sieve over a bowl. Carefully pour the mashed blackberries into the sieve. You may need to work in batches depending on the size of your sieve and the amount of blackberries you have.
Using the back of a spoon, gently press the blackberry pulp through the sieve. This will help separate the seeds from the pulp and collect the seedless puree in the bowl. Take your time and make sure to press down firmly to extract as much puree as possible.

Collecting the Seedless Puree
As you press the blackberry pulp through the sieve, you will notice the seedless puree flowing into the bowl. It’s important to stop pressing when only seeds remain in the sieve. This will ensure that you have collected all the seedless puree and left behind the unwanted seeds.
Once you have collected the seedless puree, you can discard the seeds. It’s best to transfer the puree to a container with an airtight lid, as this will help preserve its freshness and flavor. You can store the seedless blackberry puree in the refrigerator for up to a week, or freeze it for longer-term storage.
Using a Blender
Another method to remove the seeds from blackberries is by using a blender. This method can be quicker and more efficient for larger quantities of blackberries.
To use a blender, start by pouring the mashed blackberries into the blender. Make sure not to overfill the blender, as this can result in spills and uneven blending. It’s best to work in batches if you have a large amount of blackberries.
Once the blackberries are in the blender, blend the mixture on low speed. This allows the blender to separate the seeds from the puree without overworking the blackberry pulp. Continue blending until you can see the seeds separating from the puree and rising to the top.
Once you have achieved the desired consistency, it’s time to stop the blender. At this point, you can proceed to the next steps of straining the mixture to remove any remaining seeds.

Straining with Cheesecloth
If you prefer a smoother and more refined seedless puree, you can use cheesecloth in addition to straining with a fine-mesh sieve. This method helps to remove even the tiniest seeds and produce a velvety smooth texture.
To strain with cheesecloth, start by lining a fine-mesh sieve with a layer of cheesecloth. Make sure the cheesecloth is large enough to cover the entire surface of the sieve.
Next, pour the blended blackberries into the lined sieve. Gently twist and squeeze the cheesecloth to release any excess liquid and remove the seeds. This process may require a bit more effort compared to using a spoon, but it results in a beautifully smooth and seedless puree.
Continue twisting and squeezing the cheesecloth until you have extracted as much puree as possible. Once done, you can discard the cheesecloth and the collected seeds. Transfer the seedless blackberry puree to a container, and it’s ready to be used in your favorite recipes.
Enjoying Seedless Blackberry Goodness
Congratulations! You have successfully removed the seeds from your blackberries and now have a delicious seedless blackberry puree at your disposal. Now it’s time to enjoy the fruits of your labor and explore the many possibilities of using your homemade puree.
The seedless blackberry puree can be used in a variety of recipes. It can be the base for homemade blackberry jams, sauces, and syrups. The puree can also be incorporated into smoothies, desserts, and baked goods, adding a burst of natural sweetness and vibrant flavor.
Feel free to experiment with different blackberry-based creations. Mix the puree with yogurt for a refreshing breakfast option, or swirl it into ice cream for a decadent treat. The options are endless, and the seedless blackberry puree will surely elevate any dish you choose to create.
So go ahead and enjoy the fruits of your labor. With your homemade seedless blackberry puree, you can savor the taste of summer all year round. Get creative in the kitchen and let the flavors of blackberries take center stage in your culinary adventures.


