If you love the taste of butternut squash but worry that you don’t have enough space in your garden, fear not! In this article, you will discover the secrets to successfully growing butternut squash in a small area. From choosing the right varieties to maximizing your available space, you’ll be able to enjoy the deliciousness of homegrown butternut squash even in the most limited of gardens. So, put on your gardening gloves and get ready to transform your small space into a thriving butternut squash haven.
Choosing the Right Variety of Butternut Squash
When it comes to growing butternut squash in a small space, choosing the right variety is essential. The first step is to determine the amount of space available in your garden or container. If you have limited space, compact varieties are ideal as they take up less room compared to traditional vining varieties. Some compact varieties to consider include “Butterbush” and “Honeynut.” These varieties produce smaller fruit, making them suitable for smaller gardens.
If you have vertical space available, climbing varieties can be a great option. These varieties, such as “Tromboncino” and “Butterstick,” can be trained to grow upwards along trellises or other support structures. This not only saves space but also helps improve air circulation and reduces the risk of diseases.
To ensure the best results, it’s important to understand the growth habits of different butternut squash varieties. Some varieties may require more space to spread out, while others can be grown more closely together. Consider the specific growth requirements of the variety you choose to maximize your small growing space.
Preparing the Small Space for Butternut Squash
Before you start planting butternut squash in your small space, it’s important to prepare the area properly. Start by clearing out any weeds or debris that may hinder the growth of your plants. This will create a clean slate for your butternut squash to thrive.
Next, focus on improving the soil fertility. Butternut squash plants prefer rich, well-draining soil. Add organic matter, such as compost or aged manure, to improve soil structure and provide essential nutrients. This will help your plants grow healthy and produce abundant fruit.
If you’re growing butternut squash in a small space, consider creating raised beds or using containers. Raised beds provide better control over soil conditions and prevent the plants from spreading out too much. Containers, on the other hand, allow you to grow butternut squash in limited spaces like patios or balconies. Just ensure that containers have sufficient drainage holes to prevent waterlogged soil.

Starting Butternut Squash Seeds
One of the most cost-effective ways to grow butternut squash is by starting seeds indoors. This allows you to get a head start on the growing season and transplant healthy seedlings into your small space at the right time.
To start butternut squash seeds indoors, select high-quality seeds from a reputable source. Look for seeds that are specifically labeled as suitable for the variety you’ve chosen. This ensures that you’re growing plants with the desired characteristics.
Timing is crucial when starting butternut squash seeds. Start seeds indoors about 3-4 weeks before the last expected frost date in your area. This will give the seedlings enough time to establish and grow strong before transplanting them outdoors.
Using seed trays or pots with good drainage, fill them with a well-draining seed starting mix. Plant the seeds according to the package instructions, usually around 1 inch deep. Keep the soil consistently moist but not waterlogged. Place the trays or pots in a warm location with access to natural light or use grow lights if necessary.
Optimizing temperature and humidity is essential for successful seed starting. Butternut squash seeds prefer warm soil temperatures of around 70-85°F (21-29°C) for optimal germination. You can use a heat mat to provide consistent warmth and cover the trays or pots with plastic wrap to maintain humidity.
Transplanting Seedlings
Once your butternut squash seedlings have grown strong and have several true leaves, it’s time to transplant them into your small space. However, before moving them outdoors permanently, it’s important to harden off the seedlings.
Hardening off allows the seedlings to acclimate gradually to the outdoor conditions, including exposure to sunlight, fluctuating temperatures, and wind. Start by placing the seedlings outside in a protected area for a few hours each day, gradually increasing the time over 7-10 days. This helps strengthen the seedlings and prepares them for the unpredictable outdoor environment.
When selecting the strongest seedlings for transplanting, look for ones with sturdy stems, healthy foliage, and a well-developed root system. These seedlings are more likely to thrive once transplanted into your small space.
Choose the right transplanting time based on your local weather conditions. Butternut squash prefers warm soil and air temperatures, so wait until any danger of frost has passed and the soil temperature has reached at least 60°F (16°C) before transplanting your seedlings.
When handling the seedlings, be gentle to avoid damaging their delicate roots. Dig a hole in the soil, slightly larger than the root ball of the seedling, and carefully place it in the hole. Backfill the hole with soil, gently firming it around the seedling. Proper spacing is crucial to prevent overcrowding, so be sure to follow the specific recommendations for your chosen variety.

Providing the Ideal Growing Conditions
To ensure the successful growth of your butternut squash plants in a small space, it’s crucial to provide them with the ideal growing conditions. Here are some factors to consider:
Sufficient sunlight: Butternut squash plants thrive in full sun, which means they need at least 6-8 hours of direct sunlight each day. Position your small space in an area that receives maximum sunlight for optimal plant growth and fruit production.
Optimal temperature: Butternut squash is a warm-season crop and prefers temperatures between 70-90°F (21-32°C). In cooler climates, consider using row covers or cloches to provide additional warmth and extend the growing season.
Watering requirements: Butternut squash plants require regular and consistent watering. Ensure the soil is kept evenly moist, but not waterlogged, throughout the growing season. Water deeply at the base of the plant to encourage strong root development.
Fertilizing for healthy growth: Provide your butternut squash plants with regular fertilizer application to ensure healthy growth and high yields. Use a balanced, organic fertilizer or compost tea every 2-3 weeks during the growing season.
Mulching to conserve moisture: Mulching around the base of your butternut squash plants can help conserve soil moisture, suppress weeds, and regulate soil temperature. Use organic mulch, such as straw or wood chips, to a depth of 2-3 inches, taking care not to mulch directly against the plant stem.
Supporting the Compact Varieties
Compact varieties of butternut squash may still require support to prevent the vines from sprawling and to promote better air circulation. Here are some methods to support these plants in a small space:
Using trellises or stakes: Install trellises or stakes in your small space and train the vines to grow vertically. This not only saves space but also makes it easier to harvest the fruit. Secure the vines gently to the supports using soft ties or twine to prevent damage.
Constructing a sturdy support system: If you’re growing multiple compact varieties, consider constructing a sturdy support system using wire mesh or fencing that allows the vines to climb and spread without getting tangled. This provides stability and support as the plants grow.
Training the plants to climb: As the butternut squash plants grow, gently guide the vines towards the support structure. Wrapping the vines around the trellis or using clips can help train them to climb and maximize the growing space available.
Pruning for better air circulation: Pruning can help promote better air circulation and reduce the risk of diseases. Remove any damaged or diseased leaves or vines, as well as any excessive growth that may be crowding the plant.
Preventing the vines from getting damaged: Take care when moving around your small space to prevent accidentally stepping on or damaging the delicate vines. It’s also important to regularly inspect the supports and ties to ensure they are in good condition and providing adequate support.

Managing Pests and Diseases
When growing butternut squash in a small space, it’s crucial to be vigilant with pest and disease management. Here are some tips to help you manage common issues:
Identifying common pests: Keep an eye out for common pests such as squash bugs, aphids, and vine borers. Regularly inspect your plants for any signs of damage or infestation, such as wilting leaves, yellowing foliage, or deformed fruit.
Implementing preventive measures: Prevention is key when it comes to pest control. Start by keeping your small space clean and free from debris, as this can attract pests. Additionally, consider using row covers or floating row covers to physically exclude pests from your plants.
Using organic pest control methods: If you notice pest infestations, consider using organic pest control methods such as neem oil, insecticidal soap, or companion planting. These methods are safe for both the plants and the environment.
Recognizing common diseases: Common diseases that can affect butternut squash include powdery mildew, downy mildew, and blossom end rot. Learn to recognize the symptoms of these diseases, such as white or grayish powdery spots, yellowing leaves, or blackened fruit.
Applying suitable disease management strategies: To manage diseases, ensure good air circulation around your plants, avoid overhead watering, and remove any infected plant material promptly. In some cases, organic fungicides may be necessary to control severe infections.
Harvesting Butternut Squash
Determining the right time to harvest butternut squash is crucial for optimal flavor and storage life. Here are some tips for a successful harvest:
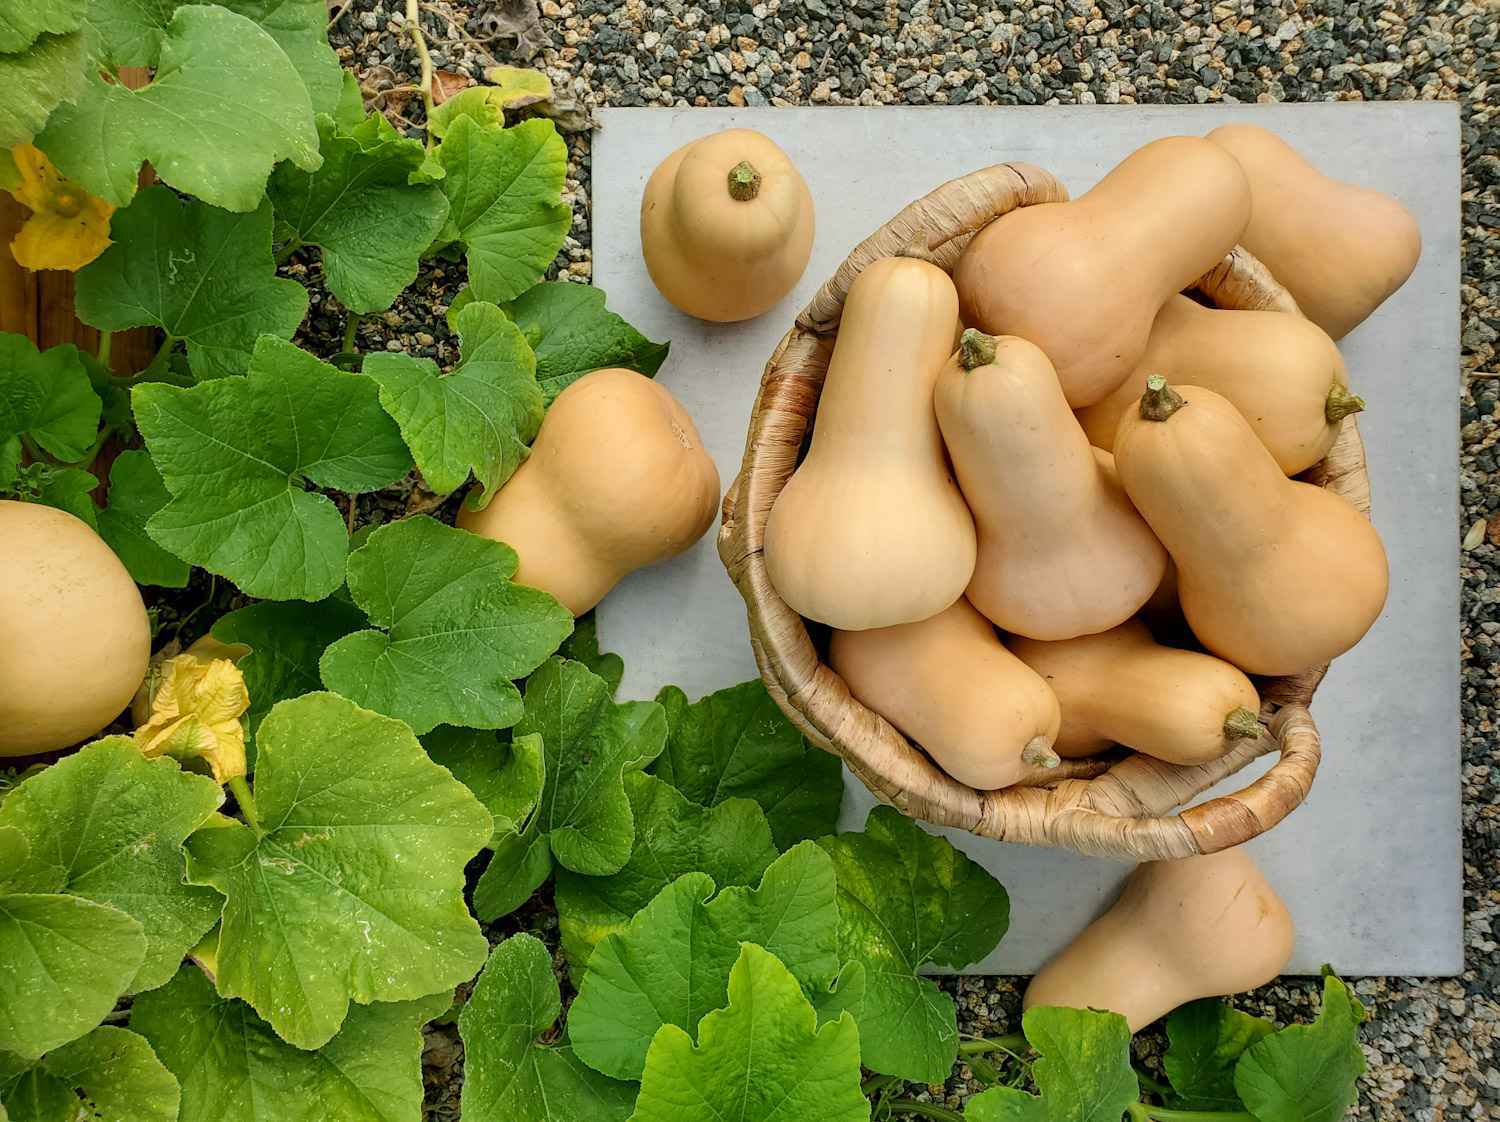
Determining the maturity: Butternut squash is ready for harvest when the fruit has reached its full size and the skin has turned a deep, uniform tan color. The fruit should also feel firm and the stem should be dry and brown.
Harvesting at the right time: It’s best to harvest butternut squash before the first frost. However, if frost is imminent, harvest the fruit immediately as exposure to freezing temperatures can damage the squash. Use a sharp knife or pruners to cut the stem about 1-2 inches above the fruit.
Properly cutting or twisting the squash: When harvesting butternut squash, take care not to damage the fruit or the vines. Use clean tools and cut the stem cleanly without tearing or bruising the squash. Do not twist or pull the fruit, as this can damage the stems and affect the fruit’s quality.
Curing and storing: After harvesting, cure the squash in a warm, dry, and well-ventilated area for 7-10 days. This process helps harden the skin and improves the flavor and keeping qualities. Once cured, store the squash in a cool, dry place with good air circulation. Properly stored butternut squash can last for several months.

Saving Seeds for the Next Season
If you’re interested in saving butternut squash seeds for future planting, follow these steps:
Selecting fully mature and healthy squash: Choose fully mature butternut squash that has been properly cured. Look for fruits that have a hard skin, dry stem, and overall healthy appearance.
Extracting and cleaning the seeds: Cut the butternut squash in half lengthwise and scoop out the seeds and pulp. Place the seeds in a strainer and rinse them under clean water to remove any remaining pulp. Spread the clean seeds on a paper towel to dry completely.
Drying and storing the seeds: Once the seeds are dry, transfer them to a paper envelope or airtight container. Store them in a cool, dry place away from direct sunlight. Properly stored seeds can remain viable for several years.
Important tips for seed saving success: When saving butternut squash seeds, ensure that you’re saving seeds from open-pollinated or heirloom varieties, as hybrid varieties may not produce true-to-type offspring. Avoid using seeds from plants that show signs of disease or poor growth.
Troubleshooting Common Issues
While growing butternut squash in a small space can be rewarding, it’s not without its challenges. Here are some common issues you may encounter and how to troubleshoot them:
Poor fruit set: If your butternut squash plants have poor fruit set, it may be due to inadequate pollination. Encourage pollinators, such as bees, by planting flower varieties that attract them. You can also manually transfer pollen between flowers using a small brush.
Yellowing or wilting of leaves: Yellowing or wilting leaves can be a sign of overwatering, nutrient deficiencies, or diseases. Ensure that you’re providing adequate water without overwatering, and regularly feed your plants with a balanced fertilizer to address nutrient deficiencies. If diseases are suspected, promptly identify and treat accordingly.
Fungal infections: Fungal infections, such as powdery mildew or downy mildew, can affect butternut squash plants. To prevent fungal diseases, provide good air circulation, avoid overhead watering, and remove infected plant material promptly. Organic fungicides may be necessary to control severe infections.
Inadequate pollination: Inadequate pollination can result in misshapen or poorly developed fruit. As mentioned earlier, encourage pollinators and manually transfer pollen between flowers to ensure proper pollination.
Pest infestations: Pest infestations can damage butternut squash plants and reduce fruit yield. Identify the specific pests causing the problem and employ organic pest control methods, such as neem oil or insecticidal soap, to manage the infestation.
By following these guidelines and troubleshooting common issues, you can successfully grow and enjoy delicious butternut squash even in a small space. With a little planning and care, you’ll be rewarded with a bountiful harvest of this nutritious and versatile vegetable. Happy gardening!


