In this article, you will learn the efficient technique of coring apples. By following these simple steps, you will be able to effortlessly remove the core from any apple variety in no time. This practical skill will not only enhance your culinary abilities but also save you precious time when creating flavorful apple-based dishes or snacks. Whether you are a novice cook or a seasoned chef, mastering the art of apple coring will undoubtedly become a valuable addition to your repertoire. So, let’s get started and delve into the step-by-step process of how to core apples effectively.
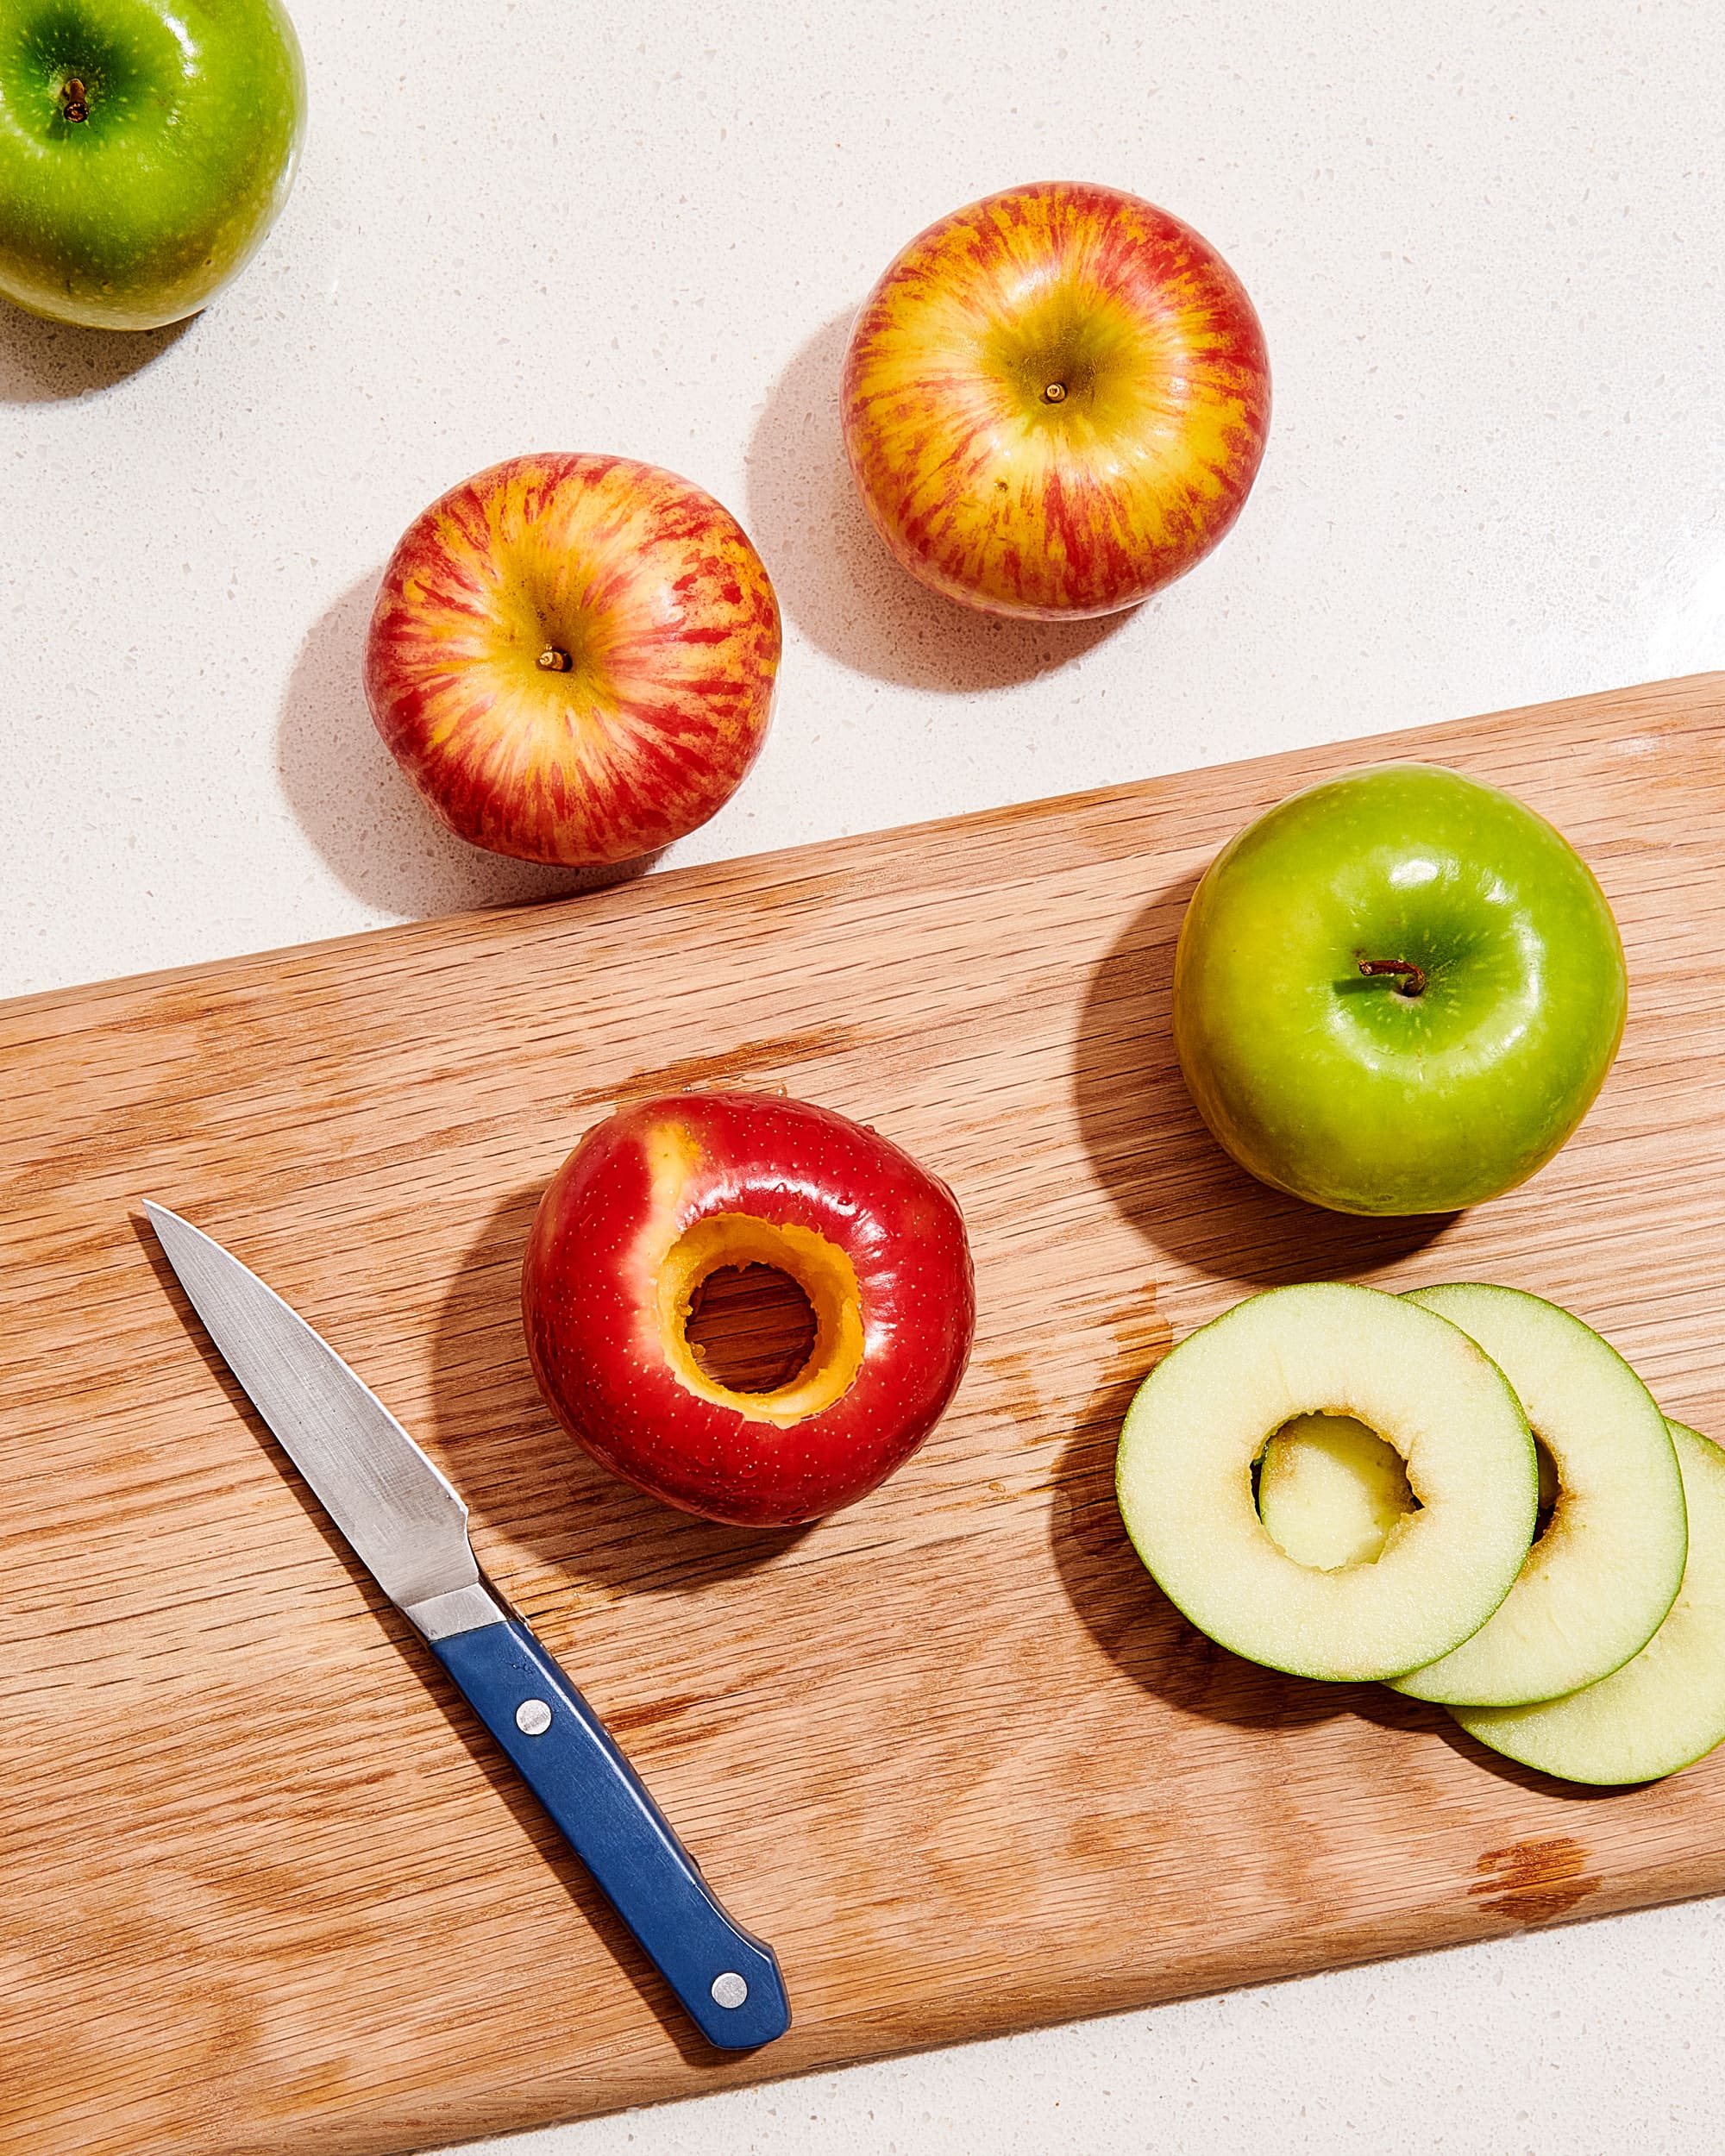
Tools and Materials
When it comes to coring apples, having the right tools and materials is essential. Here are the items you will need:
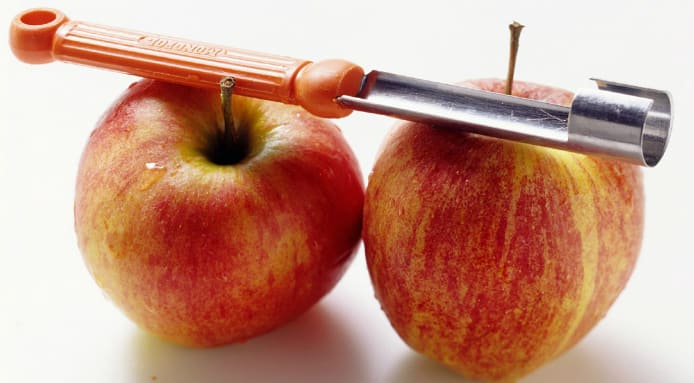
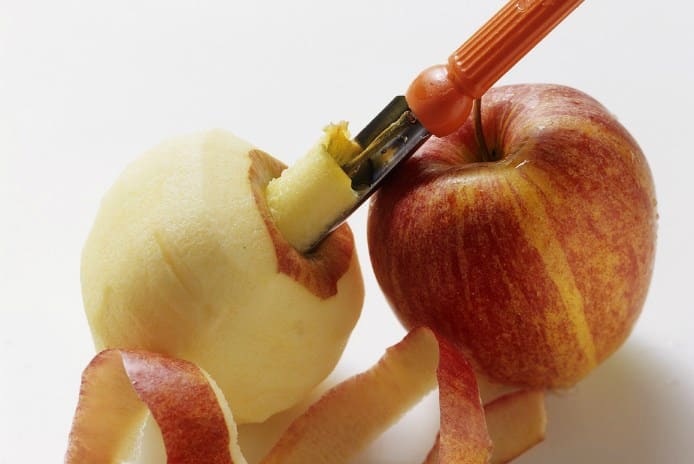
Apple corer
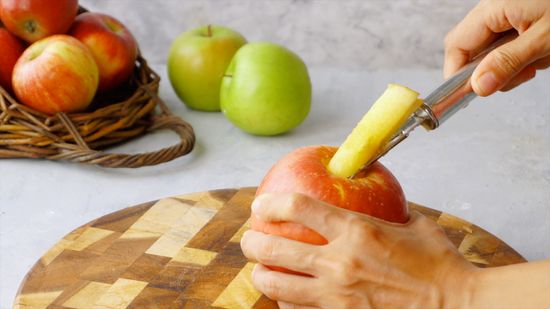
An apple corer is a specialized tool designed specifically for removing the core of an apple. It consists of a handle and a cylindrical blade with a sharp edge. The corer allows you to effortlessly remove the core without damaging the rest of the apple.
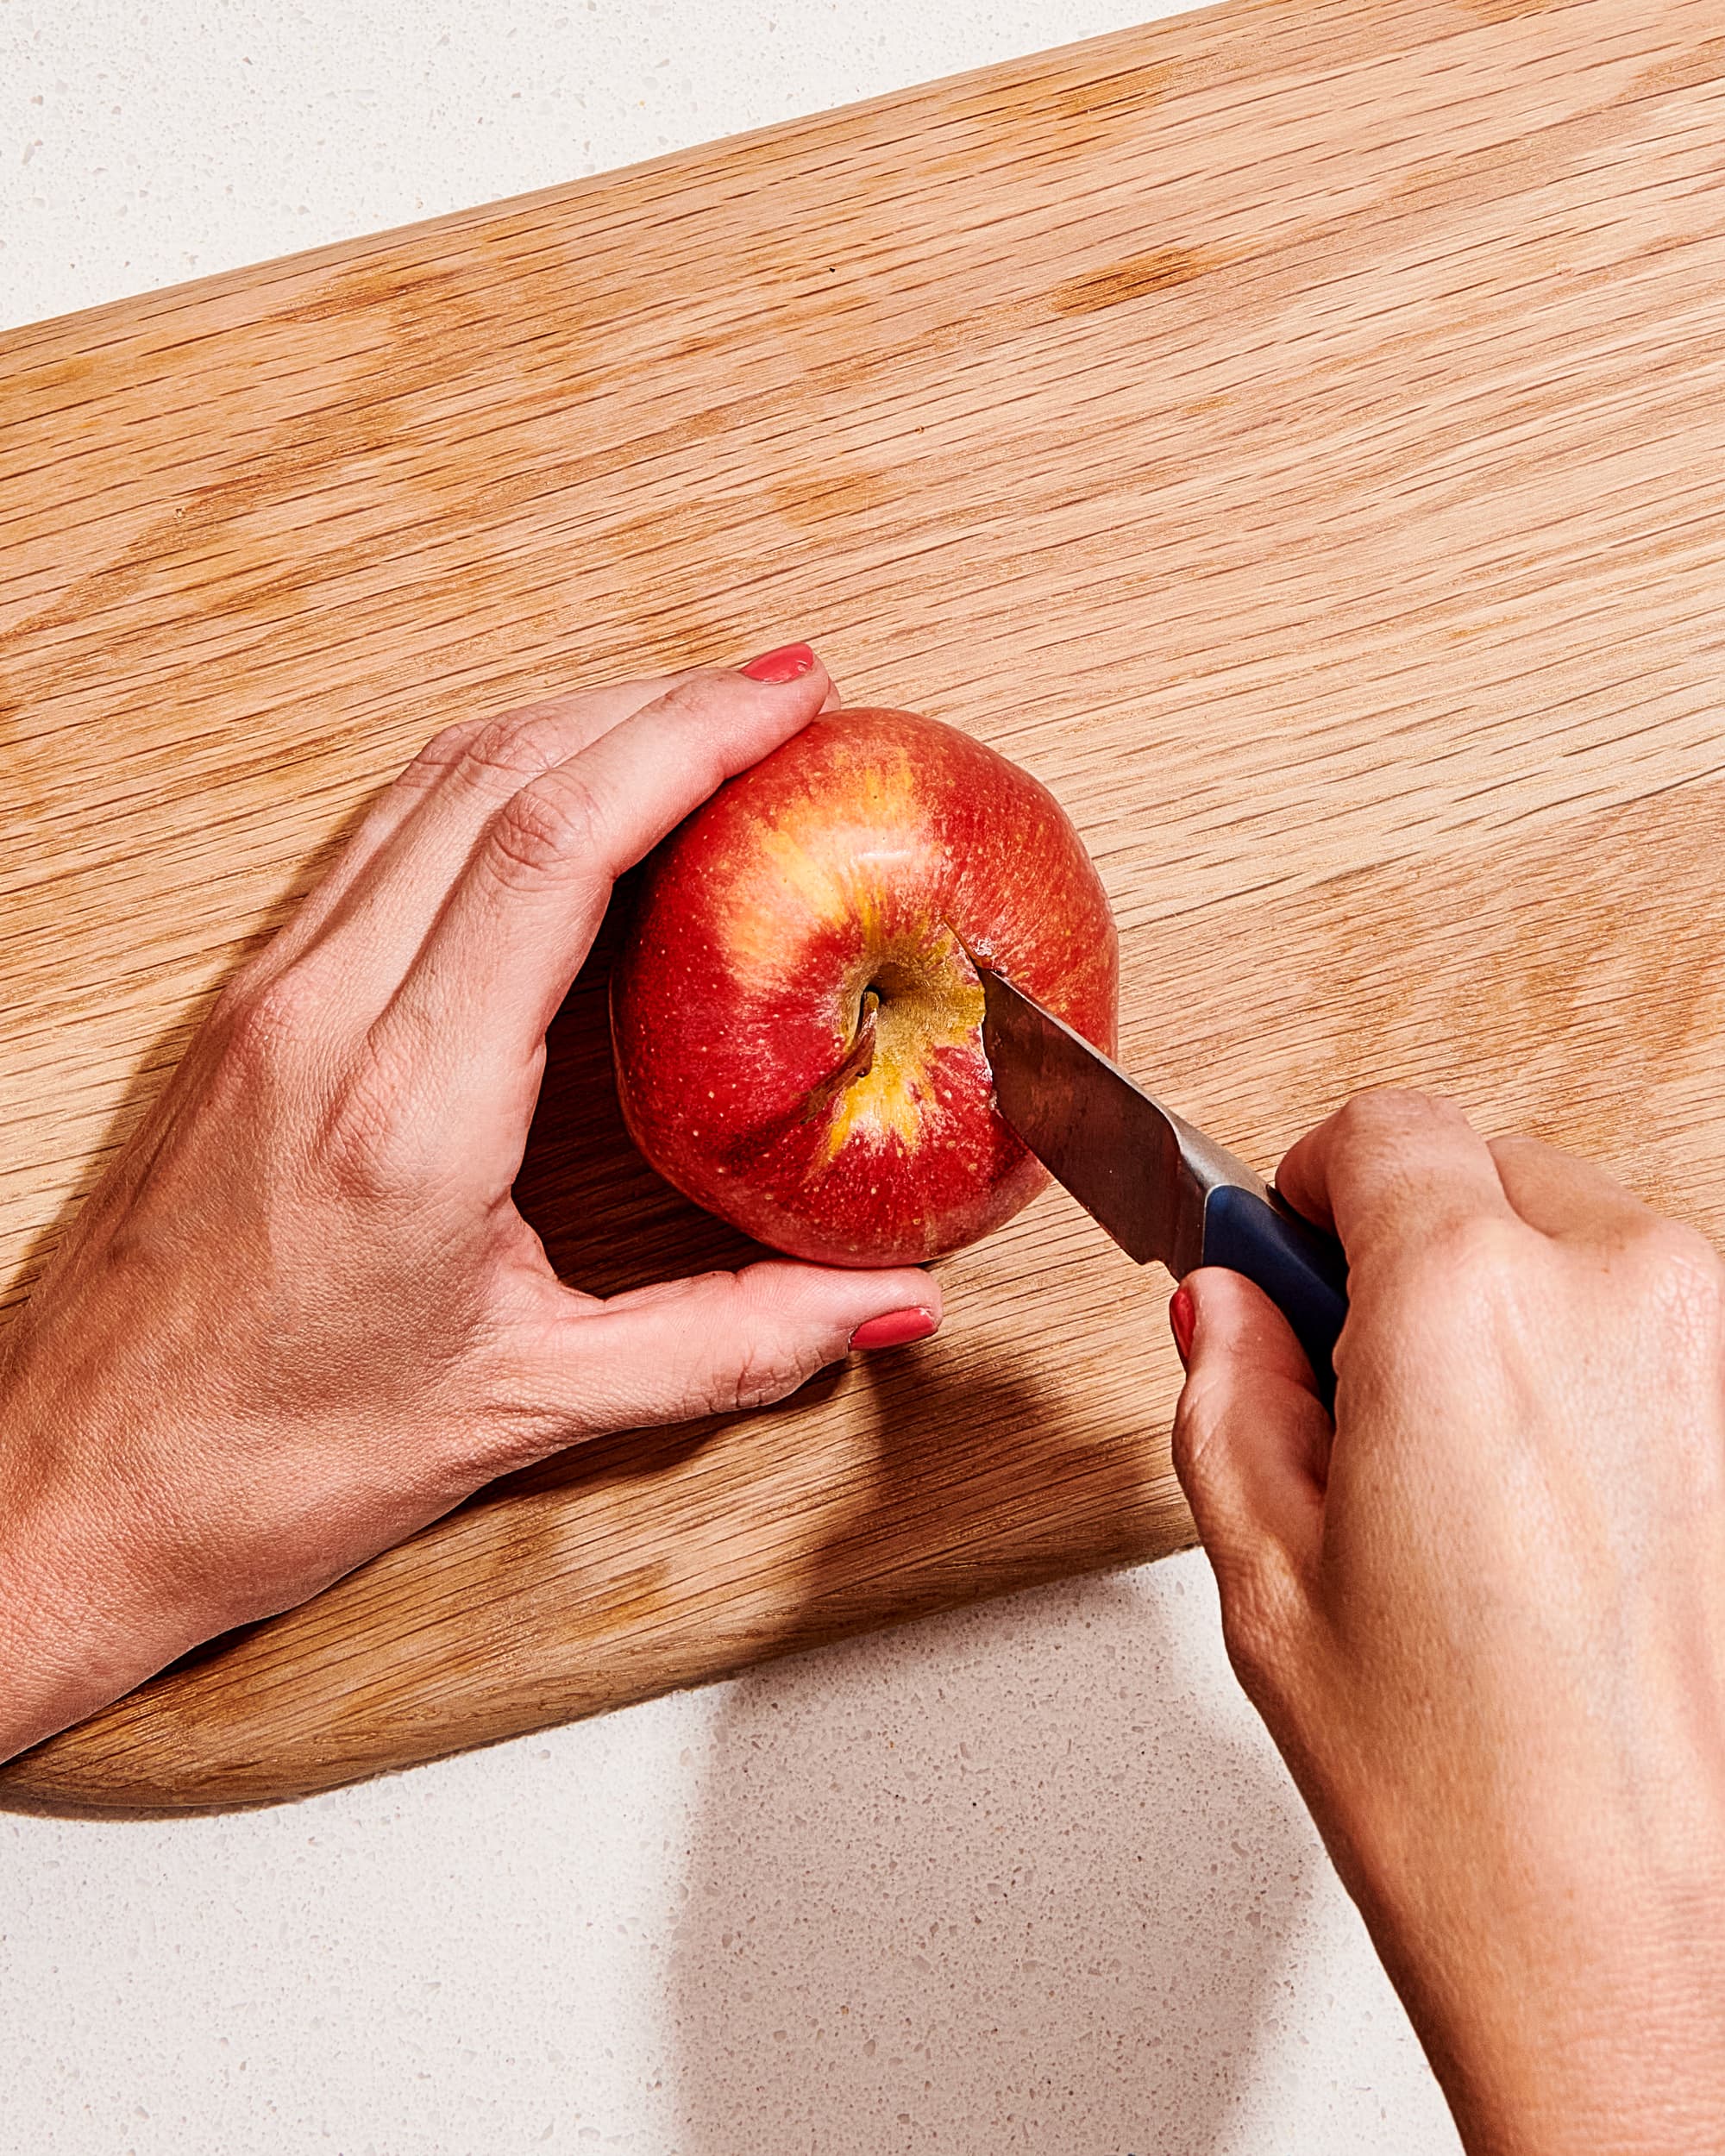
Knife
A sharp knife is another essential tool for coring apples. While an apple corer can do the job efficiently, a knife can be used as an alternative method, especially for apples with larger cores.
Cutting board
A sturdy cutting board provides a stable surface for coring the apples. Make sure to choose a cutting board that won’t slip or move during the coring process to ensure your safety.
Bowl
Having a bowl nearby is practical for various reasons. It can serve as a holding place for the cored apples, ensuring they stay organized and protected. Additionally, a bowl is useful when you need to soak the apples or mix them with other ingredients.
Optional: Lemon juice or citric acid
To prevent the cored apples from browning, you may choose to have some lemon juice or citric acid on hand. These acidic substances help to slow down the oxidation process, keeping the apples looking fresh and appetizing.
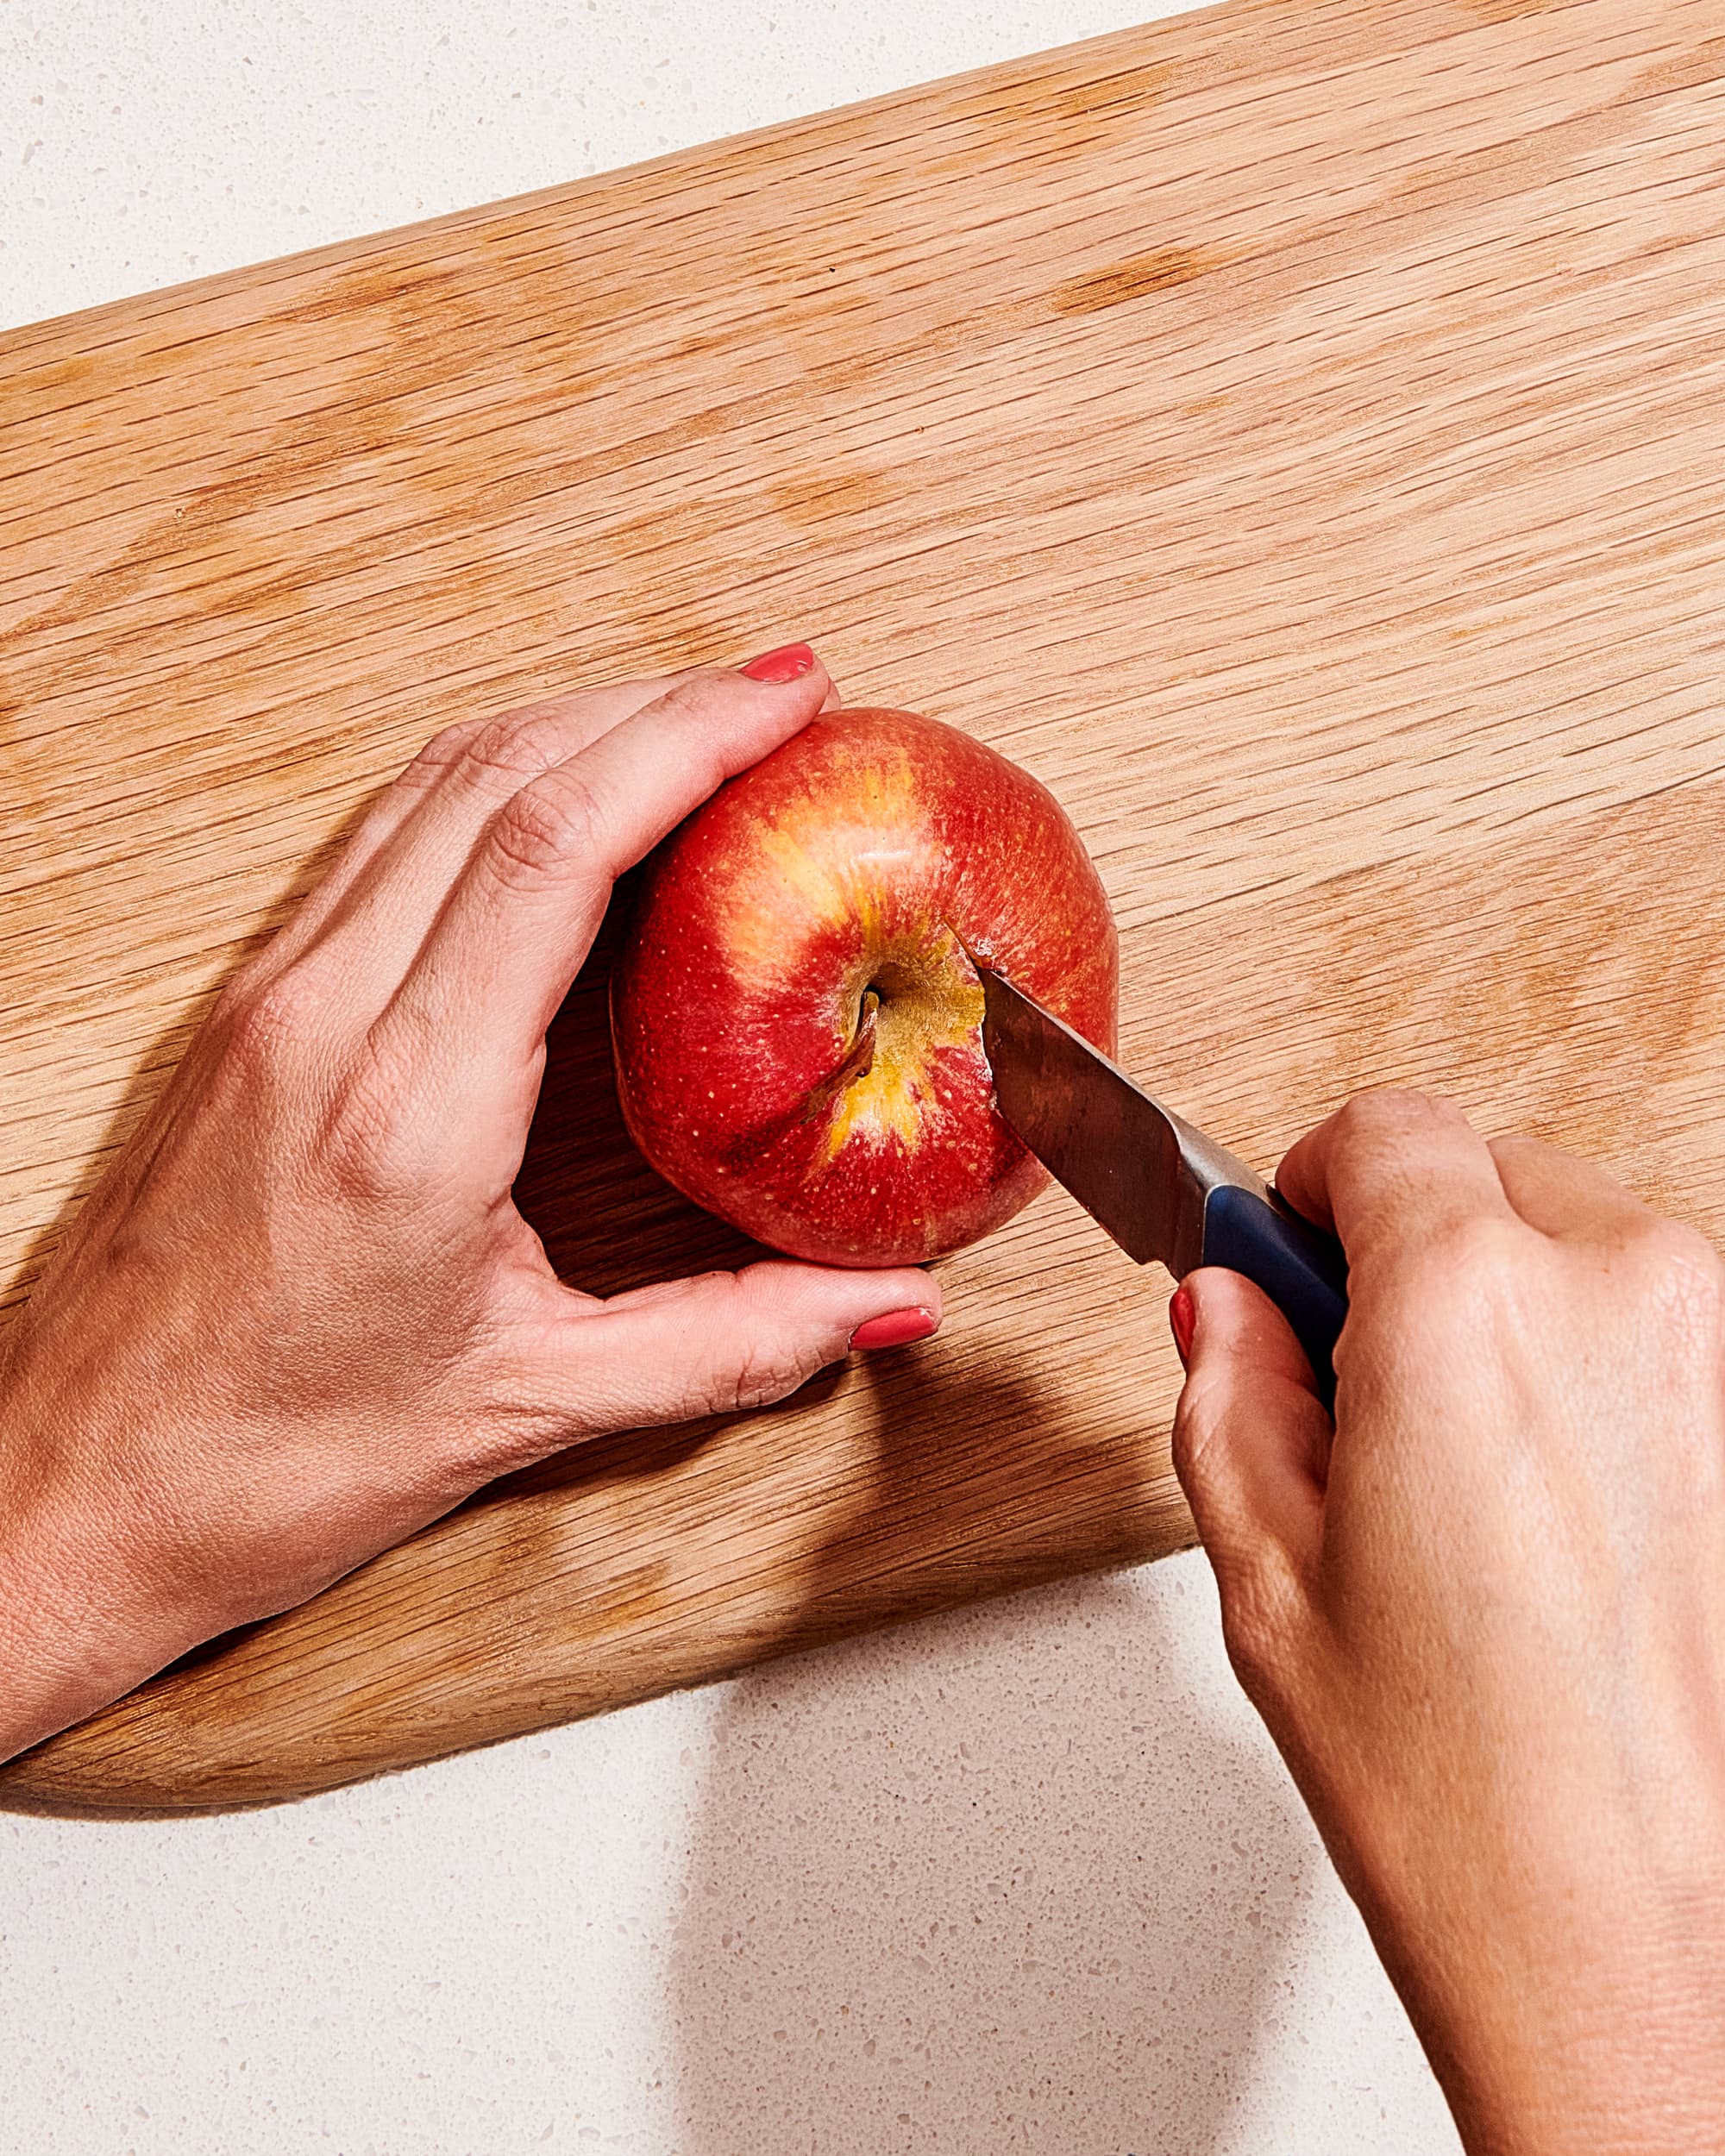
Selecting the Right Apples
To ensure a successful coring process and enjoyable eating experience, selecting the right apples is crucial. Here are some factors to consider when choosing your apples:
Choose firm apples
When it comes to coring apples, selecting firm apples is essential. Firm apples are easier to work with, allowing the corer or knife to penetrate smoothly without any mushiness. Avoid apples that feel soft or have visible bruises, as they may not hold their shape well during the coring process.
Opt for medium-sized apples
While apples of various sizes can be cored, medium-sized apples are generally more manageable. They provide a good balance between enough flesh to enjoy and not being overly large, which can make the coring process more challenging.
Look for apples with smooth skin
Smooth skin is an indication of a well-preserved apple. Avoid apples with wrinkled or blemished skin, as they may not be as fresh or flavorful. Smooth-skinned apples are also easier to handle and make the coring process more efficient.
Consider the variety of apple
Different apple varieties offer varying flavors, textures, and sweetness levels. Consider your personal preferences and the intended use of the cored apples when selecting the variety. Some varieties, such as Granny Smith or Honeycrisp, are popular choices for baking, while others, like Fuji or Gala, are great for snacking.
Cleaning and Sanitizing
Before coring the apples, it’s important to ensure they are clean and free from any dirt or contaminants. Here are the steps to follow for cleaning and sanitizing the apples:
Rinse the apples under cool water
Begin by rinsing the apples under cool running water. This will help remove any dirt, debris, or surface contaminants that may be present on the skin. Gently rub each apple with your fingers to ensure thorough cleaning.
Optional: Soak the apples in a mixture of water and vinegar
For an extra level of cleaning, you can choose to soak the apples in a mixture of water and vinegar. Fill a bowl with water and add a small amount of vinegar, such as white vinegar or apple cider vinegar. Soak the apples in this solution for a few minutes, then rinse them again under cool water.
Dry the apples
After rinsing or soaking the apples, give them a gentle pat dry with a clean towel or paper towel. It’s important to remove excess moisture from the surface of the apples before coring to ensure a better grip on the fruit and to prevent slipping during the coring process.
Preparing the Workstation
Having a clean and well-organized workstation is essential for a smooth coring process. Here are the steps to prepare your workstation:
Choose a clean and spacious area
Select a clean and spacious area in your kitchen or workspace to set up your coring station. Make sure there is ample room to maneuver the tools and materials without feeling cramped or restricted.
Place a cutting board on a stable surface
Place a cutting board on a stable surface, such as a countertop or table. Ensure that the cutting board is secure and won’t move or slide during the coring process. This will provide a solid foundation for coring the apples and minimize the risk of accidents.
Organize the necessary tools and materials
Arrange the apple corer, knife, bowl, and optional lemon juice or citric acid within easy reach on the workstation. Having everything organized and easily accessible will streamline the coring process and save you time and effort.
