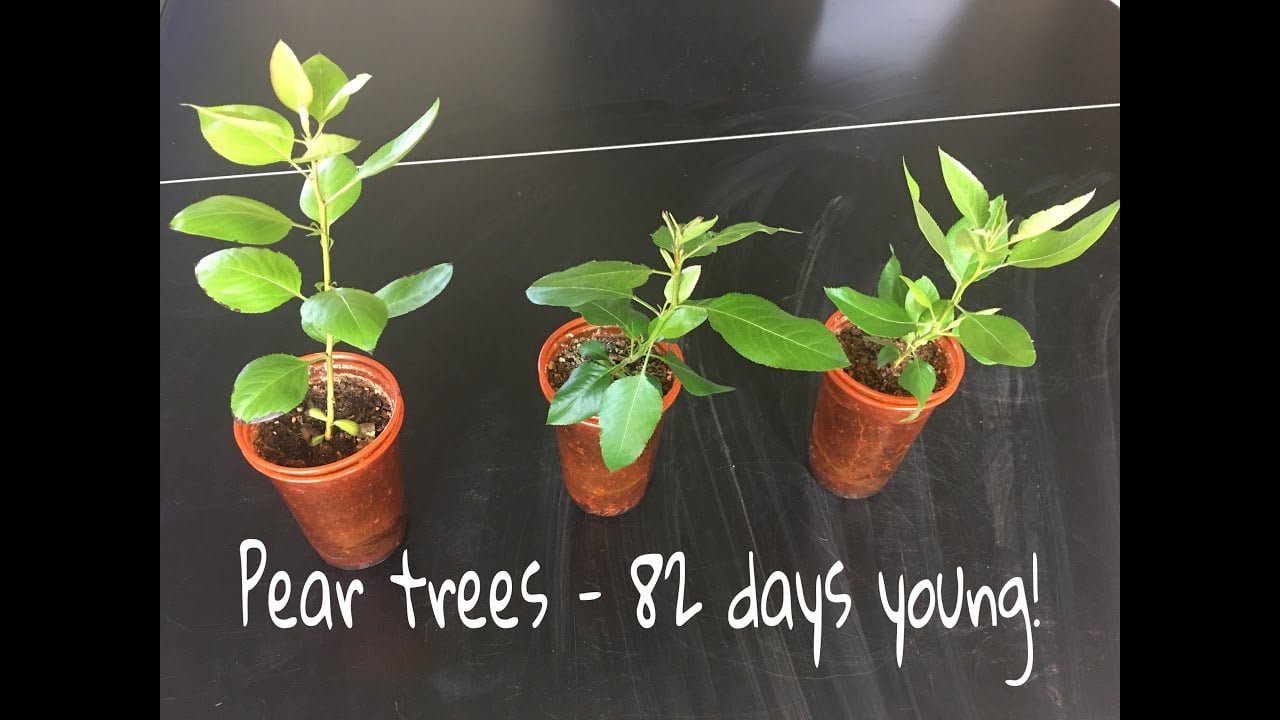
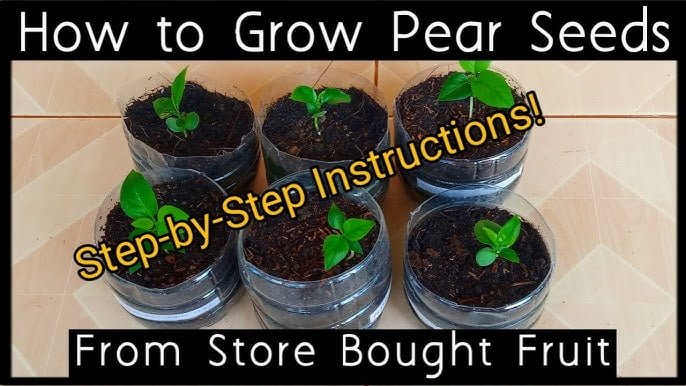
Growing pears from seeds can be a rewarding and fulfilling experience for any aspiring horticulturist. In this article, you will learn the step-by-step process of successfully growing pears from seeds, starting from selecting the right seeds to nurturing them into healthy and productive pear trees. With detailed instructions and helpful tips, you will gain the necessary knowledge and confidence to embark on your pear-growing journey. Whether you have a green thumb or are just starting out, this guide will equip you with all the information you need to cultivate your very own pear trees from seeds.
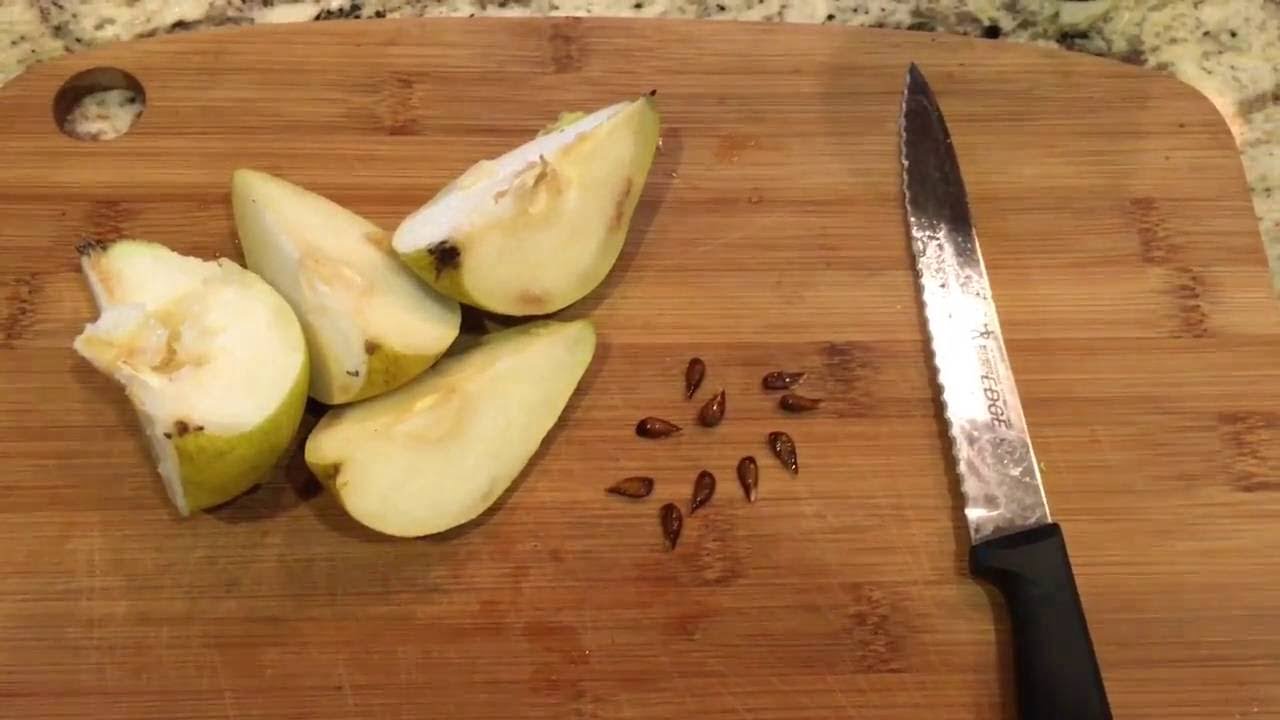
Choosing the right pear seeds
Selecting the right pear variety
When it comes to growing pears from seeds, one of the most crucial aspects is selecting the right pear variety. There are numerous pear varieties available, each with its own unique characteristics and flavor profiles. Before you start searching for pear seeds, consider the qualities you desire in your final harvest. Are you looking for a sweet pear or a more tart variety? Do you prefer a specific texture or color? By determining these criteria, you can narrow down your search for the perfect pear variety that aligns with your preferences.
Obtaining viable pear seeds
Once you have decided on the desired pear variety, it is crucial to obtain viable pear seeds. The quality of the seeds will greatly influence the success of your seed cultivation. To obtain viable seeds, it is best to purchase them from a reputable source or obtain them from a mature, healthy pear tree that is known for producing excellent quality fruits. Remember that not all pear seeds will be viable, so it is advisable to obtain a few extra seeds to increase the chances of successful germination.
Choosing quality seeds
When selecting pear seeds, there are a few key indicators of quality to consider. Look for seeds that are plump and fully developed. Avoid seeds that are discolored, shriveled, or damaged, as these may be less likely to germinate successfully. Additionally, it is crucial to choose seeds from a variety that is well-suited for your specific climate and growing conditions. Consider researching the specific variety’s adaptability and hardiness to ensure the best chances for successful growth.
Preparing the pear seeds
Stratification process
Before planting your pear seeds, it is important to subject them to a stratification process. Stratification mimics the natural winter conditions that pear seeds require for germination. To stratify your pear seeds, place them in a moist medium, such as damp sand or peat moss, and store them in the refrigerator for a period of time. This cold treatment helps break the seeds’ dormancy and prepares them for germination when they are planted.
Seed cleaning and selection
Before stratification, it is essential to clean and select the pear seeds carefully. Rinse the seeds to remove any pulp or debris, ensuring that you have clean seeds for the stratification process. Additionally, inspect each seed for signs of damage or mold and discard any that appear unhealthy. By cleaning and selecting the seeds, you are increasing the chances of successful germination and healthy seedlings.
Scarification for hard seed coats
Some pear seeds have hard seed coats that can hinder germination. To overcome this challenge, scarification is often employed. Scarification involves creating a small, shallow incision or nick on the hard seed coat, allowing moisture to penetrate and promote germination. Carefully use a nail file or sandpaper to create the necessary scarification on each seed. Take caution not to damage the inner embryo of the seed while performing this delicate task.
Planting the pear seeds
Choosing the right planting location
Selecting the appropriate planting location is crucial for the successful growth of your pear seeds. Pear trees thrive in full sun, so choose a spot in your garden that receives at least six to eight hours of direct sunlight daily. The soil should be well-draining, fertile, and have a pH level between 6.0 and 7.5. Avoid areas prone to waterlogging, as excessive moisture can lead to root rot and other issues.
Timing the planting
The timing of planting pear seeds is crucial to ensure optimal growth. Generally, planting pear seeds in early spring, after the last frost, is recommended. This timing allows the seeds to take advantage of the increasingly warm temperatures and ample sunlight, which facilitates germination and early growth. Be sure to check the specific recommendations for the chosen pear variety, as some varieties may have different planting time requirements.
Germination techniques
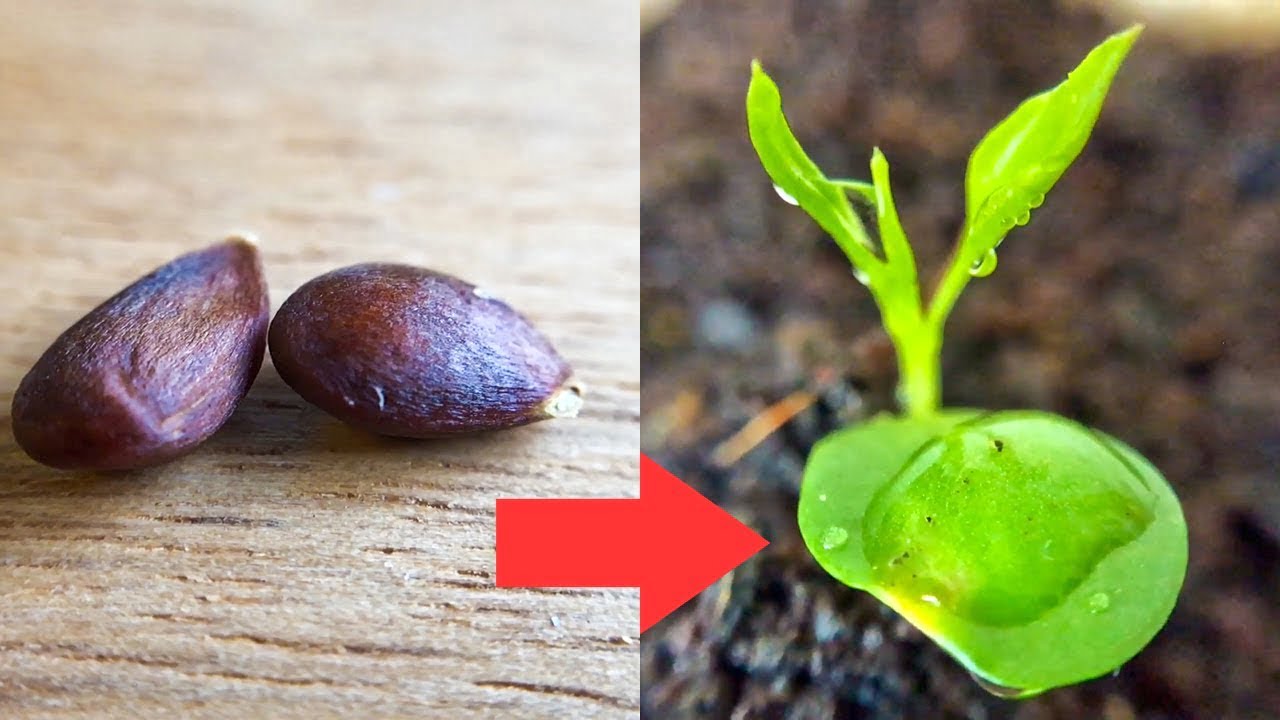
To promote successful germination, there are various techniques you can employ. One common method is sowing the stratified pear seeds directly into the prepared garden soil. Plant the seeds at a depth of approximately one inch, gently covering them with soil. Another technique is starting the germination process indoors by planting the stratified seeds in seed trays or pots filled with seed-starting mix. Keep the soil consistently moist and provide adequate warmth and light until the seedlings emerge.
Caring for pear seedlings
Providing adequate sunlight
Once the pear seedlings have emerged, it is crucial to provide them with adequate sunlight. As mentioned earlier, pear trees require full sun to thrive. Place the seedlings in a location where they receive direct sunlight for at least six to eight hours each day. If growing the seedlings indoors, ensure they are placed near a south-facing window or provide artificial grow lights to supplement the sunlight requirements.
Watering requirements
Proper watering is essential for the healthy growth of pear seedlings. Keep the soil consistently moist but avoid overwatering, as it can lead to root rot and other fungal diseases. Check the moisture level of the soil regularly and water when the top inch of the soil feels dry. Additionally, watering in the early morning or late afternoon helps minimize water loss due to evaporation and provides ample time for the leaves to dry before evening, reducing the risk of fungal diseases.
Fertilizing young pear trees
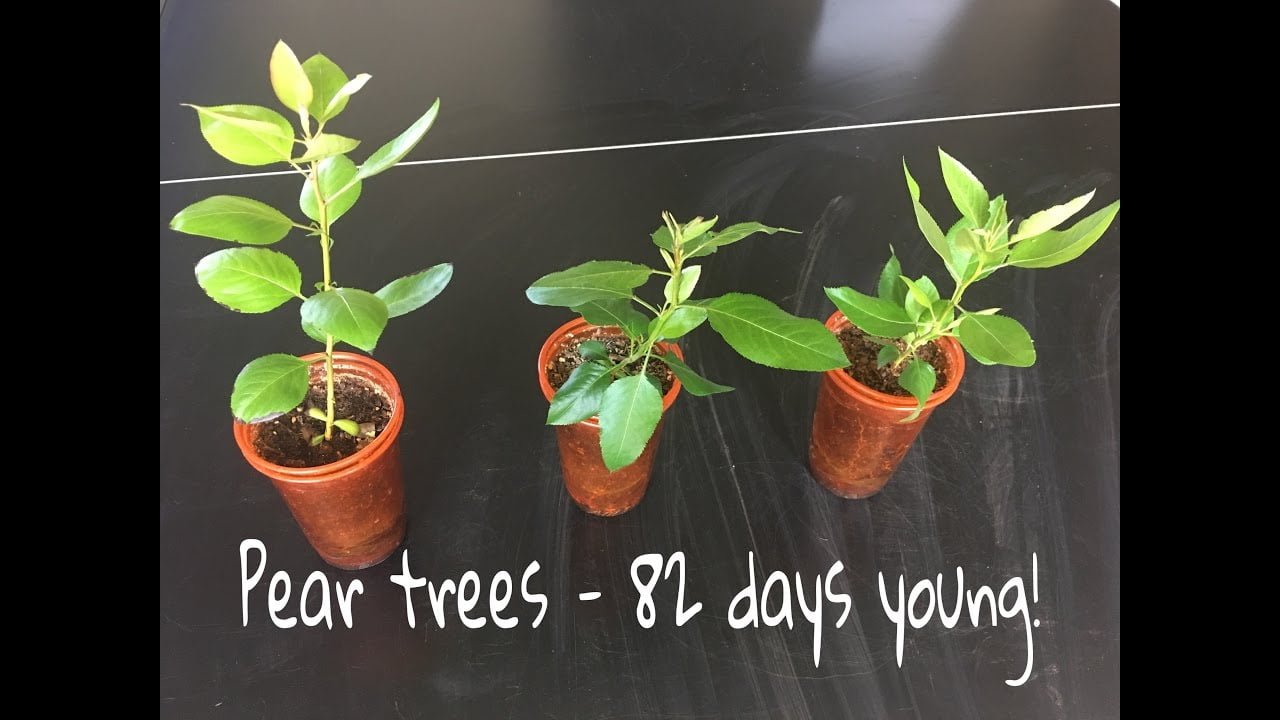
As the pear seedlings grow, they will benefit from regular fertilization to provide essential nutrients for healthy development. Start by applying a balanced fertilizer, such as a 10-10-10 or 12-12-12 formulation, during the first growing season. Follow the manufacturer’s instructions regarding application rates and frequency. As the pear trees mature, you may consider adjusting the fertilizer formulation and timing based on soil test results or specific nutritional requirements for the chosen pear variety.
Transplanting pear seedlings
Selecting the right planting site
When the pear seedlings have reached a suitable size, it is time to transplant them into their permanent location. Select a planting site that meets the same criteria mentioned earlier, ensuring it receives ample sunlight, has well-draining soil, and suits the specific needs of pear trees. Consider the mature size of the pear variety and provide enough space for proper growth and airflow, preventing overcrowding and potential disease issues.
Preparing the soil
Preparing the soil before transplanting ensures the pear seedlings have optimal conditions for establishment and growth. Remove any weeds or grass from the planting area and loosen the soil to a depth of at least 12 inches. Incorporate organic matter, such as compost or well-rotted manure, into the soil to improve fertility and drainage. This preparation provides a nutrient-rich and well-draining environment that encourages healthy root development.
Proper transplanting techniques
When transplanting pear seedlings, it is crucial to handle them with care to avoid damaging the delicate roots. Gently dig a hole wide and deep enough to accommodate the root ball of the seedling. Place the seedling into the hole and backfill with soil, ensuring the seedling is at the same depth it was growing previously. Firmly but gently press the soil around the plant, eliminating air pockets. Water the newly transplanted seedling thoroughly to settle the soil around the roots.
Pruning and training pear trees
Pruning young pear trees
Pruning is an essential practice for shaping and training young pear trees. Begin pruning during the first dormant season after transplanting the seedlings. Remove any damaged, diseased, or crossing branches to improve air circulation and prevent potential pest and disease issues. Aim for an open center structure, removing branches towards the center of the tree to allow light penetration and improve fruiting potential. Regular pruning during the formative years enhances the overall health and productivity of the pear trees.
Training pear trees to desired shape
Training pear trees to a desired shape is crucial for their long-term growth and productivity. There are various training systems to choose from, such as central leader, modified central leader, or espalier. The training system you select largely depends on available space, desired aesthetics, and maintenance preferences. Follow the specific training guidelines for the chosen system, regularly pruning and tying branches to achieve the desired shape and encourage optimal fruit production.
Establishing a strong framework
As you prune and train the pear trees, it is important to establish a strong framework that supports future growth and stability. Select a few well-positioned branches evenly spaced around the main trunk as primary scaffolding branches. These branches should have wide angles of attachment, ensuring strength and durability. Remove competing branches or branches with narrow angles of attachment that may cause structural weaknesses. By establishing a strong framework early on, you are setting the stage for a healthy and productive pear tree.
Pest and disease management
Common pear pests
Pear trees can be susceptible to various pests that can damage both the foliage and the fruits. Some common pear pests include pear psylla, codling moth, pear slug, and aphids. It is important to monitor the trees regularly for signs of pest infestation and take appropriate measures to control them before they cause significant damage.
Preventive measures
Implementing preventive measures can greatly reduce the risk of pest infestation and potential disease issues. Regularly inspect the pear trees for any signs of damage or pests. Remove fallen leaves and other garden debris around the trees, as they can harbor pests and pathogens. Consider using physical barriers, such as netting or tree guards, to prevent pests from accessing the trees. Maintaining overall tree health through proper watering, fertilization, and pruning practices also helps enhance the tree’s natural resistance to pests and diseases.
Organic pest control options
If pest infestations do occur, there are organic pest control options that can effectively manage the problem without harming beneficial insects or the environment. For example, introducing beneficial insects, such as ladybugs or lacewings, can help control aphid populations. Additionally, organic insecticidal soaps or neem oil can be used to treat certain pests. It is crucial to carefully read and follow the instructions on these products to ensure safe and effective usage.
Fruit thinning and maintenance
Understanding the importance of fruit thinning
Fruit thinning is an essential practice to maximize the quality and size of the remaining fruits. Pear trees often produce an abundance of fruit, which can result in smaller, lower-quality harvests if not thinned properly. Thinning helps to ensure that the remaining fruits receive enough sunlight, nutrients, and space to develop fully, resulting in larger, sweeter, and more desirable pears.
When and how to thin pear fruits
The timing and technique of fruit thinning are crucial for optimal results. Thin the fruits when they are approximately one inch in diameter or about four to six weeks after petal fall. Remove excess fruits by gently twisting or cutting them from the tree, leaving only a single fruit per cluster. Thinning should be done during a dry period to prevent the spread of fungal diseases. Be careful not to remove too many fruits, as this can result in a reduced overall yield.
Regular maintenance practices
To ensure the health and productivity of your pear trees, regular maintenance practices are essential. Monitor the trees for any signs of nutrient deficiencies, pests, or diseases and take appropriate action if necessary. Water the trees deeply and infrequently, providing enough moisture to reach the root zone. Apply a layer of organic mulch around the base of the trees to conserve moisture, suppress weed growth, and regulate soil temperature. Regularly inspect and prune the trees to maintain their shape, remove dead or diseased wood, and promote proper air circulation.
Harvesting and storing pears
Determining the right harvesting time
Determining the right time to harvest pears is crucial to ensure optimal flavor and texture. The harvesting time varies depending on the pear variety and desired degree of ripeness. Pears are typically harvested when they are still firm but have achieved full size and color. A gentle tug on the fruit should easily detach it from the branch. If the fruit is left to ripen on the tree, it may become overripe and mushy.
Harvesting techniques
When harvesting pears, it is important to use proper techniques to avoid damaging the fruits. Hold the pear gently and twist it upwards, giving a slight upward motion. This twisting motion helps detach the fruit without causing any undue stress or injury to the branch. Carefully place the harvested pears in a shallow basket or bucket to prevent bruising or other physical damage.
Proper pear storage methods
Proper storage is essential to extend the shelf life and maintain the quality of the harvested pears. Store pears in a cool, dark, and well-ventilated area, such as a cellar or a refrigerator. Pears can be stored for several weeks to several months, depending on the variety. Check the stored pears regularly for any signs of decay or spoilage, and discard any damaged fruits to prevent the spread of rot to other pears.
Tips for successful pear seed cultivation
Ensuring cross-pollination
Many pear varieties require cross-pollination to produce fruits, meaning they need pollen from a different pear tree variety for successful fruit set. When selecting pear varieties for cultivation, ensure that you choose compatible varieties that bloom at the same time and can serve as proper pollinators for one another. This cross-pollination is crucial for a bountiful harvest of delicious pears.
Mulching for moisture retention
Mulching around the base of the pear trees provides numerous benefits, including moisture retention. Apply a layer of organic mulch, such as wood chips or straw, around the base of the trees, taking care to leave a gap between the trunk and the mulch. Mulch helps regulate soil moisture levels by preventing evaporation and reducing weed competition, ensuring the pear trees have access to adequate moisture for healthy growth.
Winter protection measures
In regions with cold winters, it is important to take winter protection measures to safeguard your pear trees from frost damage and fluctuations in temperature. Mulching around the base of the trees helps insulate the root zone and protect it from freezing temperatures. Additionally, consider wrapping the trunks with tree wraps or burlap to provide extra protection against harsh winter conditions. Protecting the trees during winter ensures their survival and promotes healthy regrowth in the following spring.
By following these comprehensive guidelines, you can successfully grow pear trees from seeds and enjoy the satisfaction of nurturing your own bountiful harvest of delicious pears. From selecting the right seeds to providing proper care and maintenance, each step plays a vital role in the success of your pear seed cultivation journey. With patience, dedication, and a little bit of knowledge, you can cultivate healthy and productive pear trees, delighting in their beautiful blossoms and delicious fruits for years to come.
