Ready to discover the secrets to successfully harvesting your very own acorn squash? Look no further! In this complete guide, we’ll walk you through the process step by step, from identifying when your acorn squash is ready for harvest to the best techniques for plucking it from the vine. Whether you’re a seasoned gardener or a beginner with a green thumb, this comprehensive article has got you covered. So grab your gardening gloves and let’s dive into the wonderful world of acorn squash!
Preparing for Harvest
Determining the Right Time to Harvest
Before you can start harvesting acorn squash, it’s crucial to determine the right time for harvest. The ideal time will depend on factors such as the variety of squash you’re growing and the climate in your area. Acorn squash generally takes around 80 to 100 days to mature from the time of planting the seeds. To determine if your squash is ready for harvest, keep an eye on the calendar and note the average number of days it takes for your specific variety to mature.
Inspecting the Color and Texture
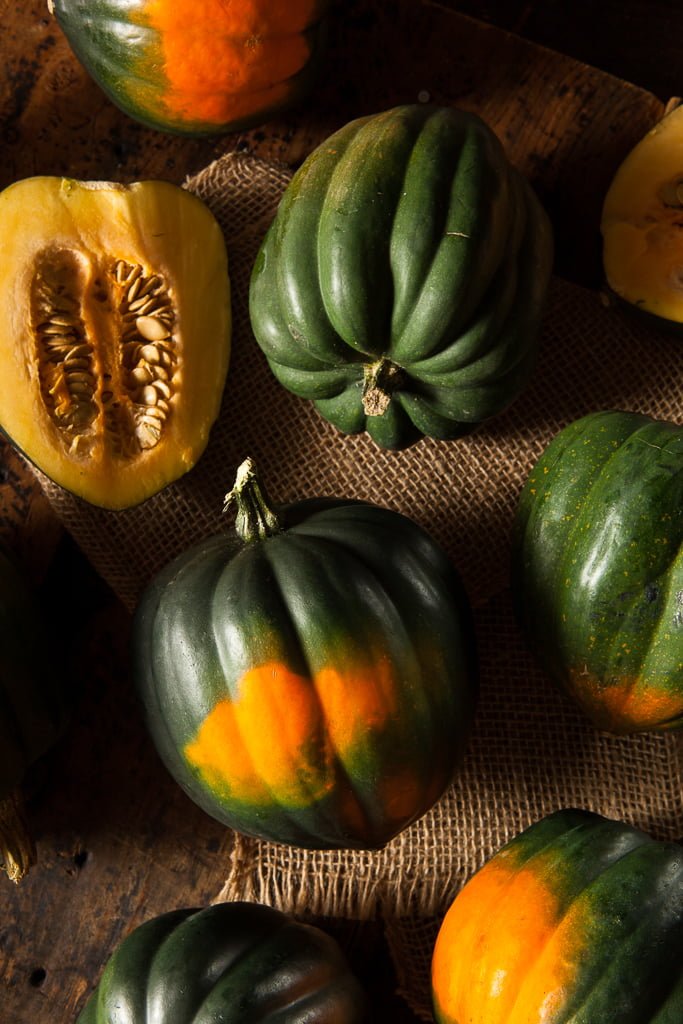
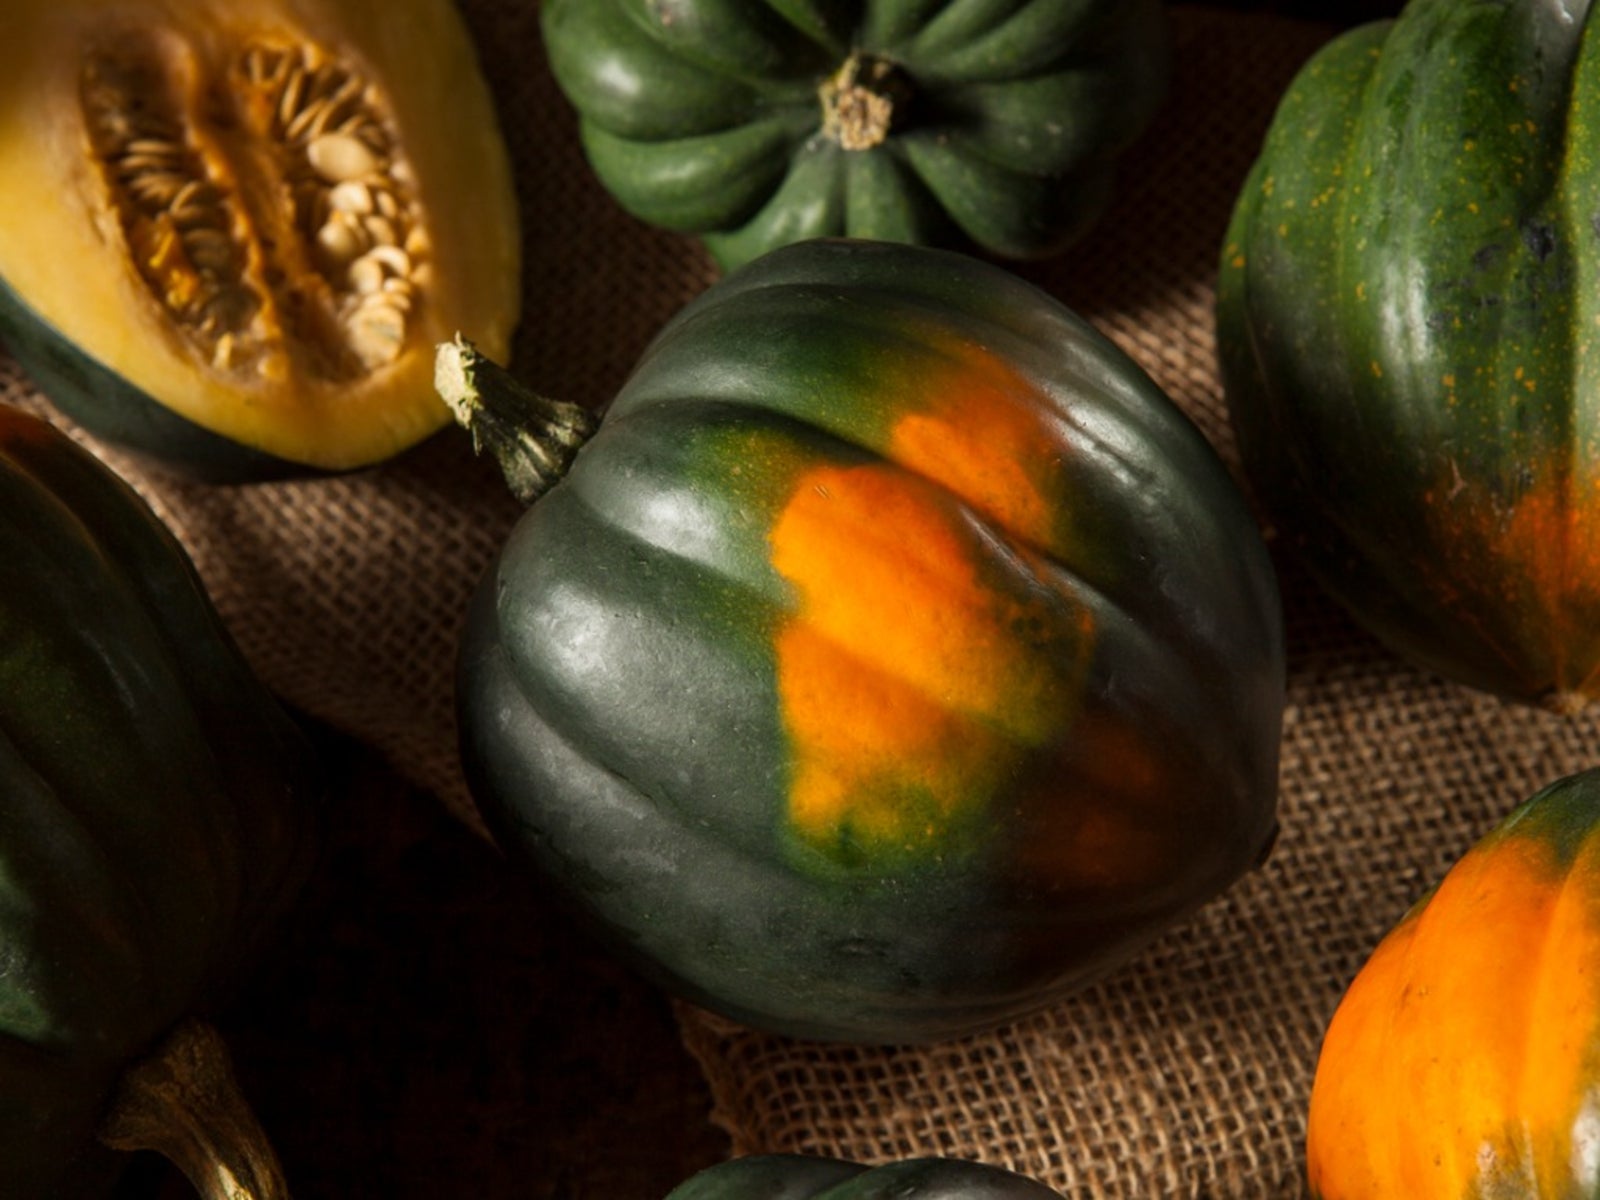
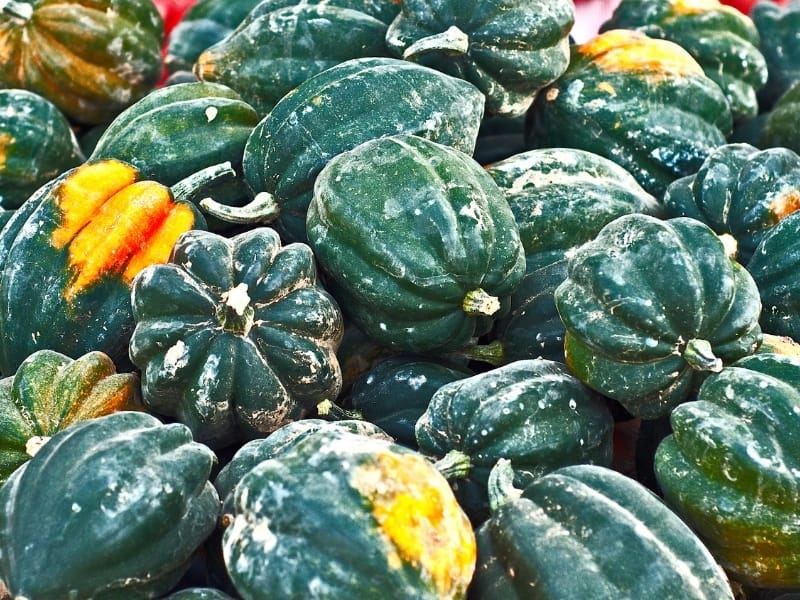
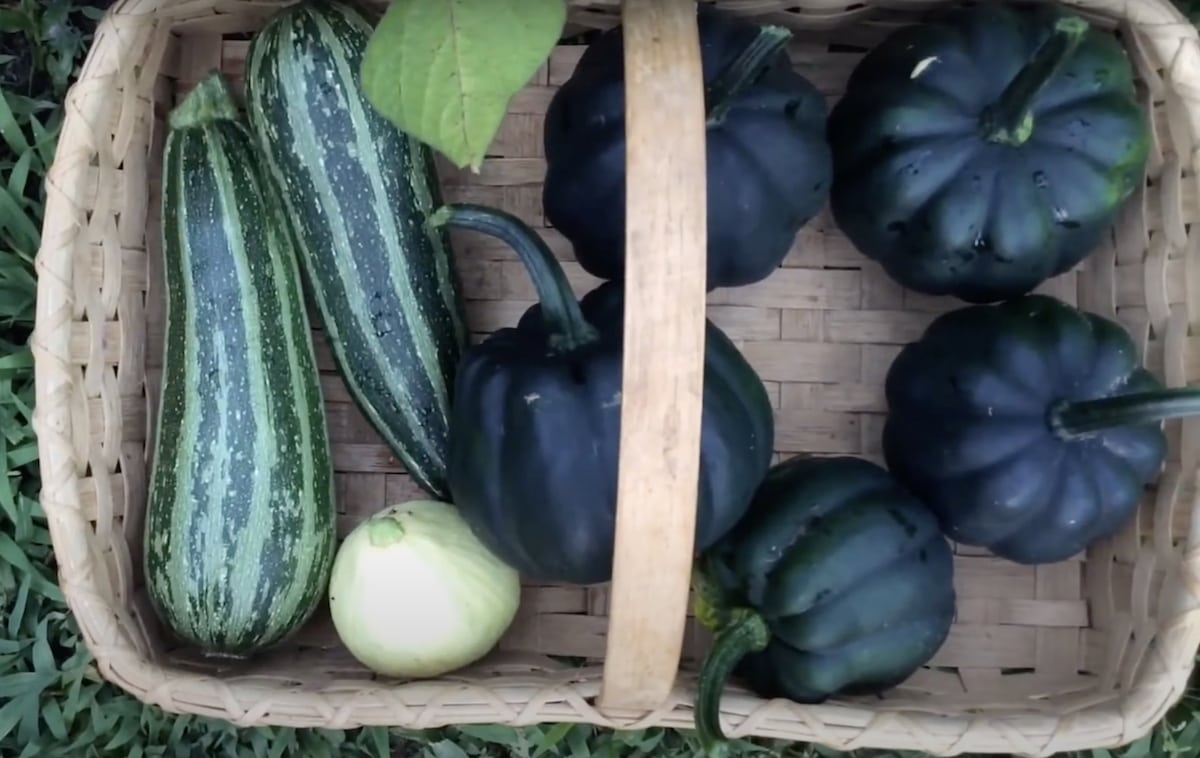
One of the primary indicators of when to harvest acorn squash is its color and texture. When the squash is fully mature, its skin should have a deep, dark green color, almost bordering on black. The skin should also be hard and tough to the touch, without any signs of softness or give. Take a close look at the squash skin to ensure there are no blemishes or spots of discoloration.
Checking for Mature Skins
Another method to determine if acorn squash is ready for harvest is by checking the skins for a fully matured appearance. Mature squash will have a dull, matte finish on its skin, while immature squash might have a shinier appearance. Gently run your fingers along the skin to see if it feels rough or ridged, which suggests full maturity. If the skin is smooth, it may still need more time to develop.
Considering the Average Harvest Time
While the indicators mentioned above can be helpful when determining the right time to harvest acorn squash, it’s vital to consider the average harvest time for your specific variety. Keep track of the number of days it typically takes for your chosen variety to reach maturity from the time of planting. This information will help guide you in deciding when to start harvesting. Remember, it’s always better to harvest a bit later than too early to ensure maximum flavor and quality.
Harvesting Tools and Supplies
Gardening Gloves or Hand Protection
When it comes to harvesting acorn squash, it’s essential to protect your hands from any potential injuries or skin irritation. Invest in a sturdy pair of gardening gloves that fit well and allow you to maneuver comfortably. These gloves will not only protect your hands but also provide a better grip when handling the squash.
Pruning Shears or a Sharp Knife
To safely and efficiently harvest acorn squash, you’ll need a reliable cutting tool. Pruning shears or a sharp knife are both suitable options for this task. Make sure your chosen tool is clean and sharp to avoid damaging the squash or causing unnecessary stress to the plant. Keep in mind that acorn squash has a tough skin, so a sharp blade is essential for a clean cut.
A Bucket or Harvesting Container
Having a sturdy bucket or harvesting container is essential to gather the harvested squash efficiently. Opt for a container that can handle the weight of multiple squash and has enough space to accommodate your harvest. A container with handles or a shoulder strap can make it easier to transport the squash from the garden to your storage area.
Clean Cloth or Soft Brush
It’s a good practice to carry a clean cloth or a soft brush with you while harvesting acorn squash. This will allow you to gently remove any dirt or debris from the skin before storing the squash. A soft cloth or brush will help maintain the overall cleanliness and appearance of the harvested squash.
Storage Containers
After harvesting acorn squash, having proper storage containers is crucial to prolong their shelf life. Look for containers that are clean, dry, and have sufficient ventilation to prevent the accumulation of moisture. If possible, choose containers that are specifically designed for produce storage. These containers will help maintain the quality of the squash while minimizing any potential damage.
Marker or Labeling Tools
To avoid any confusion or mix-up when storing multiple varieties of acorn squash, it’s helpful to label your storage containers. Use a marker or labeling tools to indicate the variety and date of harvest. This simple step will make it easier for you to identify and use the squash later on.
Harvesting Technique
Selecting the First Acorn Squash
When it comes to harvesting acorn squash, it’s generally recommended to start with the first fully mature squash that appears on the vine. This ensures that you harvest your squash at the right time and allows the remaining squash on the plant to continue maturing. Selecting the first squash also provides an opportunity to enjoy an early harvest.
Inspecting the Stem and Squash
Before cutting the squash from the vine, inspect both the stem and the squash itself. The stem should be dry, brown, and woody, indicating that it has fully developed. Avoid picking squash with green, moist stems as they are likely not fully matured. Additionally, check the entire squash for any signs of soft spots, blemishes, or mold, as these could indicate spoilage.
Cutting the Stem Properly
To harvest acorn squash, use your pruning shears or a sharp knife to cut the stem from the vine. Cut the stem around one inch away from the squash, leaving a short stub attached to the fruit. Be careful not to damage the squash or any nearby vines during the cutting process. Using a clean and precise cut minimizes the risk of introducing any pathogens or promoting rot.
Avoiding Damage to the Plant
While harvesting, it’s essential to be mindful of the overall health and well-being of the plant. Do not pull or yank the squash forcefully, as this can damage the vine or the surrounding fruit. Use gentle downward pressure on the vine near the base of the squash while cutting the stem. This approach ensures that the plant remains intact and continues to produce more squash.
Repeat the Process for Additional Squash
Once you have successfully harvested your first acorn squash, continue the process for the rest of the mature squash on the vine. Inspect each squash individually, cutting the stem carefully, and avoiding damage to the plant. Harvesting each squash at its optimal maturity ensures the best flavor and quality for your culinary preparations.
Storing Harvested Acorn Squash
Cleaning the Surface
After harvesting acorn squash, it’s crucial to clean the surface before storing it. Gently wipe off any dirt or debris using a clean cloth or a soft brush. Avoid using water for cleaning, as moisture can promote spoilage. By keeping the skin clean, you reduce the chances of bacteria or fungi affecting the squash during storage.
Curing for Optimum Flavor
Curing is an optional step that can enhance the flavor and extend the shelf life of acorn squash. To cure the squash, place them in a warm, dry area with good ventilation for about ten days. The curing process allows the squash skin to harden and any minor injuries to heal. Cured squash generally have a sweeter flavor and a longer storage life.
Choosing a Proper Storage Area
To store harvested acorn squash, select a cool, dry, and well-ventilated area. The storage location should have a temperature range of 50 to 55 degrees Fahrenheit (10 to 13 degrees Celsius). Avoid areas that are exposed to direct sunlight, as this can cause premature ripening and spoilage. Basements, cellars, or cool closet spaces are ideal for storing squash.
Providing the Right Storage Conditions
Creating the proper storage conditions is crucial for ensuring the longevity of your harvested acorn squash. Arrange the squash in a single layer, ensuring they do not touch each other. This prevents any potential spread of rot or mold from one squash to another. Additionally, maintain good air circulation around the squash by leaving a small gap between each piece.
Monitoring for Signs of Decay or Spoilage
During the storage period, it’s important to regularly check on your acorn squash for any signs of decay or spoilage. Inspect the squash for soft spots, mold growth, or unusual odors. If you notice any signs of deterioration, remove the affected squash immediately to prevent the spread of decay to the rest of the stored squash.
Using Unripe or Damaged Squash
Determining Usability
While it’s best to harvest acorn squash when fully mature, there may be instances where you come across unripe or damaged squash. It’s essential to determine their usability before deciding whether to discard or use them. Unripe squash can be left to ripen indoors, while damaged squash can still be consumed or used in specific recipes.
Harvesting Unripe Squash
If you happen to harvest acorn squash that is not yet fully matured, you still have options. Bring the unripe squash indoors and place them in a warm and sunny spot. Unripe squash will continue to ripen over time, although their flavor may not be as developed as fully matured ones. Keep an eye on them, and once they reach an appropriate level of ripeness, you can incorporate them into your favorite recipes.
Cooking or Consuming Damaged Squash
When you encounter damaged acorn squash, it’s essential to assess the extent of the damage. Minor damage or blemishes can often be cut away, and the rest of the squash can still be used. For instance, if there is a small bruise or soft spot, simply cut it away before cooking or preparing the squash. Damaged squash can be utilized in soups, stews, or even roasted dishes, as long as the unaffected portion is safe for consumption.
Increasing Yield and Quality
Proper Planting and Maintenance
To maximize both the yield and quality of your acorn squash harvest, pay attention to proper planting and ongoing maintenance. Select a suitable location in your garden that receives ample sunlight and has well-draining soil. Follow the recommended spacing guidelines for your specific squash variety to ensure each plant has sufficient room to grow.
Optimal Nutrient and Watering
Providing the right nutrients and proper watering schedule is essential for the healthy growth of acorn squash plants. Before planting, enrich the soil with organic matter, such as compost or well-rotted manure. Additionally, regularly fertilize the plants using a balanced organic fertilizer according to the package instructions. Ensure your squash plants receive consistent moisture, but avoid overwatering, as this can lead to root rot.
Pruning and Promoting Airflow
Pruning acorn squash plants can help increase airflow and reduce the chances of disease and pest infestation. Regularly remove any excessive foliage or lateral vines that may be shading the main plant. This allows the leaves and fruits to dry quickly after rainfall or watering, minimizing the risk of fungal diseases. Proper airflow also promotes pollination and helps maintain healthy plant growth.
Protecting Against Pests and Diseases
Preventing and managing pests and diseases is crucial for a successful acorn squash harvest. Use organic pest control methods, such as hand picking insects or using natural insecticides, to keep pests at bay. Monitor the plants regularly for any signs of pest infestations and take appropriate action if necessary. Additionally, keep the garden clean and free of debris to reduce the risk of diseases.
Storage and Shelf Life
Estimating Shelf Life
When properly stored, harvested acorn squash can have a shelf life of up to three months. However, the exact shelf life will depend on various factors, including the initial quality of the squash, the storage conditions, and individual variations among squash varieties. Regularly check on your stored squash and use the ones that show signs of aging or deterioration first.
Freezing for Long-Term Storage
If you have a surplus of acorn squash or would like to extend its storage life further, freezing is a great option. Start by washing the squash thoroughly and cutting it into desired pieces or cubes. Blanch the pieces in boiling water for a few minutes, then place them in an ice bath to cool quickly. Once cooled, drain the excess water and store the blanched squash in airtight freezer bags or containers.
Canning or Preserving Techniques
An alternative method for long-term storage of acorn squash is canning or preserving. Canning involves packing the squash into sterilized jars and processing them using a pressure canner or water bath canner. Follow a trusted canning recipe and ensure proper canning procedures to maintain food safety. Preserving techniques like pickling or making squash preserves can also be employed to enjoy the flavors of acorn squash throughout the year.
Making Squash Puree or Soups
If you have a bountiful harvest of acorn squash, consider making squash puree or soups for future use. Cook and puree the squash, then portion it into freezer-safe containers or bags for easy use in various recipes. Squash puree can be incorporated into baked goods, risottos, or even as a baby food option. Similarly, squash soups make for a comforting and nutritious meal during colder months.
Ensuring Safe Consumption
When utilizing your stored acorn squash for cooking or consumption, it’s important to ensure its safety. Thaw frozen squash properly before using it in recipes or cooking. If using canned squash, check the seal on the jar before opening and inspect the contents for any signs of spoilage. Always follow proper food safety practices and discard any squash that shows signs of mold, off-putting odors, or unusual texture.
Different Recipes and Uses
Roasted Acorn Squash
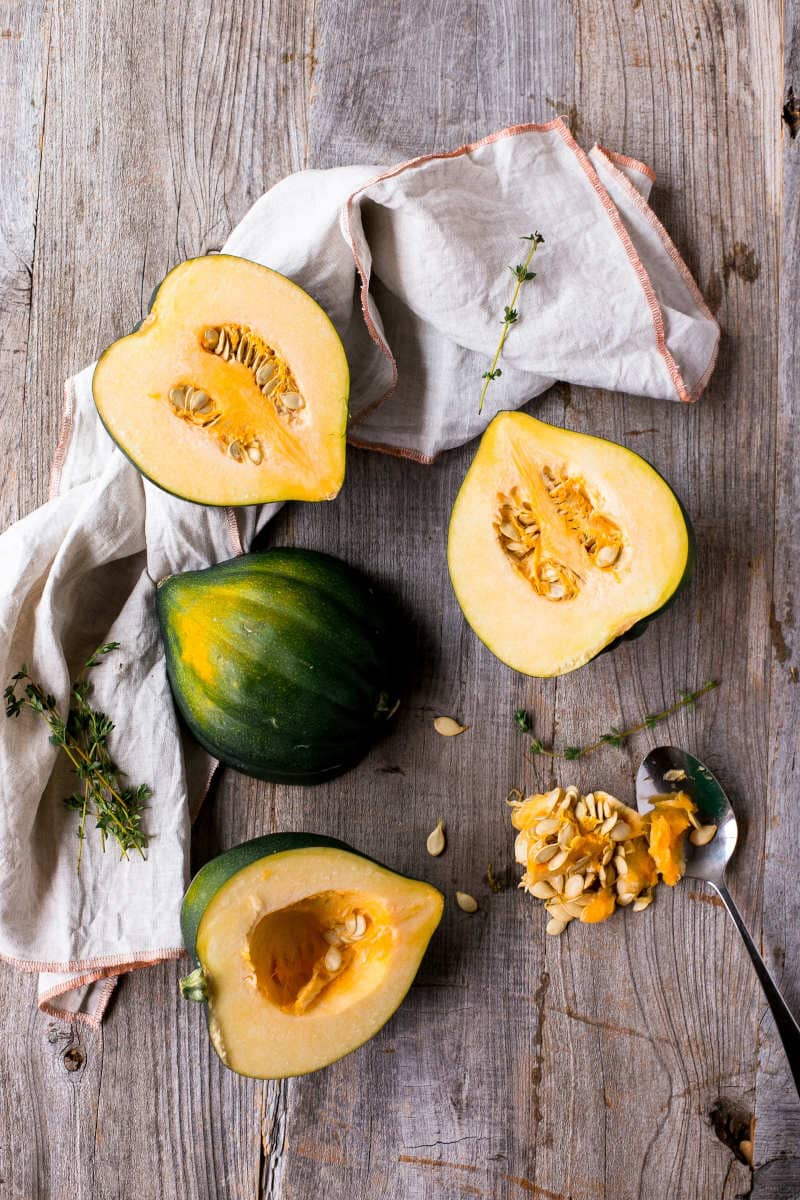
Roasting acorn squash is a popular way to bring out its natural sweetness and enhance its flavor. Simply cut the squash in half, scoop out the seeds, and season it with your favorite herbs and spices. Place the halves in an oven and roast until tender and caramelized. Roasted acorn squash makes a delicious side dish or can be used as a stuffing for a hearty meal.
Stuffed Acorn Squash
Stuffed acorn squash is a versatile dish that can be customized to suit various tastes and dietary preferences. Cut the squash in half, remove the seeds, and create a hollow cavity in each half. Fill the cavity with a flavorful mixture of grains, vegetables, and proteins. Bake the stuffed squash until tender, and enjoy a nutritious and visually appealing meal.
Acorn Squash Soup
Acorn squash lends itself perfectly to creating rich and creamy soups. Roast the squash for added flavor, then puree it with vegetable or chicken broth until smooth. Customize your soup with additional ingredients such as onions, garlic, or spices to suit your taste. Serve the soup warm and garnish with herbs or a drizzle of cream for a comforting meal.
Squash-based Desserts
Don’t limit your acorn squash to savory dishes – it can also be used to create delicious desserts. Make use of the natural sweetness of acorn squash by incorporating it into pies, tarts, or even cakes. Create a squash-based custard or blend the cooked squash into a smooth filling. The unique flavor and velvety texture of acorn squash can add a delightful twist to traditional dessert recipes.
Common Issues and Troubleshooting
Premature Harvest
If you find yourself harvesting acorn squash that is not fully mature, you can still salvage the situation. Bring the harvested squash indoors, and place them in a warm and sunny spot to allow them to ripen further. While the flavor might not be as developed as fully mature squash, you can still enjoy them once they reach an appropriate level of ripeness.
Overripe or Rotten Squash
If you come across overripe or rotten acorn squash, it’s best to discard them to prevent the spread of decay to other squash. Regularly inspect your stored squash for any signs of spoilage, such as mold growth, foul odor, or extreme softness. Promptly remove any affected squash and properly dispose of them. This proactive approach will help maintain the quality of the remaining stored squash.
Pest Infestation
To address pest infestations in acorn squash plants, it’s important to identify the specific pests and take appropriate action accordingly. Handpicking larger insects can help control their populations, while natural insecticides or organic pest control methods can be used for smaller pests. Regularly monitor your plants for signs of infestation and promptly address any issues to prevent significant damage.
Disease or Mold Development
Fungal diseases and mold can affect acorn squash plants, leading to decreased yield and quality. To prevent disease development, ensure proper spacing between plants to promote airflow. Avoid overhead watering, as excess moisture can create a favorable environment for fungal growth. If disease or mold does occur, promptly remove affected plant parts and consider applying appropriate organic fungicides.
Stunted Growth or Low Yield
If your acorn squash plants are experiencing stunted growth or yielding lower than expected, nutrient deficiencies or inadequate pollination may be the cause. Check the soil nutrient levels and provide any necessary amendments to correct deficiencies. Consider hand pollination techniques if you notice a lack of pollinators in your garden. Additionally, ensure your plants receive adequate water and sunlight to support healthy growth.
Conclusion
Harvesting acorn squash can be a rewarding experience, providing you with a bountiful harvest of delicious and nutritious squash. By determining the right time to harvest, using proper tools and techniques, and ensuring appropriate storage, you can enjoy the flavors of acorn squash well beyond the harvest season. Experiment with various recipes and storage methods to make the most of your acorn squash harvest, and don’t be afraid to embrace the versatility and culinary potential of this delightful vegetable. Happy harvesting!
