In this article, you will learn a simple yet effective method of pitting cherries using a straw. Discover a handy technique that will save you time and effort, allowing you to enjoy the deliciousness of fresh cherries without the hassle of removing their pits. This innovative approach is not only practical, but also fun to try, making the entire process of pitting cherries an enjoyable culinary adventure. So, let’s explore this clever trick and unlock the secret to effortlessly enjoying your favorite cherry delicacies.

Preparing the cherries
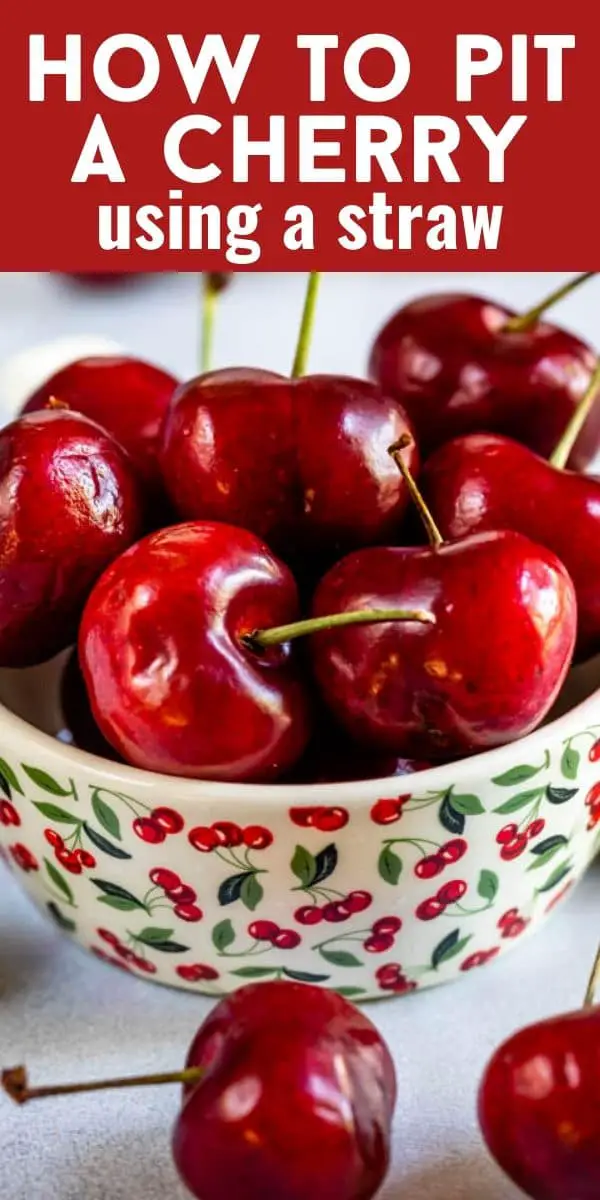
Wash the cherries
Before you begin the process of pitting cherries with a straw, it is important to properly wash them. Rinse the cherries under cold running water, gently rubbing them to remove any dirt or residue. This is an essential step to ensure that the cherries are clean and free from any contaminants that could affect their taste or texture.
Remove the stems
Once the cherries are washed, the next step is to remove the stems. Using your fingers or a small knife, carefully detach the stems from each cherry. Be sure to work slowly and accurately to avoid any unnecessary damage to the fruit. Removing the stems will make it easier to insert the straw and extract the pit.
Sort the cherries
After removing the stems, it is a good practice to sort the cherries. Discard any cherries that appear to be overripe, bruised, or have any visible signs of decay. Sorting the cherries will ensure that you are working with only the best cherries for pitting. It will also help you identify any damaged or spoiled cherries that should not be consumed.
Choosing a suitable straw
Select a sturdy straw
When it comes to pitting cherries, selecting a sturdy straw is crucial. Look for a straw that is made of a durable material, such as plastic or stainless steel, to ensure that it can withstand the pressure required to remove the pit. Avoid using paper or flimsy straws, as they may not be strong enough for the task.
Consider the diameter
In addition to the strength, it is important to consider the diameter of the straw. The straw should be wide enough to accommodate the size of the cherry pit. Ideally, choose a straw with a diameter slightly larger than the average cherry pit. This will allow the straw to easily slide through the cherry, making the pitting process more efficient.
Avoid bendable or thin straws
While bendable or thin straws may seem convenient, they are not suitable for pitting cherries. These types of straws are more likely to bend or break under pressure, making it difficult to successfully extract the pit. It is best to opt for a rigid and thicker straw that can withstand the necessary force.

Positioning the cherry
Hold the cherry securely
Before inserting the straw, it is important to hold the cherry securely. This will prevent the cherry from rolling or slipping, ensuring that the straw can be inserted accurately. Hold the cherry between your thumb and forefinger, applying gentle pressure to keep it steady throughout the pitting process.
Place the cherry on a flat surface
To further stabilize the cherry, place it on a flat surface with the stem end facing up. This will provide a stable base for the cherry, making it easier to insert the straw accurately. A cutting board or a clean countertop can serve as an ideal surface for this purpose. Positioning the cherry properly will enhance precision and prevent any accidental slips during the pitting process.
Inserting the straw
Insert the straw at the stem end
Once the cherry is securely positioned, it is time to insert the straw. Take the selected straw and insert it into the cherry at the stem end. Aim to penetrate the cherry vertically, going straight through the center. This will ensure that the pit can be easily extracted without causing unnecessary damage to the fruit.
Push the straw through the cherry
With the straw inserted into the cherry, gently push it through until you reach the opposite end. Apply consistent and steady pressure to ensure that the straw goes all the way through. This will effectively push the pit out of the cherry and into the straw, facilitating its removal.

Removing the pit
Push the pit out of the cherry
To remove the pit from the cherry, firmly hold the cherry with one hand and use the other hand to push the pit out. Apply gentle pressure on the bottom end of the straw while pushing with your thumb or forefinger. This should force the pit out of the cherry and into the straw.
Use caution to avoid squishing the cherry
While pushing the pit out, it is important to exercise caution to avoid squishing the cherry. Applying too much pressure or using excessive force can result in a crushed or deformed cherry. Take your time and push gently to ensure a clean extraction without causing any damage to the fruit.
Repeating the process
Repeat with each cherry
Continue the pitting process with each cherry, following the same steps outlined above. Wash, remove the stems, sort, and then proceed to insert the straw, push it through, and extract the pit. Take your time and maintain a consistent rhythm to ensure that each cherry is pitted accurately and efficiently.
Empty the pit into a separate container
As you remove the pits from each cherry, it is a good practice to empty them into a separate container. This will help keep your workspace clean and organized. Additionally, collecting the pits separately can be convenient if you plan on reusing them for composting, gardening, or any other purpose.

Alternative methods
Using a cherry pitter
While pitting cherries with a straw is a simple and effective method, there are alternative tools available, such as a cherry pitter. A cherry pitter is specifically designed to remove the pits from cherries quickly and efficiently. It typically consists of a small device with a handle and a mechanism that grips and extracts the pit. If you frequently pit cherries or prefer a dedicated tool for the task, investing in a cherry pitter may be worth considering.
Using a knife to cut around the pit
Another alternative method involves using a knife to cut around the pit of the cherry. This method is particularly useful if you do not have a straw or cherry pitter on hand. To use this method, simply hold the cherry in one hand and carefully insert a small, sharp knife into the cherry alongside the pit. Gently cut around the pit in a circular motion until you reach the starting point. Then, carefully twist the fruit halves in opposite directions to separate them and remove the pit.
Tips for success
Choose ripe cherries
When pitting cherries, it is essential to select ripe cherries for the best results. Ripe cherries are easier to pit and typically have a more vibrant flavor. Look for cherries that are firm, plump, and have a glossy skin. Avoid cherries that are overly soft, dull, or have any signs of mold or rot.
Use a twisting motion if needed
In some cases, the pit may not come out easily with a straight push. If you encounter any resistance, use a gentle twisting motion to help release the pit. Twisting the straw slightly while applying pressure can dislodge the pit from its position, making it easier to remove.
Gently squeeze the cherry to remove any remaining pit
After extracting the pit, it is advisable to give the cherry a gentle squeeze to ensure that no remnants of the pit remain inside. This will also help ensure that the cherry is free from any undesirable hardness or texture. Squeezing the cherry softly will help verify that it is fully pitted and ready for consumption or further use.

Cleaning up
Dispose of the pits properly
Once you have finished pitting the cherries, dispose of the pits properly. If you plan on composting, the pits can be added to your compost bin or pile. Alternatively, place them in a sealed bag or container and dispose of them according to your local waste disposal guidelines. Proper disposal of the pits will help maintain cleanliness and avoid any potential issues related to waste management.
Clean the straw thoroughly
After each use, it is important to clean the straw thoroughly. Rinse it under running water, using a small brush or pipe cleaner to remove any residual fruit pulp or juice. If necessary, use mild dish soap to ensure that the straw is thoroughly clean. Rinse it well and leave it to air dry before storing it for future use.
Wash your hands
Lastly, remember to wash your hands after handling the cherries and completing the pitting process. This will help eliminate any potential contamination and ensure personal hygiene. Wash your hands with warm water and soap, scrubbing them thoroughly for at least 20 seconds. Dry your hands with a clean towel or paper towel, and you are ready to enjoy your freshly pitted cherries.
In conclusion, pitting cherries with a straw is a simple and practical method that allows you to enjoy the delicious fruit without the hassle of biting into and removing the pits. By following the steps outlined in this article, you can easily prepare cherries for various culinary creations, such as pies, tarts, jams, or simply enjoy them as a healthy snack. With proper preparation, the right tools, and a little practice, you’ll become adept at pitting cherries like a pro. Happy pitting!


