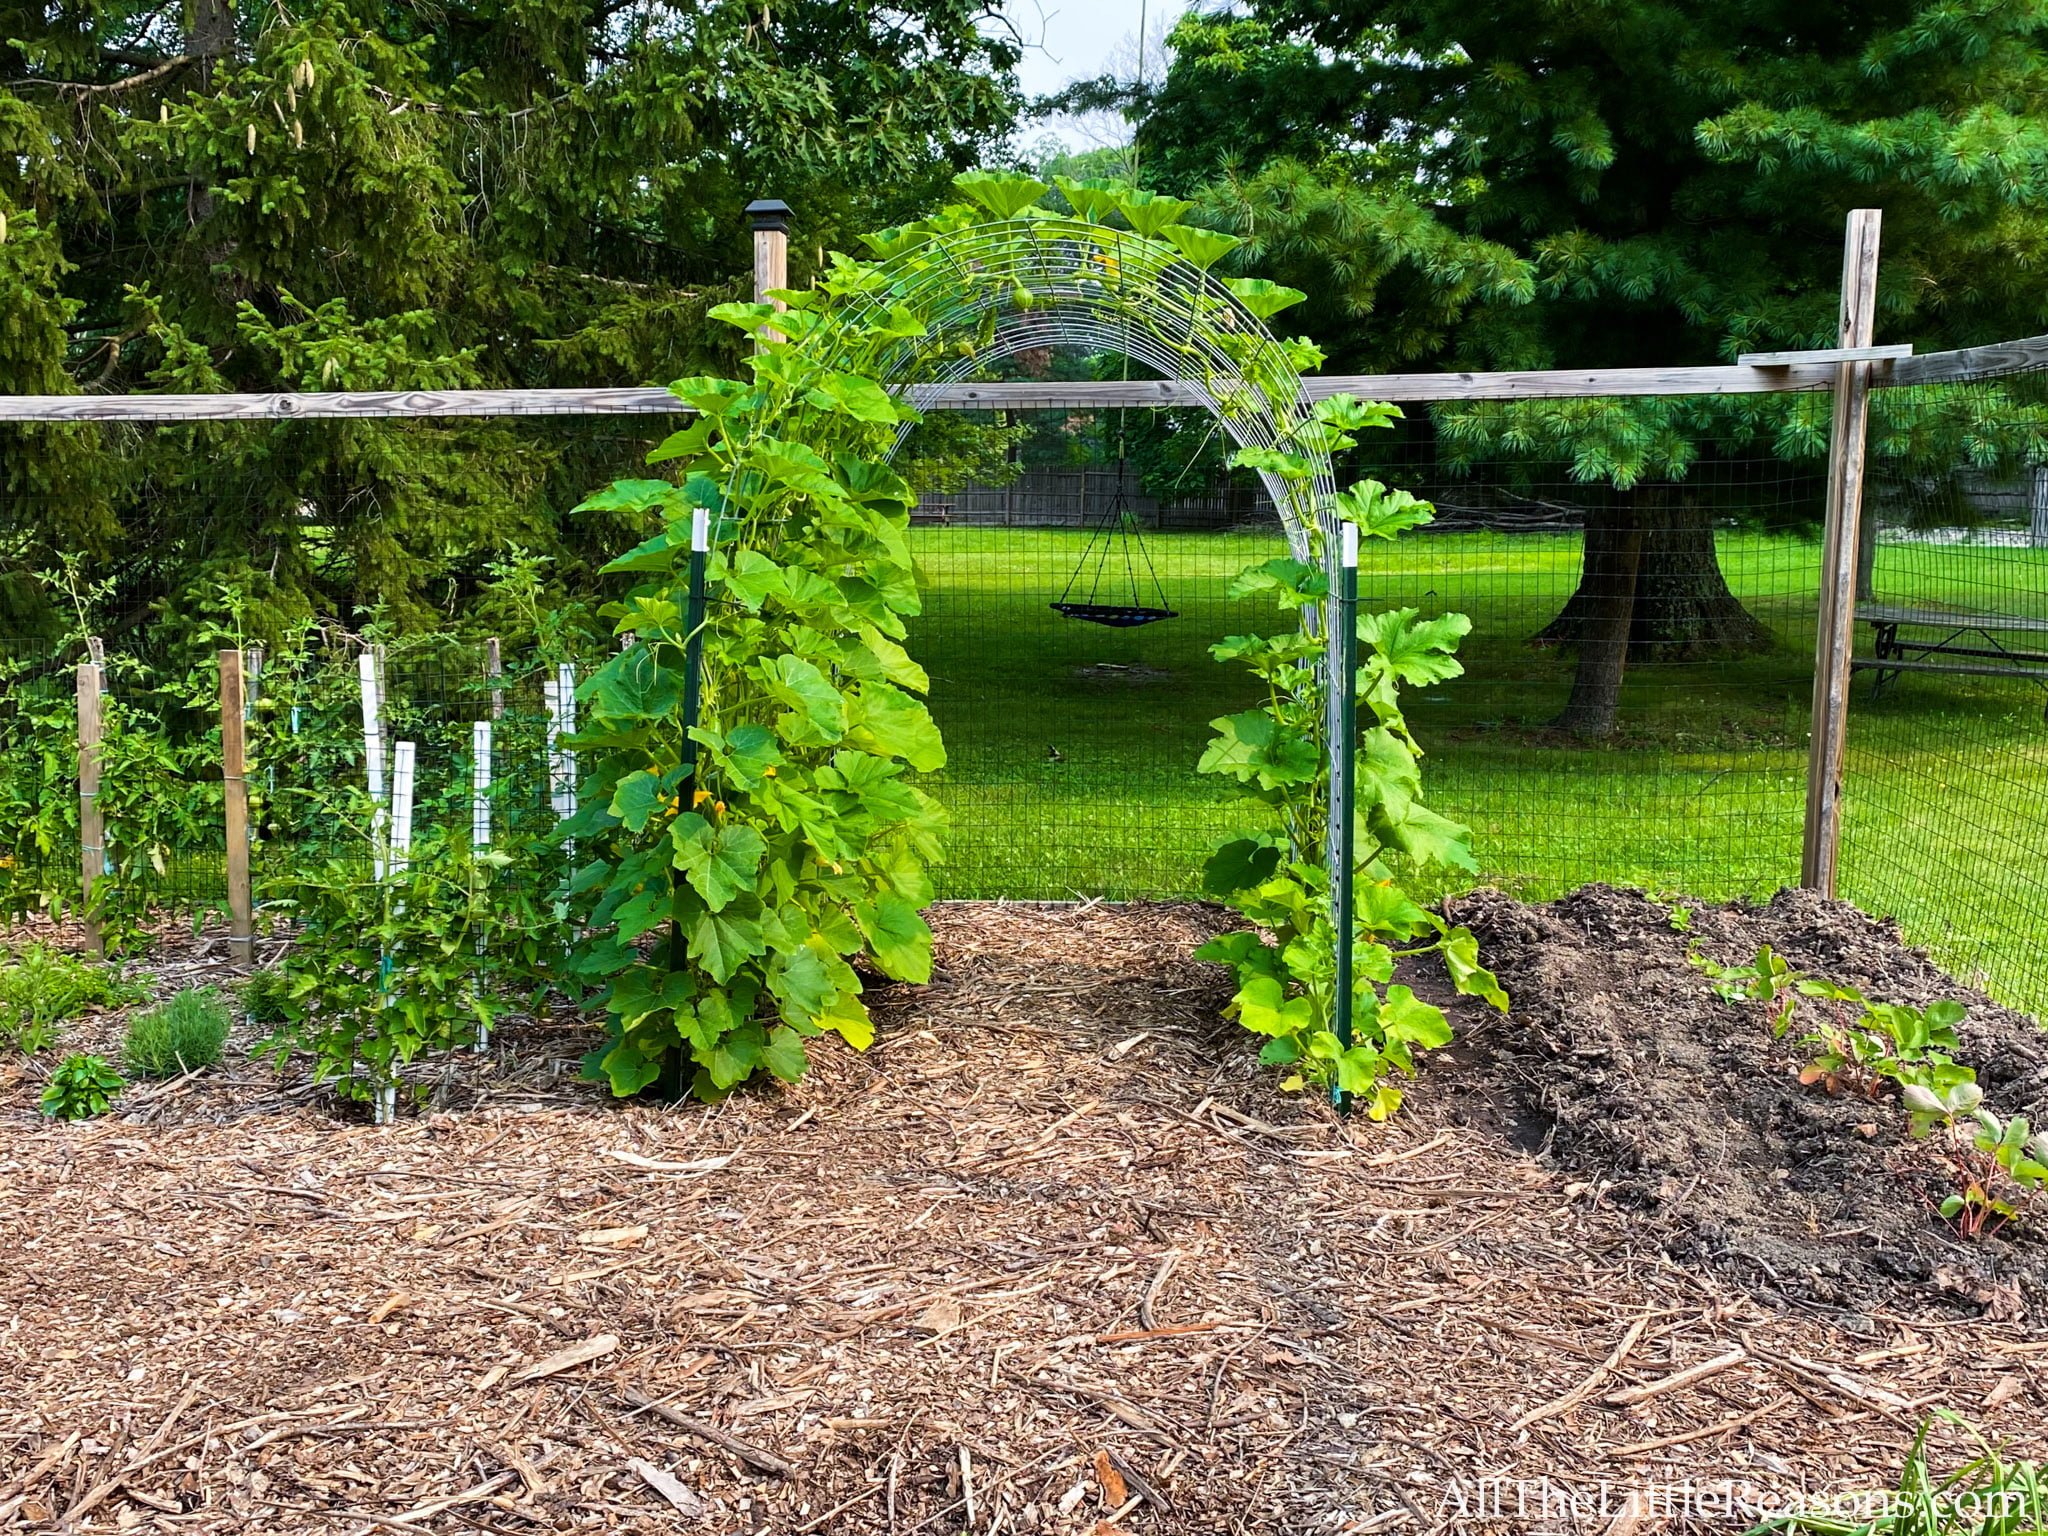
Do you love the idea of growing your own acorn squash but aren’t quite sure about the best spacing recommendations? Look no further! In this article, we will provide you with all the information you need to know about how far apart to plant your acorn squash. By following these simple guidelines, you’ll be on your way to a bountiful harvest of delicious, homegrown acorn squash in no time! So grab your gardening gloves and let’s get started.
Spacing Recommendations for Planting Acorn Squash
Acorn squash is a delicious and nutritious vegetable that is easy to grow in your home garden. To ensure a successful harvest, it is important to properly space your plants. In this article, we will explore the recommended spacing for planting acorn squash, as well as other essential tips for growing this delightful vegetable.
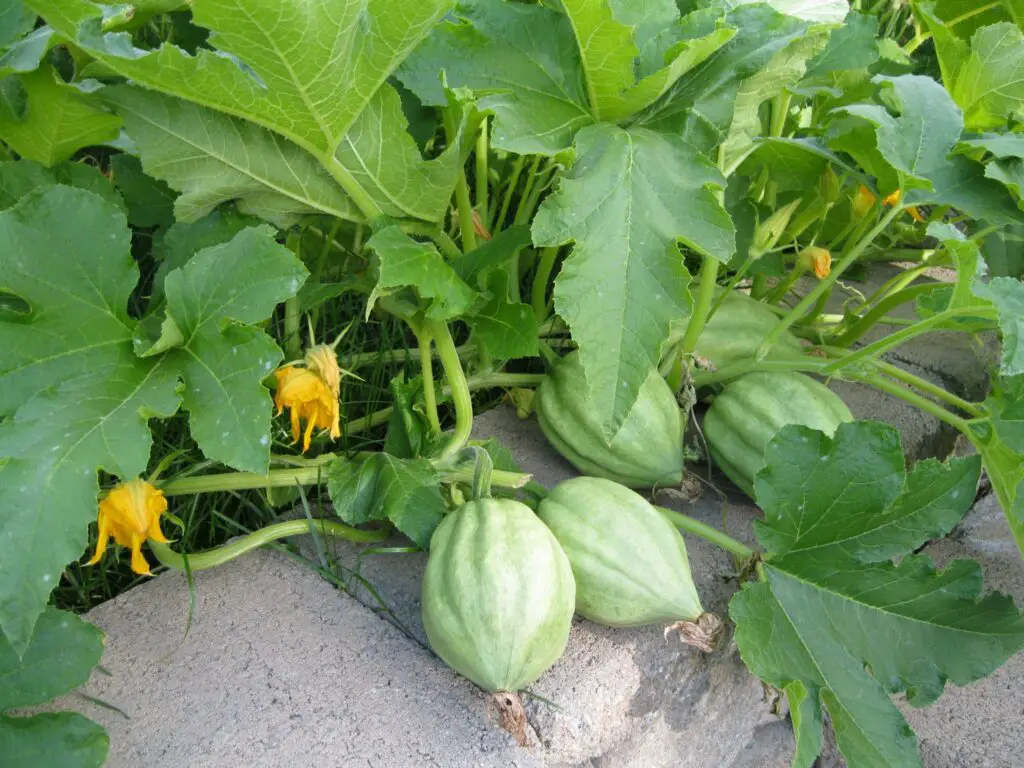
1. Soil Preparation
Before planting your acorn squash, it is crucial to prepare the soil properly. Acorn squash thrives in well-draining soil that is rich in organic matter. Start by clearing the area of any weeds or debris, and then loosen the soil with a garden fork or tiller. Add compost or well-rotted manure to enrich the soil and improve its fertility. Finally, make sure the soil’s pH level is between 6.0 and 7.0, as acorn squash prefers slightly acidic to neutral soil.
2. Planting Location
Acorn squash plants require full sun to thrive, so it is important to choose a planting location that receives at least 6 to 8 hours of direct sunlight daily. Ensure that the area is protected from strong winds, as these can damage the tender vines. It is also advisable to plant acorn squash in a spot where the soil is slightly elevated, as this helps with drainage and prevents waterlogging.

3. Seed Selection
Choosing the right seeds is essential for a successful acorn squash harvest. Look for high-quality seeds from reputable sellers or consider saving seeds from a previous crop if you have had success with acorn squash in the past. Ensure that the seeds are fresh, viable, and disease-free by checking the expiration date on the seed packet or conducting a germination test.
4. Preparing the Seeds
Before planting, it is advisable to prepare the acorn squash seeds properly. Start by soaking the seeds in warm water for a few hours or overnight to promote hydration and improve germination rates. After soaking, gently pat them dry with a paper towel. This process helps to kick-start the germination process and prepares the seeds for planting.
5. Direct Seeding
One popular method of planting acorn squash is through direct seeding. Direct seeding involves sowing the seeds directly into the garden bed where they will grow. To ensure proper spacing, plant two to three seeds per planting hole, and space each hole approximately 18 to 24 inches apart. Once the seedlings emerge and establish themselves, thin them, keeping only the healthiest plant in each hole.
6. Transplanting Seedlings
Another option for planting acorn squash is to start the seeds indoors and later transplant the seedlings into the garden. This method allows for greater control over the growing conditions, but it requires additional care and attention. When transplanting seedlings, make sure to space them 18 to 24 inches apart to allow for adequate air circulation and growth. Avoid overcrowding as this can lead to poor fruit development and an increased risk of disease.

7. Spacing Between Plants
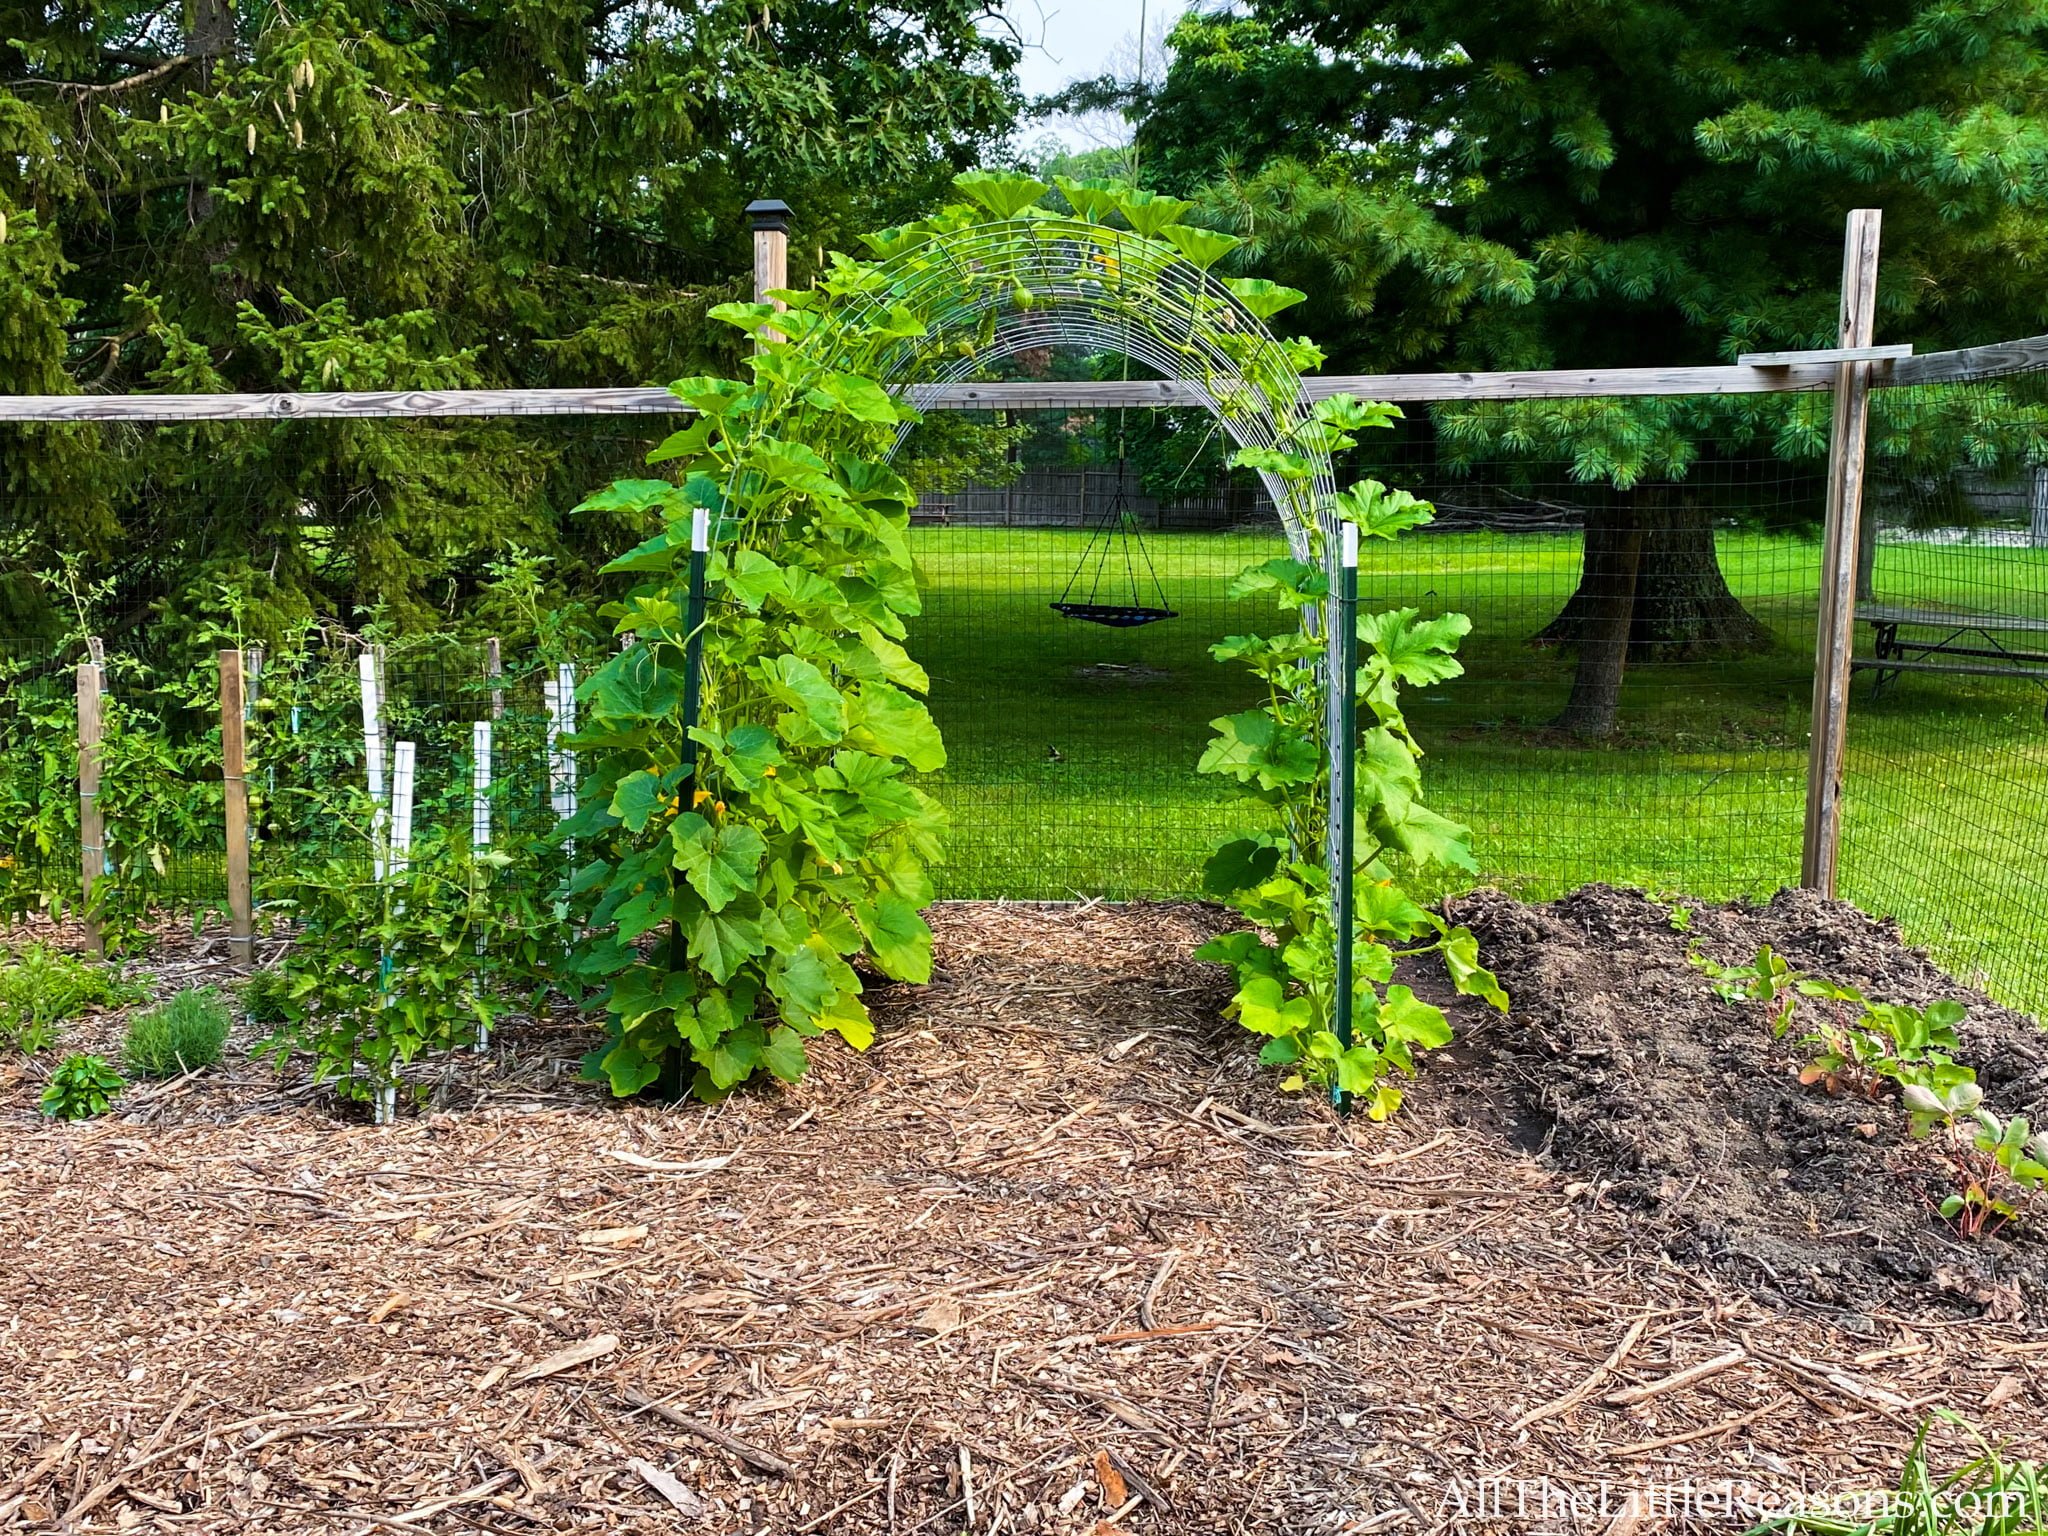
Proper spacing between acorn squash plants is crucial for healthy growth and optimal production. Each plant should have enough room to spread its vines and leaves without crowding or shading neighboring plants. For direct seeding, maintain a spacing of 18 to 24 inches between each plant. If transplanting, ensure that the seedlings are spaced accordingly as well. This spacing allows for proper air circulation, reduces the risk of disease, and provides each plant with ample access to sunlight and nutrients.
8. Spacing Between Rows
In addition to spacing between plants, it is important to consider the spacing between rows. This ensures ease of access for watering, weeding, and harvesting. Leave a gap of approximately 4 to 6 feet between each row of acorn squash plants. This spacing provides enough room for you to navigate between the rows comfortably, allowing for efficient care and maintenance of your plants.
9. Companion Planting
Companion planting is a gardening technique that involves planting compatible crops together to benefit each other. When it comes to acorn squash, consider planting it alongside companion plants that help deter pests, provide shade, or improve soil health. Good companion plants for acorn squash include marigolds, nasturtiums, and radishes. Marigolds repel insects, while nasturtiums act as a natural deterrent for squash bugs. Radishes can help break up compacted soil and attract beneficial insects. Additionally, avoid planting acorn squash near other members of the squash family to prevent cross-pollination and maintain the purity of the fruit.
10. Maintenance and Care
Once your acorn squash plants are properly spaced and planted, it is important to provide them with the necessary care to thrive. Water your plants regularly, keeping the soil consistently moist but not waterlogged. Mulching around the base of the plants can help retain moisture and control weed growth. Fertilize sparingly, using a balanced organic fertilizer, as excessive nitrogen can lead to lush foliage but poor fruit development. Be sure to monitor for common pests and diseases such as aphids, squash bugs, and powdery mildew. Promptly take action if any issues arise to prevent further damage.
By following these spacing recommendations for planting acorn squash, you are setting yourself up for a bountiful harvest of this delicious and versatile vegetable. Remember to provide adequate spacing between the plants and rows, choose the right location, and care for your plants well. With a little time and effort, you will be rewarded with an abundance of savory acorn squash to enjoy and share with friends and family. Happy planting!
