Are you tired of dealing with the uncomfortable burping that comes with eating regular cucumbers? Look no further! In this ultimate guide, we will show you exactly how to plant burpless cucumbers so you can enjoy their crisp and refreshing taste without any unwanted side effects. From selecting the right seeds to providing optimal growing conditions, we’ve got you covered. So roll up your sleeves and get ready to transform your garden into a haven for delicious and burp-free cucumbers.

Choosing the Right Location
Finding a Sunny Spot
When choosing a location to plant your burpless cucumbers, it is important to find a spot that receives full sun. Cucumbers thrive in warm and sunny conditions, so make sure the area you choose gets at least 6-8 hours of direct sunlight each day. This will ensure that your cucumber plants receive the energy they need to grow and produce abundant fruits.
Checking Soil Conditions
Before planting your burpless cucumbers, it is essential to check the soil conditions in your chosen location. Cucumbers prefer well-draining soil that is rich in organic matter. Test the soil pH to ensure it falls within the optimal range of 6.0-7.0. Additionally, conduct a soil moisture test to see if the soil retains water without becoming waterlogged. If the soil is heavy or compacted, consider amending it with organic matter such as compost or well-rotted manure to improve drainage and fertility.
Preparing the Soil
To prepare the soil for planting, start by removing any weeds or vegetation from the area. This will prevent competition for nutrients and allow your cucumber plants to thrive. Once the area is cleared, loosen the soil with a garden fork or tiller to a depth of at least 12 inches. Incorporate organic matter such as compost or well-rotted manure into the soil to improve its structure and fertility. This will provide a healthy growing environment for your burpless cucumbers.
Selecting and Preparing Seeds
Purchasing Quality Seeds
When selecting seeds for your burpless cucumbers, it is important to choose quality seeds from a reputable source. Look for seeds that are specifically labeled as “burpless” to ensure you get the variety you desire. Check the seed packet for information on the cultivar, days to maturity, and any specific growing requirements. It is also a good idea to opt for seeds that are certified organic to avoid any potential exposure to harmful chemicals.
Pre-soaking the Seeds
Before planting your burpless cucumber seeds, you can give them a head start by pre-soaking them. This process helps to soften the seed coat and speed up germination. Simply place the seeds in a container filled with warm water and let them soak for 24 hours. After soaking, drain the water and plant the seeds according to the instructions on the seed packet.

Starting Seeds Indoors
Materials Required
To start your burpless cucumber seeds indoors, you will need a few materials. These include seed trays or pots, a sterile seed-starting mix, a watering can or spray bottle, and plastic covers or domes to create a mini greenhouse effect. You may also need grow lights if you do not have access to sufficient natural light.
Planting the Seeds
Start by filling the seed trays or pots with a sterile seed-starting mix. Moisten the mix with water until it is evenly damp, but not waterlogged. Make small holes or furrows in the mix according to the recommended seed depth on the packet. Place one or two cucumber seeds in each hole and cover them with the seed-starting mix. Gently press the mix down to ensure good seed-to-soil contact.
Providing Optimal Conditions
Place the planted seed trays or pots in a warm location where they will receive indirect sunlight or under grow lights. Keep the soil consistently moist but not soaked, as overly wet conditions can lead to rot and fungal diseases. If using plastic covers or domes, make sure to remove them once the seedlings emerge to prevent excessive humidity and promote proper air circulation. Rotate the trays or pots regularly to ensure even growth and prevent the seedlings from becoming leggy.
Direct Sowing in the Garden
Ideal Time to Sow
If you prefer to directly sow your burpless cucumber seeds in the garden, it is important to do so at the right time. Cucumbers are warm-season crops that do not tolerate frost, so wait until all danger of frost has passed before planting. Soil temperatures should be consistently above 60°F (15°C) for optimal germination and growth. In most regions, this means sowing cucumbers in late spring or early summer.
Preparing the Planting Area
Prepare the planting area by following the same soil preparation steps mentioned earlier in the article. Clear any weeds or vegetation and loosen the soil to a depth of 12 inches. Consider creating mounds or raised beds to further improve drainage, especially if your soil tends to be heavy or clay-based. Space the mounds or beds at least 2-3 feet apart to provide ample room for the cucumber plants to grow and spread.
Sowing the Seeds
When sowing the burpless cucumber seeds directly in the garden, follow the recommended seed depth mentioned on the packet. Usually, this is around 1 inch deep. Plant two to three seeds per mound or bed and space them at least 6-12 inches apart. This will allow for proper airflow and prevent overcrowding. Once the seeds are planted, cover them with soil and gently press down to ensure good soil contact.

Watering and Irrigation
Proper Watering Techniques
Proper watering is crucial for the success of your burpless cucumber plants. Cucumbers have shallow roots, so it is important to water them deeply but infrequently. This encourages the roots to grow deeper into the soil and become more resilient to drought. When watering, aim to wet the soil to a depth of at least 6 inches. Avoid wetting the foliage to prevent fungal diseases, and water early in the morning to allow the leaves to dry before nighttime.
Watering Schedule
Establishing a regular watering schedule is important for maintaining consistent moisture levels in the soil. Water your burpless cucumber plants deeply once or twice a week, depending on the weather conditions and soil moisture levels. Adjust the frequency of watering based on factors such as rainfall, temperature, and the moisture retention capacity of your soil. Pay attention to the soil moisture and use your finger to check if it feels dry before watering again.
Mulching to Retain Moisture
To help retain moisture in the soil and reduce water evaporation, consider applying a layer of organic mulch around your burpless cucumber plants. Mulch acts as insulation, preserving soil moisture and preventing water runoff. Spread a 2-3 inch layer of materials such as straw, shredded leaves, or compost around the base of the plants. This will not only help retain moisture but also suppress weed growth and regulate soil temperature.
Providing Support
Choosing the Right Support Structure
Burpless cucumber plants are vigorous climbers that benefit from vertical support structures. There are various options to choose from, including trellises, stakes, and cages. When selecting a support structure, consider the space available in your garden, the number of cucumber plants you are growing, and how much weight the structure can bear. Ideally, the support should be sturdy, tall enough to accommodate the vines as they grow, and have evenly spaced rungs or openings for the tendrils to grab onto.
Installing Supports
Once you have chosen the right support structure for your burpless cucumbers, it is time to install them in the garden. Place the supports in the ground before or shortly after planting the cucumber seedlings to avoid damaging the roots. Ensure the supports are securely anchored and positioned in a way that allows for easy access and harvesting. As the plants grow, gently guide the vines towards the support structure and loosely tie them using soft garden twine, allowing room for expansion.

Pruning and Training
Removing Lateral Shoots
Burpless cucumber plants tend to produce lateral shoots or suckers that can compete for nutrients and reduce overall productivity. To maintain a healthier and more productive plant, it is recommended to remove these lateral shoots regularly. When the vines are about 12-18 inches long, identify the lateral shoots emerging from the leaf nodes and carefully pinch them off using your fingers or sharp pruners. This directs the plant’s energy towards fruit development and encourages better air circulation.
Training the Vines
Training the cucumber vines as they grow can help improve productivity and reduce the risk of diseases. As the vines reach the support structure, gently guide them along the rungs or openings, encouraging them to climb vertically. Avoid twisting or bending the vines too forcefully, as this can cause damage. Regularly check the vines and adjust their positioning as needed, ensuring they are not overcrowded or overlapping. This will allow for better light penetration and airflow, reducing the chances of disease.
Fertilizing the Plants
Choosing the Right Fertilizer
To promote healthy growth and maximize fruit production, it is important to choose the right fertilizer for your burpless cucumber plants. Look for a balanced, water-soluble fertilizer specifically formulated for vegetables. Pay attention to the nitrogen (N), phosphorus (P), and potassium (K) content of the fertilizer, as well as any additional micronutrients. Aim for a fertilizer with an NPK ratio of around 10-10-10 or similar, as cucumbers require a well-balanced nutrient intake.
Applying Fertilizer
Apply the fertilizer to your burpless cucumber plants according to the instructions on the packaging. Generally, it is recommended to start fertilizing when the plants have established a strong root system and are actively growing. This is usually around two weeks after planting. Dissolve the fertilizer in water and apply it around the base of the plants, avoiding direct contact with the foliage. Water the plants immediately after fertilizing to help distribute the nutrients into the soil.

Pest and Disease Control
Identifying Common Pests and Diseases
To protect your burpless cucumber plants from pests and diseases, it is essential to be able to identify common culprits. Cucumber beetles, aphids, and powdery mildew are among the most common problems cucumber growers face. Cucumber beetles can cause damage to leaves and transmit diseases, aphids can distort new growth and spread viruses, while powdery mildew can affect foliage and reduce fruit quality. Regularly inspect your plants for any signs of infestation or disease, such as chewed leaves, yellowing, or white powdery patches.
Natural Remedies
When it comes to managing pests and diseases in an organic and environmentally friendly manner, natural remedies can be effective. For example, attracting beneficial insects such as ladybugs, lacewings, or parasitic wasps can help control aphid populations. Additionally, using companion planting techniques can help deter pests, such as planting marigolds or nasturtiums near cucumber plants to repel cucumber beetles. Neem oil, garlic spray, or insecticidal soap can also be used as organic pest control methods.
Chemical Control Options
In severe cases where natural remedies are not sufficient, chemical control options may be considered. However, it is important to use chemical pesticides responsibly and strictly according to the instructions provided. Always choose pesticides specifically labeled for use on cucumbers, and follow the recommended application rates and timing. Remember that chemical control should be a last resort and should be used sparingly to minimize potential harm to beneficial insects and the environment.
Harvesting and Storage
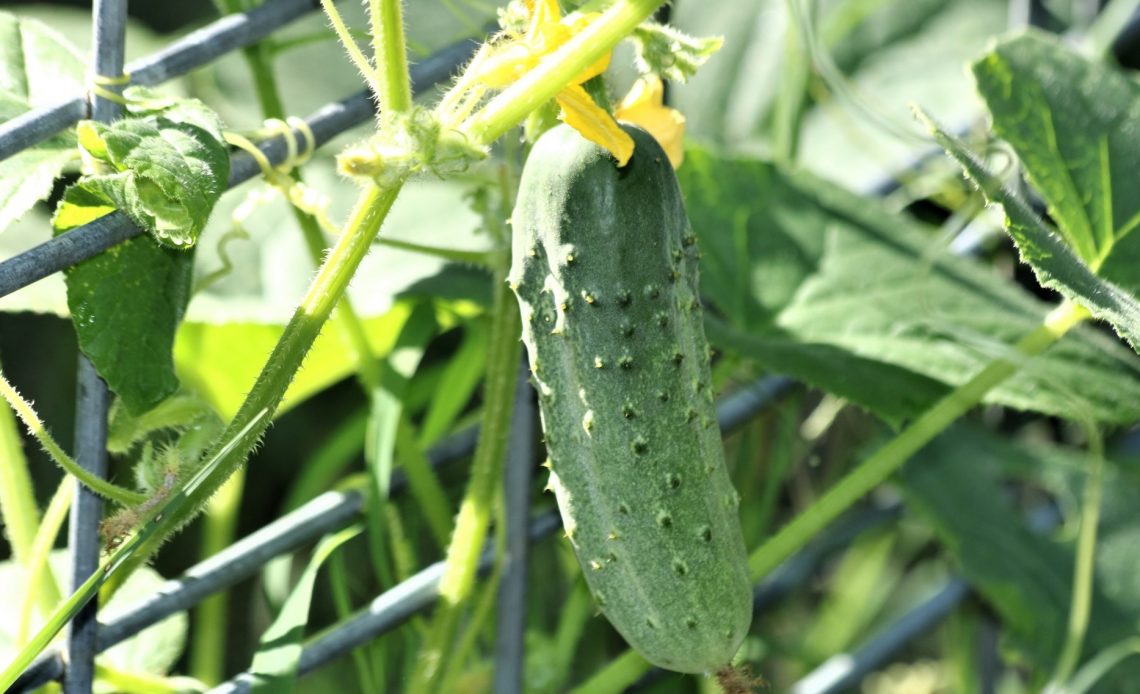
Determining Ripeness
Knowing when to harvest your burpless cucumbers is crucial to ensure optimal flavor and texture. Generally, cucumbers are ready for harvest when they reach a mature size and have a firm, bright green color. Burpless cucumbers are typically harvested when they are 6-8 inches long, though this may vary depending on the specific variety. Avoid letting the cucumbers become overripe, as they can become bitter and develop a tougher texture.
Harvesting Techniques
To harvest burpless cucumbers, use a sharp knife or garden shears to cut the stem about 1/4 inch above the fruit. Avoid twisting or pulling the cucumbers, as this can damage the vines and potentially affect future fruit production. Harvest regularly to encourage more fruiting and prevent the cucumbers from becoming overly mature. Place the harvested cucumbers in a basket or container, being careful not to bruise or damage them.
Storing and Preserving
Freshly harvested burpless cucumbers are best enjoyed immediately, as their flavor and crispness are at their peak. If you have an abundance of cucumbers, storing them properly will help extend their shelf life. Cucumbers can be stored in the refrigerator in a plastic bag or airtight container for up to one week. Avoid storing them near fruits that release ethylene gas, such as apples or tomatoes, as this can accelerate their ripening. If you have a surplus of cucumbers, consider preserving them by pickling or freezing for later use.
By following these comprehensive steps, you will be well-equipped to successfully plant, grow, and harvest your own delicious burpless cucumbers. Enjoy the process and reap the rewards of your efforts as you savor the fresh, crisp taste of homegrown cucumbers straight from your garden. Happy planting!


