Growing your own yellow squash can be a rewarding experience, but knowing when to pick them is key to ensuring their optimal flavor and texture. In this article, we will provide you with some valuable tips for harvesting yellow squash, so you can enjoy a bountiful harvest from your garden. Learn about the signs to look for, the best time of day to harvest, and how to properly handle and store your plump and delicious yellow squash. With these tips, you’ll be able to confidently pick your yellow squash at the perfect time, resulting in a mouthwatering addition to your next meal.
Tips for Harvesting Yellow Squash
Signs of Maturity
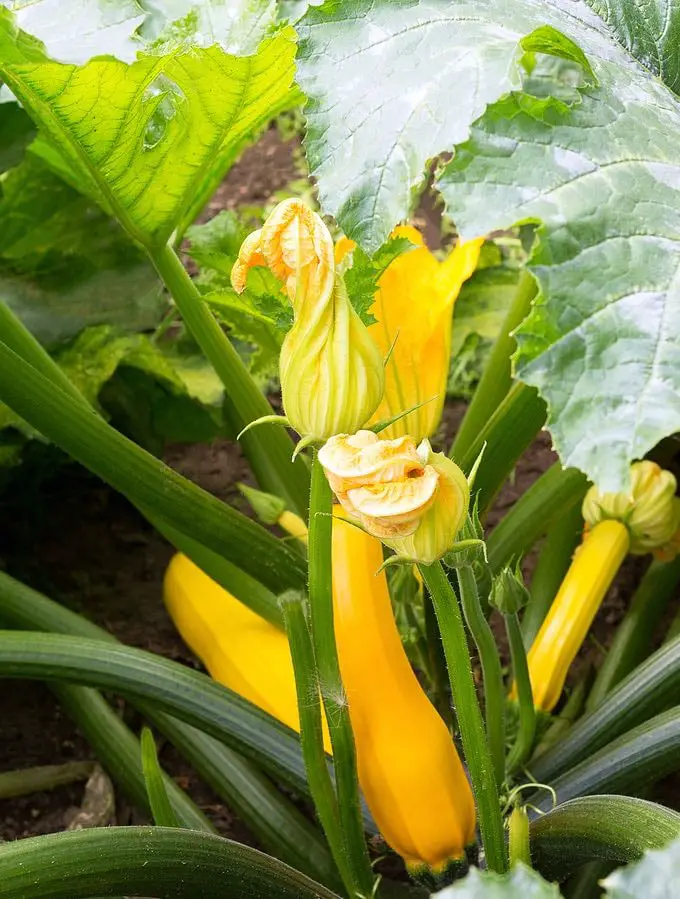
Before diving into the tips for harvesting yellow squash, it’s important to know the signs of maturity. Mature yellow squash will have a vibrant yellow color and a firm texture. The skin should be smooth and free from blemishes or wrinkles. Avoid harvesting squash that still has a green or pale-yellow color, as it likely hasn’t reached its full maturity.
Ideal Harvest Time
The ideal time to harvest yellow squash is when it reaches its peak maturity. It’s best to pick the squash when it is around 6 to 8 inches long. At this size, the flesh is tender and flavorful. Larger squash can become tough and less enjoyable to eat. Remember, harvesting squash regularly will encourage the plant to keep producing more, ensuring a bountiful supply throughout the growing season.

Tools Needed
To make your yellow squash harvesting experience smooth and efficient, gather a few tools. A sharp pair of garden shears or a knife will come in handy when cutting the stems. Ensure that they are clean and sharp to prevent any damage to the plant or the fruits. Additionally, a basket or a crate is useful for collecting the harvested squash.
Harvesting Preparations
Before you start harvesting, it’s essential to assess the plant and remove any diseased or damaged fruits. This will prevent the spread of diseases and increase the overall health of the plant. Inspect each squash carefully, and if you notice any signs of rot or damage, remove them promptly. By taking these precautions, you can ensure that you’re only harvesting the best quality squash.

Harvesting Techniques
To harvest yellow squash, grasp the stem of the fruit firmly and cut it using the garden shears or knife. Be sure to leave about an inch of stem attached to the squash. Avoid pulling or twisting the fruit, as this can damage the plant. By using a clean cut, you minimize the risk of introducing infections to the plant.
Harvesting Frequency
Yellow squash is known for its prolific production, so it’s important to harvest it frequently. Regularly check your plants every two to three days for ripe fruits. Harvesting frequently encourages the plant to keep producing new squash. If you allow squash to stay on the plant for too long, it can become oversized and reduce the yield. Remember, the more you harvest, the more the plant will produce.

Storage Guidelines
If you find yourself with a surplus of harvested yellow squash, proper storage is essential to maintain freshness and flavor. Yellow squash can be stored in the refrigerator for up to seven days. It’s best to keep them in a perforated plastic bag to allow for ventilation while reducing moisture loss. Avoid washing the squash before storing to prevent premature decay.
Using Harvested Squash
Once you’ve harvested your yellow squash, it’s time to turn them into delicious dishes. Yellow squash can be used in various recipes, including stir-fries, soups, salads, and even baked goods. They can be sautéed, grilled, or roasted to bring out their natural flavors. Get creative in the kitchen and experiment with different cooking methods to unlock the full potential of your freshly harvested squash.

Troubleshooting Common Issues
Even seasoned gardeners may encounter issues when harvesting yellow squash. One common problem is the presence of blossom-end rot, which appears as a dark, sunken spot on the bottom of the fruit. This is caused by calcium deficiency and inconsistent watering. To prevent this issue, ensure that your plants receive adequate water and consider adding calcium-rich amendments to the soil.
Another issue to watch out for is powdery mildew, a fungal disease that can affect the leaves of the plant. This appears as a white powdery coating and can inhibit the plant’s ability to produce fruits. To prevent powdery mildew, provide proper air circulation around the plants, avoid overhead watering, and consider applying organic fungicides.
Preserving Excess Harvest
If you find yourself with an abundance of yellow squash, preserving them can be a great way to enjoy their goodness all year round. Freezing is a popular method to preserve excess harvest. Simply blanch the squash for a couple of minutes, then plunge them into ice water to stop the cooking process. Once cooled, pack them in airtight containers or freezer bags and store them in the freezer.
Another option is to pickle the yellow squash. This involves brining the squash in a mixture of vinegar, herbs, and spices. Pickled squash adds a tangy crunch to sandwiches, salads, and cheese boards. Canning is also a preserving method to consider, as it allows you to enjoy yellow squash even during the offseason.
By following these tips for harvesting yellow squash, you’ll truly make the most of your garden’s bounty. Enjoy the process of nurturing your plants and savoring the delicious flavors of freshly picked yellow squash. Happy harvesting!


