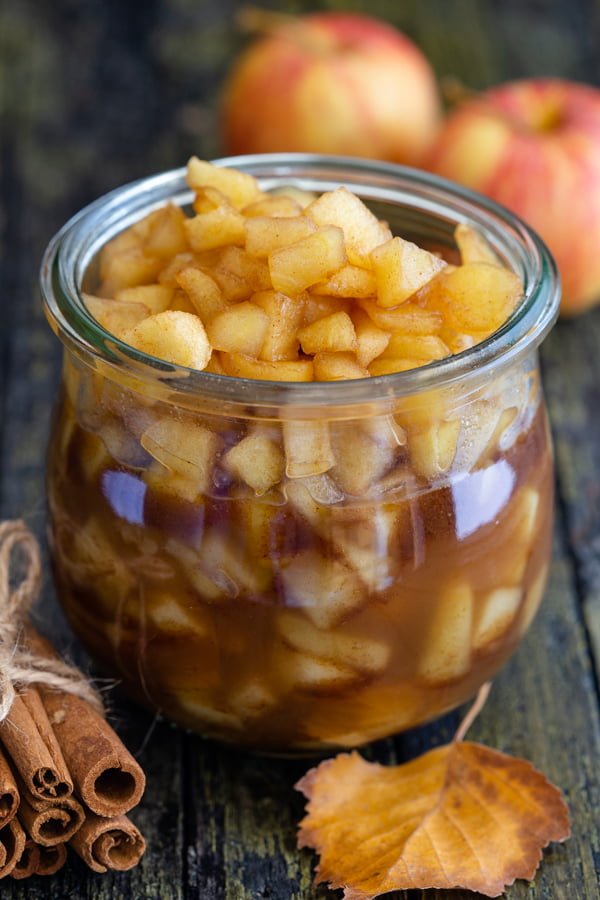
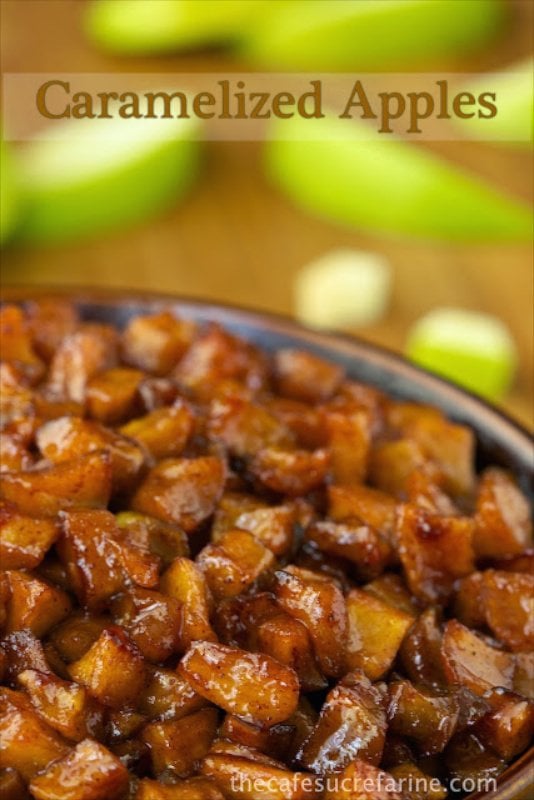
In the culinary world, there is an art to transforming a simple apple into a delectable caramelized treat. Achieving the perfect balance of sweetness and tenderness requires a careful process, but fear not, for we will guide you through the steps of caramelizing apples effortlessly. From selecting the right variety to achieving that golden brown caramelization, this article will equip you with the knowledge and techniques needed to master the art of caramelizing apples. So, put on your apron and prepare to tantalize your taste buds with this delightful dessert.
Choosing the Apples
Selecting the Right Variety
When it comes to caramelizing apples, choosing the right variety is crucial. Not all apples are created equal, and different varieties can produce different results. Ideally, you want to look for apples that are firm and slightly tart, as they will hold their shape and provide a nice contrast to the sweet caramelized sauce. Some popular apple varieties that work well for caramelizing include Granny Smith, Honeycrisp, and Braeburn. However, feel free to experiment with different varieties to find your personal preference.
Checking the Quality of the Apples
Before you start caramelizing your apples, it is important to check their quality. Look for apples that are free from any blemishes, bruises, or signs of mold. The skin should be smooth and shiny, indicating freshness. Additionally, gently squeeze the apples to ensure that they are firm and not soft or mushy. By choosing high-quality apples, you are setting yourself up for success in creating delicious caramelized apples.
Preparing the Apples
Washing the Apples
Before you begin preparing your apples, it is important to wash them thoroughly. Apples can be coated with dirt, pesticides, or other unwanted substances, and washing them will ensure that you are working with clean and safe produce. Simply rinse the apples under cold running water and use a soft brush to gently scrub away any residue. Once washed, pat the apples dry with a clean towel before proceeding with the next steps.
Peeling the Apples
While it is not necessary to peel the apples before caramelizing, many people prefer the smooth texture of caramelized apples without the skin. To peel the apples, you can either use a vegetable peeler or a paring knife. Start by placing the apple on a stable surface and holding it firmly. Then, use the peeler or knife to make a shallow cut just beneath the skin. Slowly rotate the apple while continuing to peel away the skin, ensuring that you remove all the skin in one continuous motion. Repeat this process for each apple.
Coring the Apples
Once the apples are peeled, coring them is the next step. To core an apple, you can use a specialized apple corer or a small knife. If you are using an apple corer, simply place it at the stem end of the apple and firmly press down until the corer reaches the bottom. Twist the corer to remove the core, and repeat this process for each apple. If you are using a knife, start by making a vertical cut around the core, slightly off-center. Then, angle the knife and cut along the circumference of the core, removing it in a cone shape. Whichever method you choose, ensure that the core is completely removed from each apple.
Slicing the Apples
Once the apples are peeled and cored, it’s time to slice them. The thickness of the slices can vary depending on your preference, but it is generally recommended to slice the apples about 1/4 to 1/2 inch thick. Slices that are too thin may become too soft during caramelization, while slices that are too thick may take longer to cook through. Use a sharp knife and a steady hand to slice the apples evenly, keeping in mind that uniform slices will cook at a similar rate, resulting in evenly caramelized apples.
Creating the Caramel Sauce
Gathering the Ingredients
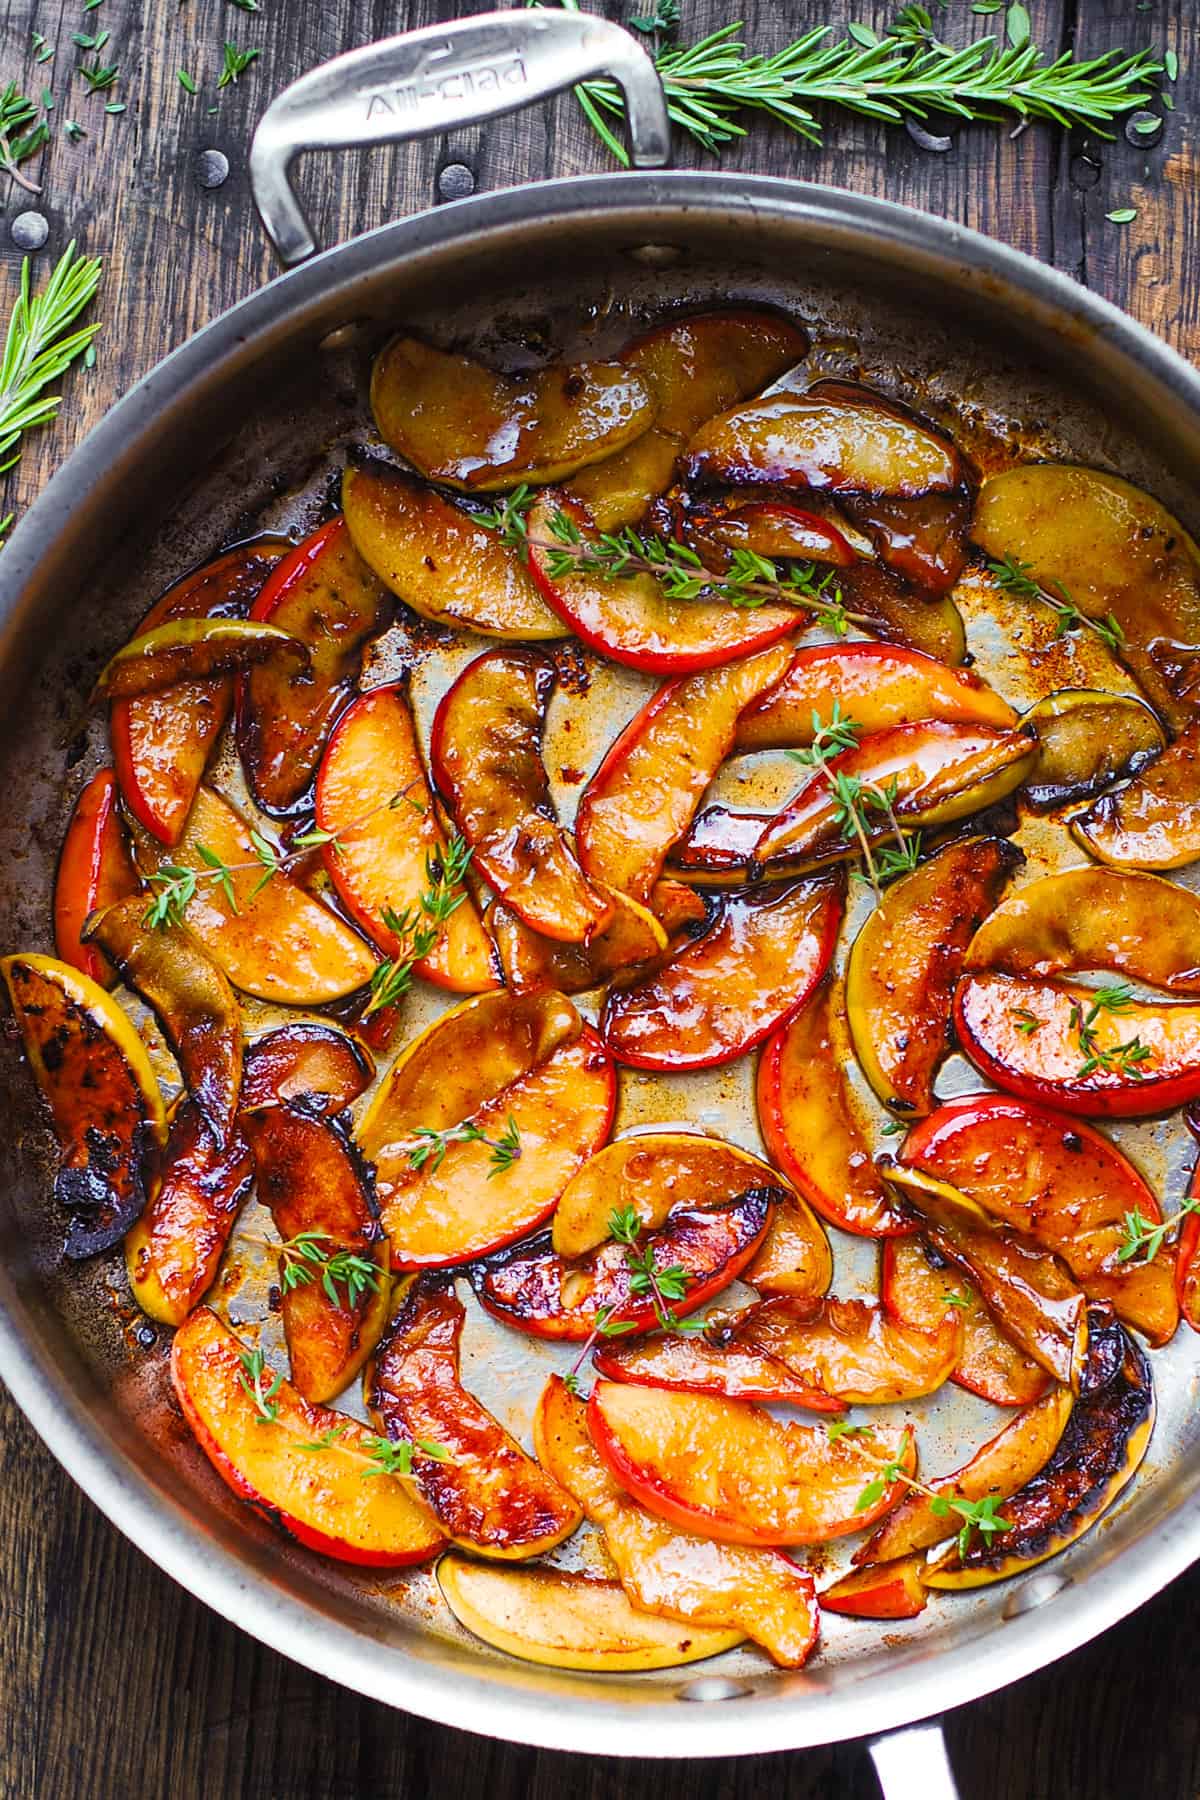
To create a delicious caramel sauce for your apples, you will need a few key ingredients. The basic caramel sauce consists of butter, sugar, and spices. Begin by gathering unsalted butter, granulated sugar, and your choice of spices. Common spices used in caramel sauce include cinnamon, nutmeg, and cloves. Additionally, consider adding a pinch of salt for flavor enhancement. Having all the ingredients ready and measured before starting to cook will ensure a smooth and efficient caramelization process.
Melting the Butter
To begin making the caramel sauce, melt the butter in a saucepan over medium heat. The butter should be completely melted and sizzling gently. Stir the butter occasionally to prevent it from burning and to ensure even melting. Once the butter is melted, it is ready for the next step.
Adding Sugar and Spices
Once the butter has melted, add the granulated sugar to the saucepan. Stir the sugar into the butter until it is fully dissolved and incorporated. At this point, it is also the perfect time to add your chosen spices to infuse the caramel sauce with additional flavors. Stir the spices into the mixture and let them blend with the butter and sugar.
Cooking the Caramel Sauce
After adding the sugar and spices, continue cooking the caramel sauce over medium heat. The mixture will start to bubble and thicken as it heats up. Stir the sauce frequently to prevent it from sticking to the bottom of the pan and burning. As the sauce cooks, it will gradually darken in color and develop a rich caramel flavor. This process can take around 10-15 minutes, depending on the desired thickness and darkness of the caramel sauce. Once the sauce reaches your desired consistency, remove it from the heat and set it aside.
Preheating the Pan
Choosing the Right Pan
When it comes to caramelizing apples, choosing the right pan is essential. A high-quality pan with good heat distribution will ensure that the apples cook evenly and develop a nice caramelized exterior. For best results, opt for a heavy-bottomed skillet or sauté pan made of materials such as stainless steel or cast iron. These types of pans retain heat well and allow for even cooking.
Adding Oil or Butter
Before preheating the pan, you will need to add a small amount of oil or butter to prevent the apples from sticking. Depending on your preference, you can use neutral-flavored oil such as vegetable oil or canola oil, or you can opt for butter to add extra richness to the caramelization process. Simply heat the oil or melt the butter in the preheated pan, ensuring that the surface is evenly coated.
Caramelizing the Apples
Heating the Pan
Once the pan is properly preheated and coated with oil or butter, it’s time to heat it to the optimal temperature for caramelization. Turn the heat to medium or medium-high, depending on your stovetop’s heat intensity. Allow the pan to heat for a minute or two to ensure it reaches the desired temperature. Heating the pan adequately before adding the apples will help achieve a golden brown caramelization.
Adding the Apple Slices
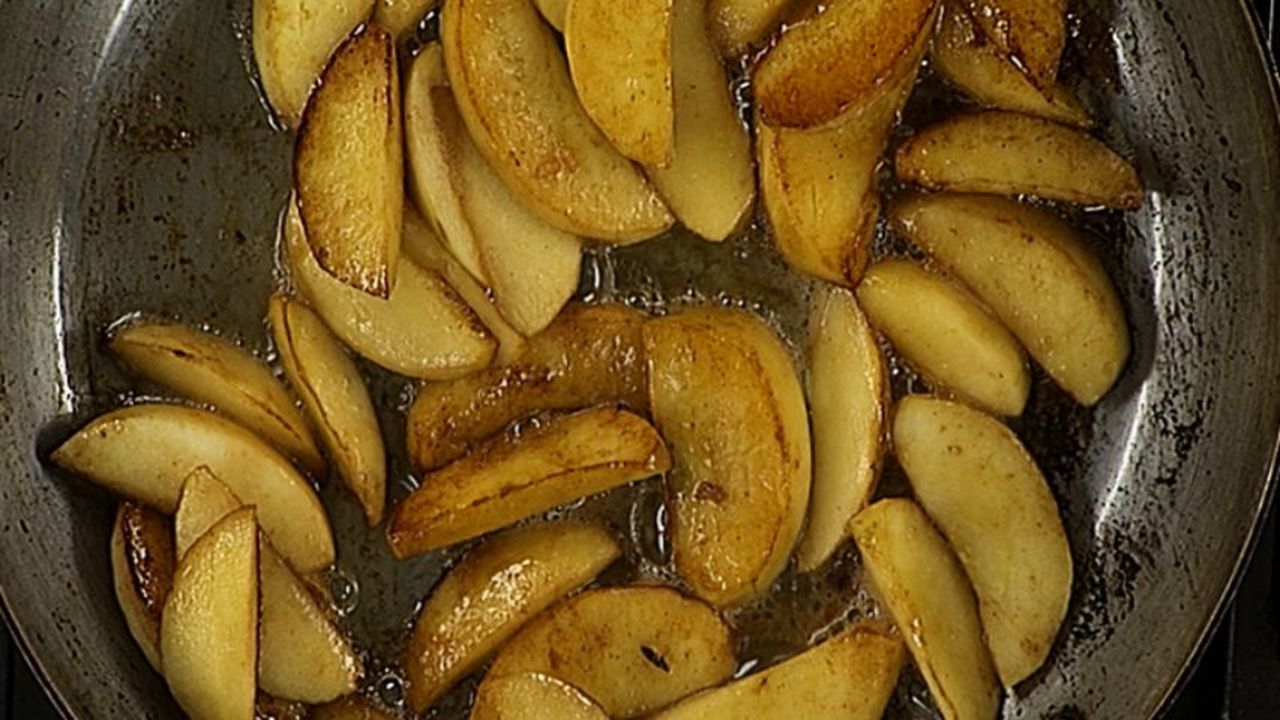
Carefully add the sliced apples to the preheated pan, ensuring that they are spread out in a single layer. Overcrowding the pan may cause the apples to steam instead of caramelizing, so work in batches if necessary. The apples should sizzle upon contact with the hot surface, indicating that the caramelization process has begun. Arrange the apple slices evenly to ensure uniform caramelization.
Stirring Occasionally
While the apples are caramelizing, it is important to stir them occasionally to prevent sticking and ensure even cooking. Use a spatula or tongs to gently toss and flip the apple slices, allowing them to caramelize on all sides. This will result in a beautifully golden-brown exterior and a tender interior. Be mindful not to over-stir, as this may cause the apples to break apart or become excessively soft.
Adding Flavor
Enhancing with Spices
If you desire to enhance the flavor profile of your caramelized apples, adding spices is a great way to achieve that. Consider sprinkling additional spices, such as cinnamon or nutmeg, over the caramelizing apples. The heat of the pan will release the aromatic qualities of the spices, infusing the caramelization process with delightful flavors. Adjust the amount of spices to suit your taste preferences, and remember to stir the apples gently to evenly distribute the spices.
Incorporating Citrus Zest or Juice
To add a citrusy twist to your caramelized apples, consider incorporating citrus zest or juice. This can be done by grating the zest of a lemon or an orange directly over the pan, allowing the natural oils to infuse the apples with bright and fresh flavors. Alternatively, you can squeeze a small amount of citrus juice over the caramelizing apples, providing a tangy undertone that complements the sweetness of the caramel sauce. Experiment with different citrus fruits to find your preferred combination.
Adjusting the Sweetness
Using Different Sweeteners
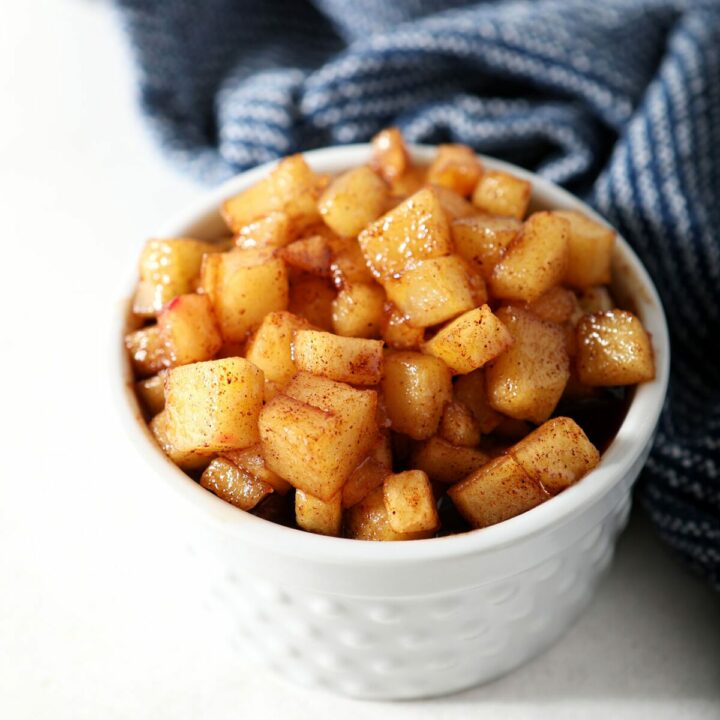
While caramel sauce provides a rich and sweet flavor, you can adjust the sweetness to your preference by using different sweeteners. If you prefer a less sweet outcome, consider reducing the amount of sugar in the caramel sauce. Alternatively, you can experiment with alternative sweeteners such as honey or maple syrup. These natural sweeteners can provide a unique flavor profile and offer a healthier option.
Balancing with Acidic Ingredients
If you find that the caramelized apples are too sweet for your taste, balancing the sweetness with acidic ingredients can help achieve a more harmonious flavor profile. Adding a small amount of lemon juice or balsamic vinegar to the caramel sauce can cut through the sweetness and provide a refreshing contrast. Be cautious when adding acidic ingredients, as a little goes a long way. Start with a small amount and adjust according to your desired level of acidity.
Serving Suggestions
Pairing with Ice Cream or Whipped Cream
Caramelized apples are a delightful treat on their own, but they can be taken to the next level when paired with cold, creamy accompaniments. Serve a generous scoop of vanilla ice cream or a dollop of freshly whipped cream alongside the warm caramelized apples. The coolness of the ice cream or whipped cream complements the warm caramel sauce, creating a perfect balance of temperatures and textures.
Using as a Topping for Pancakes or Waffles
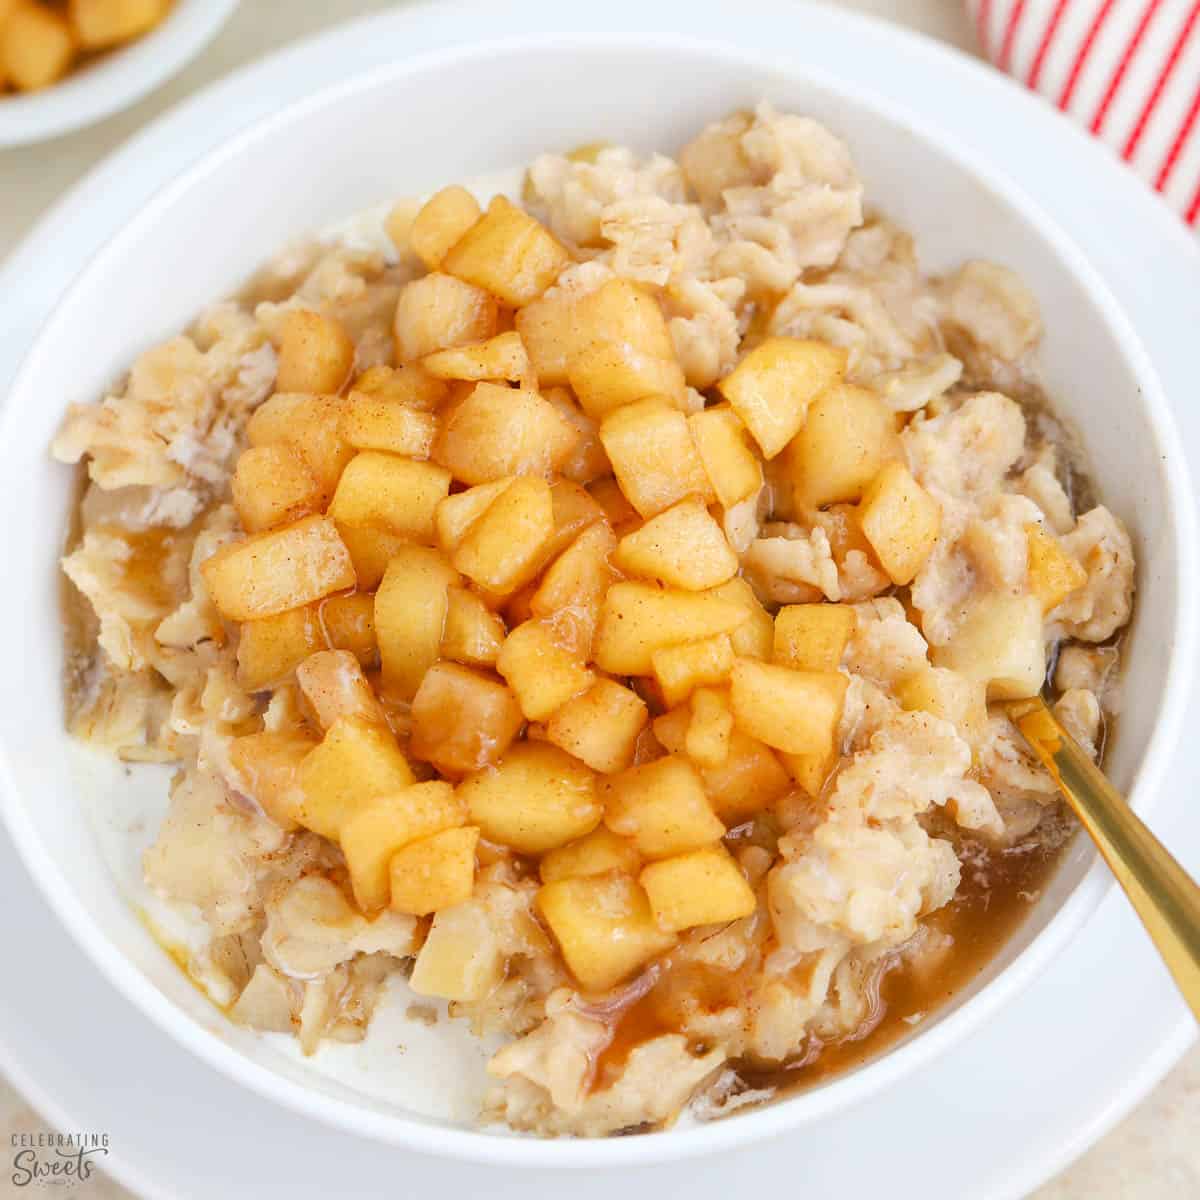
Caramelized apples make an excellent topping for pancakes or waffles, adding a touch of sweetness and an indulgent twist to a classic breakfast. Simply spoon the caramelized apples over a stack of freshly cooked pancakes or waffles, allowing the warm sauce to seep into every nook and cranny. The combination of fluffy pancakes or crisp waffles with the luscious caramelized apples creates a truly delightful breakfast experience.
Storage and Reheating
Proper Storage in the Refrigerator
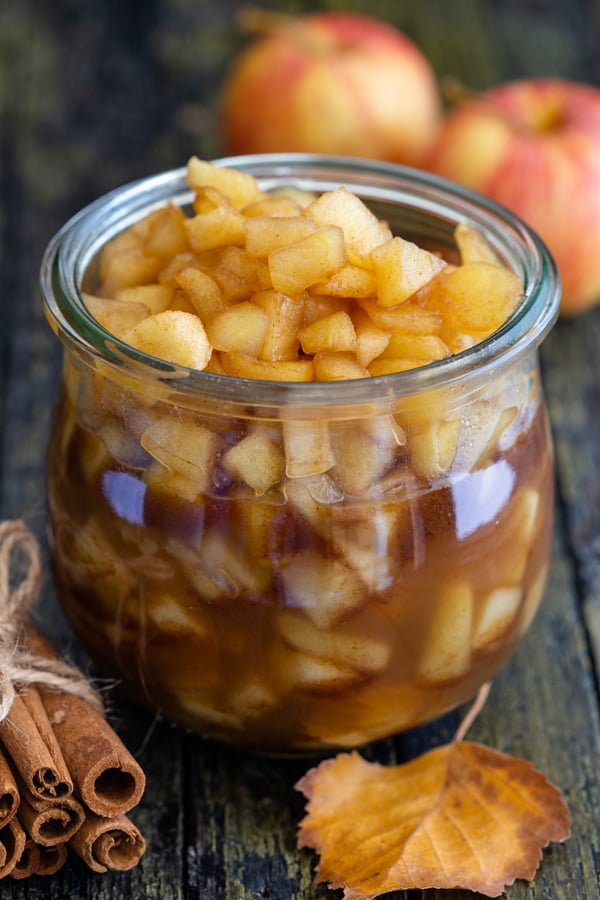
If you find yourself with leftover caramelized apples, proper storage is essential to maintain their freshness and quality. Allow the caramelized apples to cool completely before transferring them to an airtight container. Place the container in the refrigerator and store for up to 3-4 days. This will ensure that the apples remain safe to consume and retain their texture and flavor.
Reheating the Caramelized Apples
To reheat caramelized apples, there are a few options depending on your desired outcome. If you prefer to enjoy the caramelized apples warm, simply transfer them to a microwave-safe dish and heat them in short intervals, stirring occasionally, until they reach the desired temperature. Alternatively, you can reheat the caramelized apples on the stovetop by gently warming them in a saucepan over low heat. Whichever method you choose, be mindful not to overheat the apples, as they can become mushy or lose their texture.
Variations and Additions
Adding Nuts or Dried Fruits
If you want to add an extra layer of texture and flavor to your caramelized apples, consider incorporating nuts or dried fruits. Chopped walnuts, pecans, or almonds can provide a delightful crunch and complement the sweet caramel sauce. Similarly, dried fruits such as raisins, cranberries, or apricots can add a burst of natural sweetness and a chewy element to the dish. Experiment with different combinations to find your favorite variation.
Experimenting with Different Spices or Extracts
The world of spices and extracts offers endless possibilities when it comes to customizing your caramelized apples. Consider experimenting with different spices, such as ginger, cardamom, or allspice, to create unique flavor profiles. Additionally, adding extracts such as vanilla or almond can infuse the caramelized apples with enticing aromas and enhance their overall taste. Don’t be afraid to get creative and tailor the recipe to your personal preferences.
In conclusion, mastering the art of caramelizing apples can elevate your culinary repertoire and impress your family and friends. With the right apples, proper preparation, a delicious caramel sauce, and careful caramelization, you can create a delightful dessert or topping that is both visually appealing and bursting with flavor. Don’t hesitate to explore variations and additions, as well as serving suggestions, to make this classic treat truly your own. Enjoy the journey of caramelizing apples and savor the scrumptious results!
