If you’re a fan of butternut squash and want to try your hand at growing your own, you may be wondering when is the best time to plant the seeds. Well, good news! In this article, we’ll explore the optimal time to get those butternut squash seeds in the ground. We’ll take into consideration factors like temperature, frost, and soil conditions, so you can ensure a successful and bountiful harvest of this delicious vegetable. So grab your gardening gloves and let’s dig in!
Factors to Consider
Climate
The first factor to consider when planting butternut squash is the climate in your region. Butternut squash is a warm-weather crop and requires temperatures between 50 and 85 degrees Fahrenheit (10 to 29 degrees Celsius) to thrive. It is important to choose a time of year when your region’s climate is suitable for growing butternut squash.
Frost Dates
Another important factor to consider is the last frost date in your area. Butternut squash is highly sensitive to frost and cannot tolerate freezing temperatures. It is crucial to wait until after the last expected frost date before planting your squash seeds, as a late frost can easily damage or kill young squash plants.
Soil Temperature
Soil temperature is also a key consideration when determining the best time to plant butternut squash seeds. The soil temperature should be at least 60 degrees Fahrenheit (15 degrees Celsius) for successful germination. It is recommended to use a soil thermometer to accurately measure the temperature before sowing the seeds.
Daylight Hours
Daylight hours play a role in the growth and development of butternut squash plants. Squash is a long-day plant, meaning it thrives in areas with longer daylight hours. It is best to plant your seeds when the days are getting longer and the amount of sunlight is increasing. This generally happens in the spring and early summer months.
Determining the Planting Time
Starting Indoors
If you live in a region with a short growing season or cooler climate, it is advisable to start your butternut squash seeds indoors before transplanting them into the garden. This method allows you to give the seeds a head start and extend the growing season.
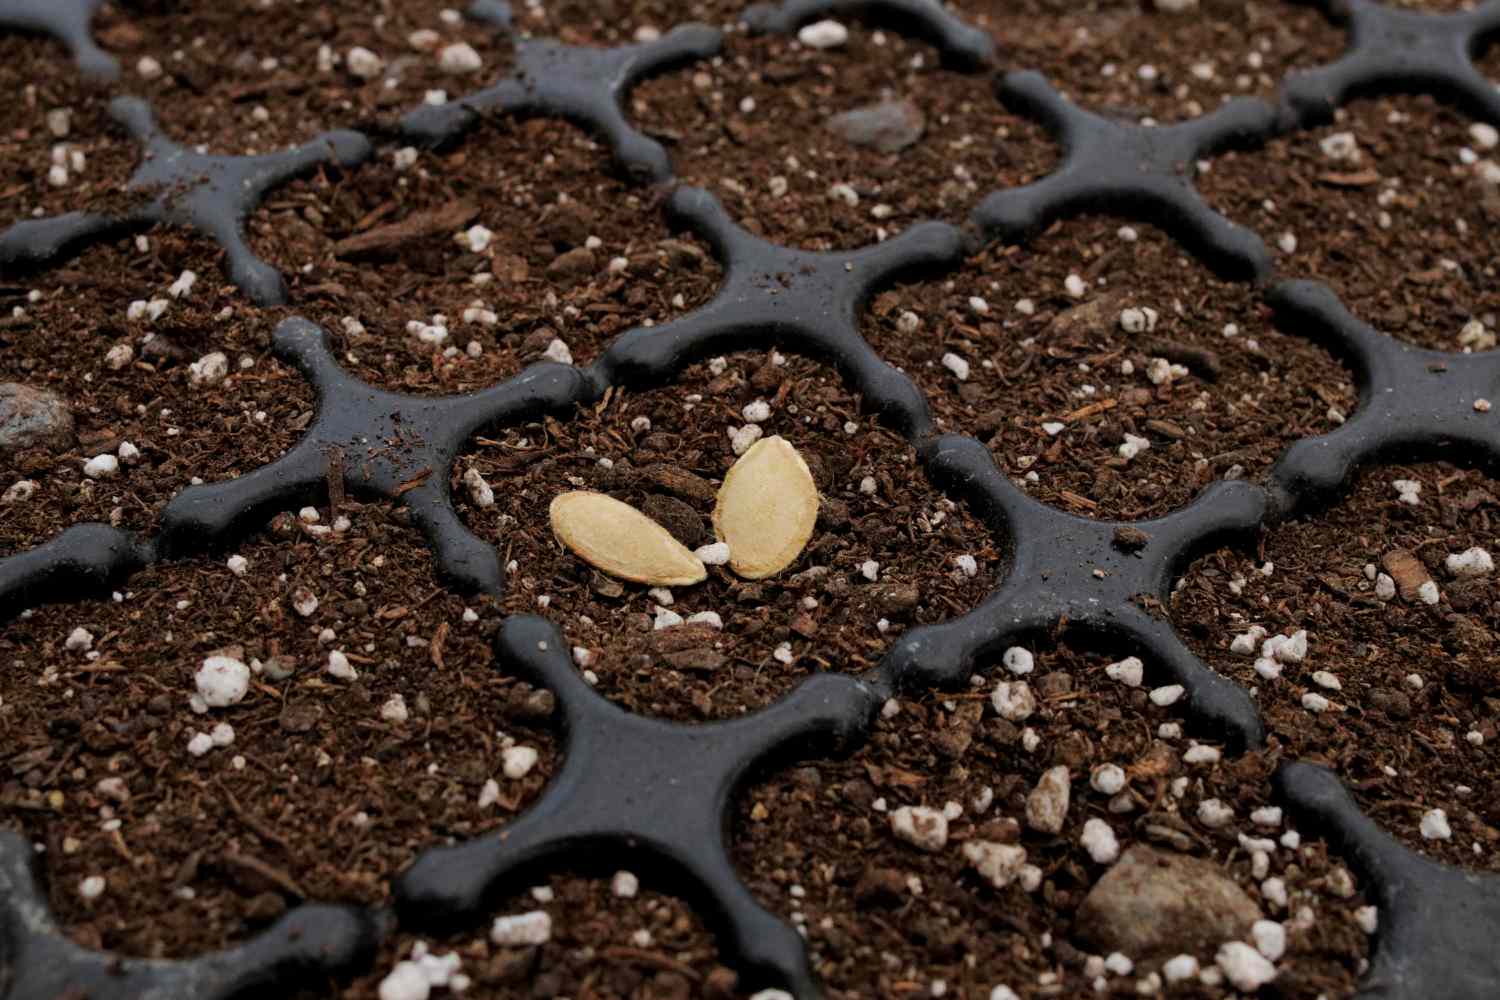
To start butternut squash seeds indoors, sow the seeds in biodegradable pots or peat pellets about three to four weeks before the last expected frost date. Place the pots or pellets in a warm, well-lit area, such as near a sunny window or under grow lights. Keep the soil moist and make sure to provide adequate ventilation to prevent fungal diseases.
Direct Seeding in the Garden
If you live in a region with a longer growing season or warmer climate, you can directly sow butternut squash seeds in the garden. Wait until after the last expected frost date and when the soil temperature reaches at least 60 degrees Fahrenheit (15 degrees Celsius).
Prepare the garden bed by loosening the soil and removing any weeds or debris. Create small hills or mounds to improve drainage and prevent the squash vines from sitting in water. Sow the seeds about one inch deep and six to eight inches apart, then cover them with soil. Water the area gently to keep the soil evenly moist until the seeds germinate.
Planting in the Spring
Preparing the Soil
Before planting butternut squash seeds in the spring, it is essential to prepare the soil properly. Butternut squash prefers loose, well-draining soil rich in organic matter. Begin by removing any weeds, rocks, or debris from the planting area.
Once the ground is cleared, amend the soil with compost or well-rotted manure to improve its fertility and moisture retention. Work the amendments into the top six to eight inches of soil using a garden fork or tiller. Rake the soil surface to create a smooth and level planting bed.
Indoor Seed Starting
If you choose to start your butternut squash seeds indoors in the spring, follow the steps mentioned earlier for indoor seed starting. Sow the seeds in biodegradable pots or peat pellets about three to four weeks before the last expected frost date.
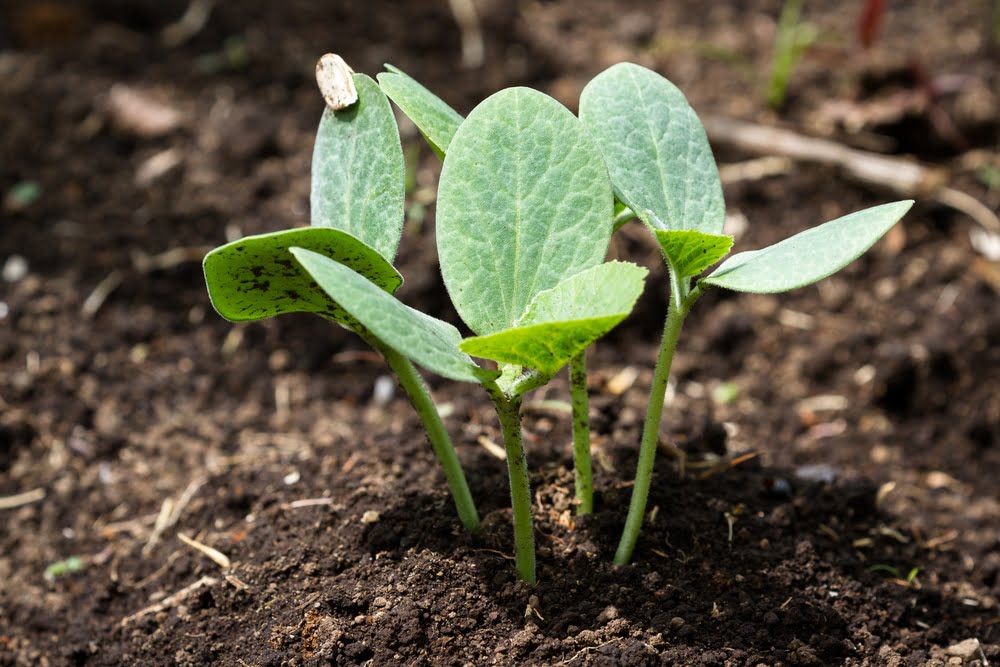
Remember to keep the soil moist, provide adequate light, and maintain proper ventilation for healthy seedling growth. Once the danger of frost has passed and the seedlings have developed a few sets of true leaves, they can be transplanted into the garden.
Direct Seeding in the Garden
If you opt for direct seeding in the spring, wait until after the last expected frost date and when the soil has warmed to at least 60 degrees Fahrenheit (15 degrees Celsius). Prepare the garden bed by loosening the soil, removing any weeds, and creating mounds or hills for improved drainage.
Sow the butternut squash seeds about one inch deep and six to eight inches apart, then cover them with soil. Water the area gently to keep the soil moist until the seeds germinate. As the plants grow, provide them with support by placing trellises or cages around the vines to prevent them from sprawling on the ground.
Planting in the Summer
Preparing the Soil
When planting butternut squash seeds in the summer, it is important to prepare the soil in the same way as for spring planting. Remove any weeds, rocks, or debris from the planting area, and amend the soil with compost or well-rotted manure to enhance its fertility and moisture retention.
Work the amendments into the top six to eight inches of soil, creating a smooth and level planting bed. It is also advisable to mulch the soil surface with organic materials, such as straw or wood chips, to help conserve moisture and suppress weed growth.
Indoor Seed Starting
Starting butternut squash seeds indoors in the summer is generally not necessary unless you live in a region with a short growing season. However, if you have limited space and want to give the seeds a head start, you can follow the indoor seed starting method mentioned earlier in the article.
Ensure the indoor environment remains warm and well-lit, and be mindful of maintaining adequate ventilation and moisture levels for healthy seedling growth. Transplant the seedlings into the garden once they have developed a few sets of true leaves and all risk of frost has passed.
Direct Seeding in the Garden
Directly sowing butternut squash seeds in the garden during the summer months is a common practice in regions with a longer growing season. Wait until the soil temperature reaches at least 60 degrees Fahrenheit (15 degrees Celsius) before planting.
Prepare the garden bed by loosening the soil, removing weeds, and adding compost or well-rotted manure to improve soil fertility. Create mounds or hills to improve drainage and sow the seeds about one inch deep and six to eight inches apart. Cover the seeds with soil and water gently to keep the soil moist until germination.
Planting in the Fall
Preparing the Soil
Fall planting of butternut squash requires careful soil preparation to ensure the plants have enough time to grow and mature before the frost arrives. Begin by clearing the planting area of weeds, rocks, and debris.
Amend the soil with compost or well-rotted manure to improve its fertility and moisture retention. Work the amendments into the top six to eight inches of soil using a garden fork or tiller. Rake the soil surface to create a smooth and level planting bed.
Indoor Seed Starting
Starting butternut squash seeds indoors in the fall is not common since squash is a warm-weather crop, and the growing season is typically coming to an end. If you live in a region with a very short growing season, you can follow the indoor seed starting method mentioned earlier in the article.
Ensure the seeds receive adequate warmth, light, ventilation, and moisture for successful germination and seedling growth. Transplant the seedlings into the garden when they have a few sets of true leaves and all risk of frost has passed.
Direct Seeding in the Garden
Directly sowing butternut squash seeds in the garden during the fall can be challenging due to the decreasing daylight hours and cooler temperatures. It is best to plant squash seeds in late summer to allow enough time for the fruits to mature before the first frost.
Prepare the garden bed by loosening the soil, removing weeds, and adding compost or well-rotted manure for improved soil fertility. Create mounds or hills for better drainage and sow the seeds about one inch deep and six to eight inches apart. Cover the seeds with soil, water gently, and monitor the plants closely as the weather cools.
Special Considerations
Using Transplants
Using transplants instead of sowing seeds directly in the garden can be a convenient option for those who want to skip the seed starting process. Transplants are young butternut squash plants that have already been started indoors and are ready for transplanting into the garden.
You can purchase transplants from nurseries or garden centers, or you can grow your own by starting seeds indoors and nurturing the seedlings until they are ready to be transplanted. Transplants allow you to get a head start on the growing season and can be planted directly in the garden once the danger of frost has passed.
Extending the Growing Season
To extend the growing season and increase your chances of a bountiful harvest, you can utilize various techniques and tools. One such method is the use of season extenders, such as row covers or cloches, which provide additional warmth and protection to the plants.
Row covers can be draped over the plants to shield them from frost and extend the growing season by a few weeks. Cloches, on the other hand, are individual protective covers that can be placed over each plant. Both methods help to trap heat, retain moisture, and protect the plants from pests and harsh weather conditions.
Harvesting
Determining Readiness
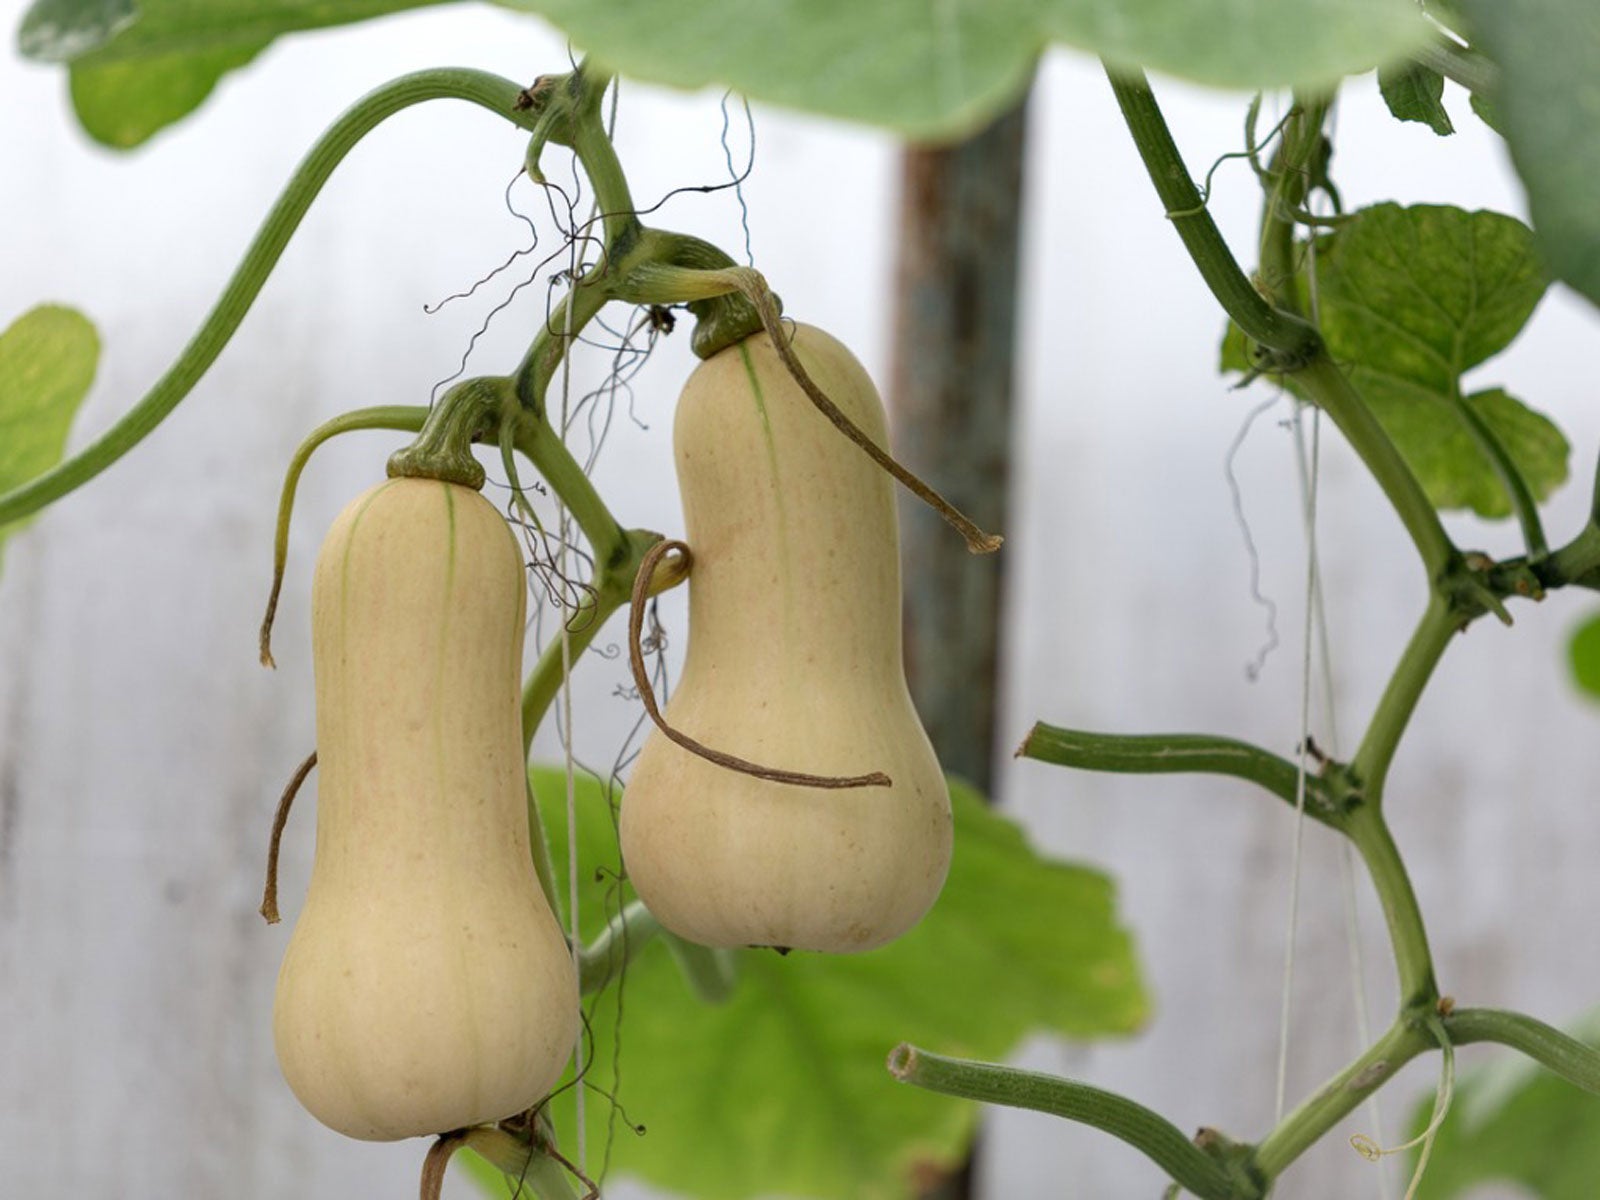
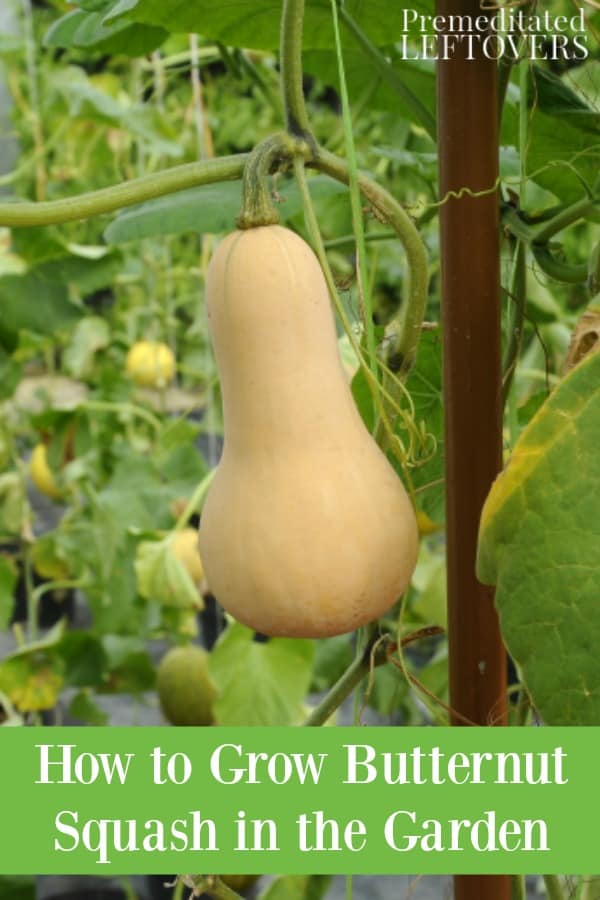
Determining when butternut squash is ready for harvest is crucial to ensure optimal flavor and texture. Typically, butternut squash is ready to be harvested when the skin has hardened, the fruit is a uniform tan color, and the stem is dry and brown. Additionally, the squash should feel firm and have a dull or matte appearance.
To test for readiness, gently press your fingernail against the skin. If it dents or leaves an impression, the squash is not yet ripe. However, if the skin remains firm and your nail does not leave a mark, the squash is ready to be harvested.
Storing Butternut Squash
Proper storage is essential to keep butternut squash fresh and extend its shelf life. After harvesting, cure the squash by placing it in a well-ventilated area with temperatures between 80 and 85 degrees Fahrenheit (27 to 29 degrees Celsius) for about a week. This process allows the squash to develop a hard skin and improves its storage quality.
Once cured, store the squash in a cool, dry, and dark place, such as a cellar, basement, or pantry. Make sure to keep the temperature between 50 and 55 degrees Fahrenheit (10 to 13 degrees Celsius) and the humidity levels low. Inspect the stored squash regularly and remove any fruits that show signs of spoilage or decay.
Conclusion
When it comes to planting butternut squash, several factors need to be considered, including the climate, frost dates, soil temperature, and daylight hours. By determining the best planting time based on these factors, you can ensure successful growth and a bountiful harvest of delicious butternut squash.
Whether you choose to start your seeds indoors or directly sow them in the garden, proper soil preparation and care are essential. Consider using transplants or season extenders to maximize your growing season and protect the plants from adverse weather conditions.
When harvesting butternut squash, pay attention to the signs of readiness and store the squash properly to maintain its freshness and quality. With careful planning and proper care, you can enjoy the rich flavor and versatility of butternut squash straight from your garden. Happy gardening!
