Are you an avid gardener located in zone 6? If so, you might be wondering when the best time is to plant butternut squash in your region. Look no further! In this article, we will explore the ideal planting schedule for growing butternut squash in zone 6. By understanding the specific requirements and timing for this popular winter squash, you can ensure a successful and bountiful harvest. So, get your gardening gloves ready and let’s dive into the fascinating world of butternut squash planting!
Choosing the Right Variety
Determining the Ideal Butternut Squash Variety
When it comes to choosing the right variety of butternut squash to grow, there are several factors to consider. First and foremost, you’ll want to select a variety that is well-suited to your climate and growing conditions. Look for varieties that have good disease resistance and are known for producing high-quality fruits. Some popular butternut squash varieties include “Waltham,” “Butterbush,” and “Metro.”
Considering Climate and Growing Conditions
The climate and growing conditions in your area play a crucial role in determining the success of your butternut squash crop. Butternut squash is a warm-season vegetable that thrives in climates with long, hot summers. It requires a minimum of 90-100 frost-free days to reach maturity. Before planting, it’s important to research your specific climate zone and determine the appropriate planting times for butternut squash.
Consulting with Local Gardeners and Experts
One of the best ways to choose the right variety of butternut squash and understand the ideal growing conditions is by consulting with local gardeners and experts. These individuals have valuable knowledge and experience specific to your region. They can provide insights on the best varieties to grow, planting schedules, and any other specific considerations for successfully growing butternut squash in your area. Attend local gardening clubs, visit farmer’s markets, or reach out to your local agricultural extension office for expert advice.
Understanding the Growing Season
Knowing the Average Frost Dates
To determine the growing season length and when to plant your butternut squash seeds, it’s crucial to know the average frost dates in your area. Frost can be extremely damaging to butternut squash plants, so it’s important to avoid planting them too early. On average, butternut squash should be planted after the last spring frost date and before the first fall frost date.
Calculating the Growing Season Length
The growing season length refers to the number of days between the average last spring frost date and the average first fall frost date in your area. By calculating this length, you can determine the ideal timeframe to start and harvest your butternut squash plants. For example, if your growing season is approximately 120 days, you can calculate the appropriate planting time by subtracting the days needed for maturity (typically around 90-100) from the first fall frost date.
Starting Seeds Indoors
Preparing the Indoor Setup
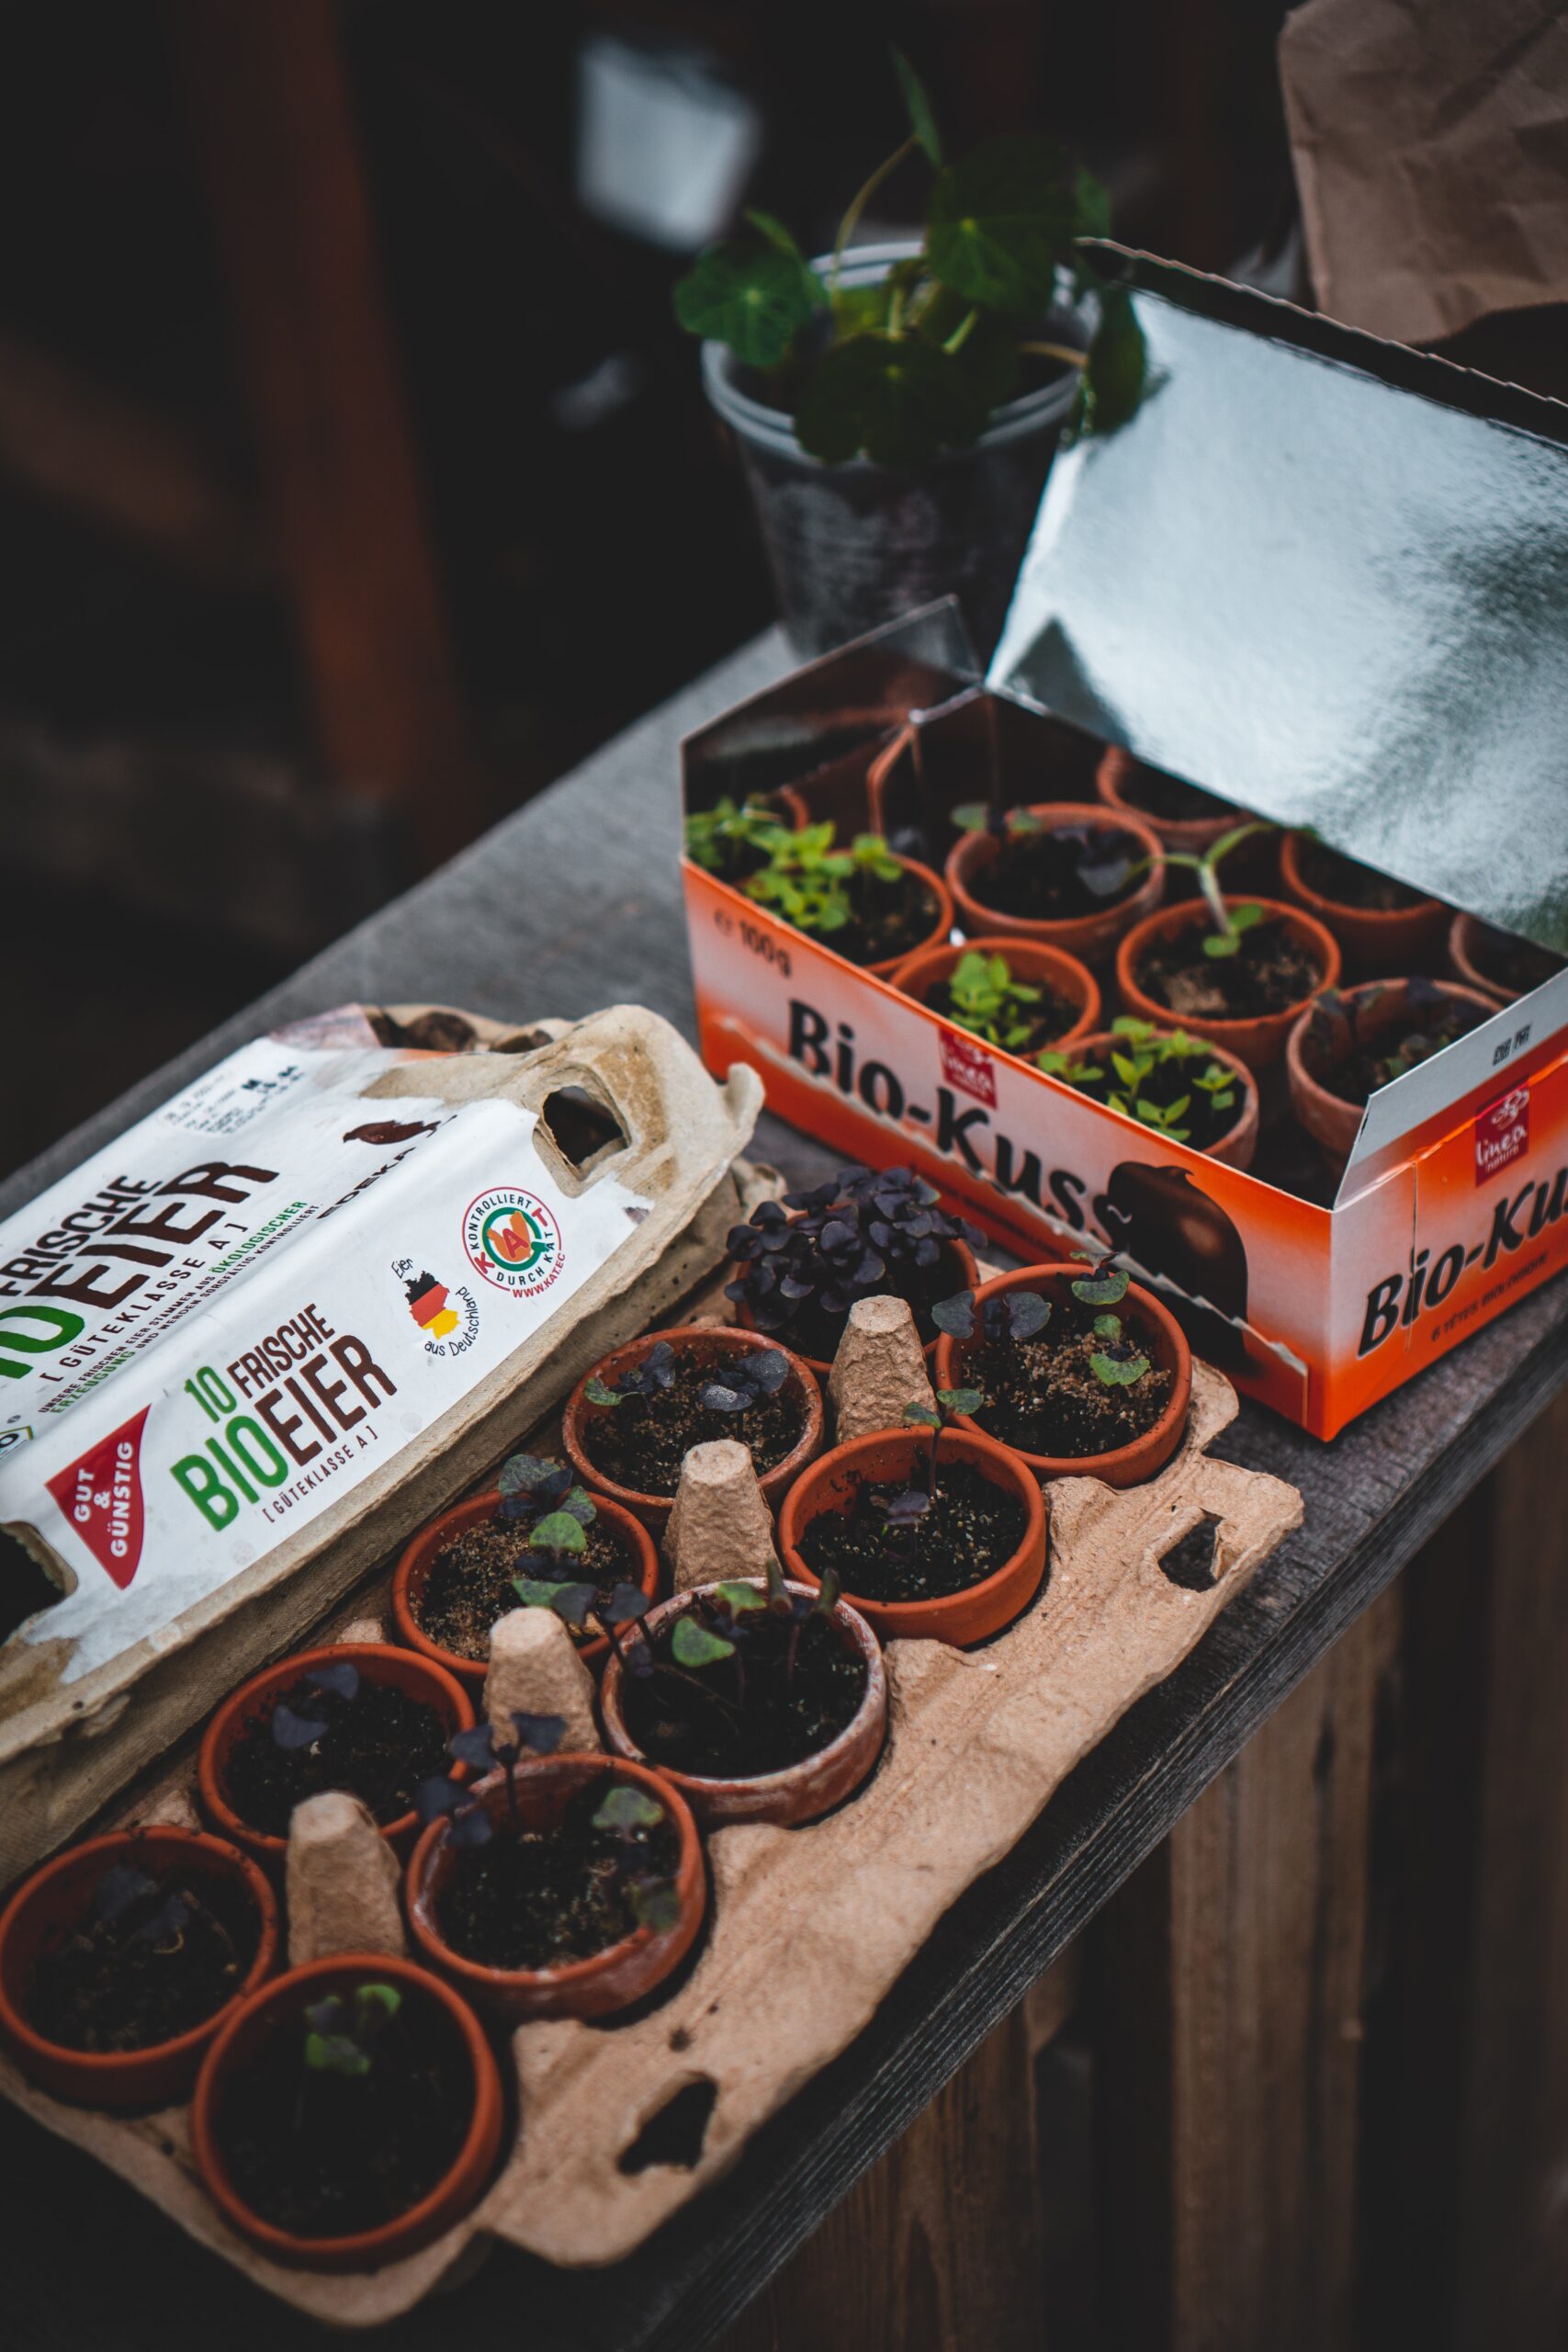
Starting butternut squash seeds indoors is a great way to get a head start on the growing season and ensure healthy seedlings. To prepare your indoor setup, you’ll need containers or trays with drainage holes, seed-starting mix, and labels. Clean and sanitize the containers before use to prevent the spread of diseases. Fill the containers with seed-starting mix, leaving about half an inch of space at the top.
Sowing Butternut Squash Seeds
Once your indoor setup is ready, it’s time to sow the butternut squash seeds. Make small holes in the seed-starting mix, about half an inch deep. Place one seed in each hole and cover it with soil. Gently press down the soil to ensure good seed-to-soil contact. Label each container with the variety and planting date.
Providing Adequate Lighting and Warmth
Butternut squash seeds require warmth and sufficient lighting to germinate and grow into healthy seedlings. Place the containers in a warm area, ideally with a temperature between 70-80°F (21-27°C). You can use a heat mat to provide consistent warmth if necessary. Additionally, provide adequate lighting by placing the containers under grow lights or near a sunny window. Aim for 14-16 hours of daily light for optimal growth.
Preparing the Soil
Testing Soil Conditions
Before planting butternut squash in your garden, it’s crucial to test the soil conditions. Soil testing helps determine the pH level, nutrient content, and overall health of the soil. You can purchase a soil testing kit or send a soil sample to a professional laboratory for analysis. The results will provide insights into any necessary amendments or adjustments required to optimize soil conditions for butternut squash growth.
Amending the Soil for Optimal Growth
Based on the soil test results, you may need to amend the soil to create optimal growing conditions for your butternut squash plants. Common soil amendments include adding organic matter such as compost or well-rotted manure to improve soil structure and fertility. Adjusting the pH level, if necessary, can also be done by adding lime to increase acidity or sulfur to decrease acidity. Follow the recommendations from your soil test for specific amendments and quantities.

Direct Sowing in the Garden
Waiting for Soil Temperatures to Warm Up
Direct sowing butternut squash seeds in the garden is an alternative to starting seeds indoors. However, it’s essential to wait for the soil temperatures to warm up before planting. Butternut squash seeds require a soil temperature of at least 60°F (15°C) for germination. Use a soil thermometer to gauge the temperature and ensure the conditions are suitable for successful seed germination.
Preparing the Garden Bed
Before planting butternut squash seeds directly in the garden, it’s important to prepare the garden bed properly. Clear any weeds or debris, and loosen the soil with a garden fork or tiller. Add organic matter, such as compost or aged manure, to further enrich the soil. Smooth out the surface and create mounds or raised beds, as this promotes good drainage.
Planting Butternut Squash Seeds in the Garden
Once the soil has warmed up, it’s time to plant your butternut squash seeds in the garden. Dig small holes or furrows, spaced about 3-4 feet apart to allow for the plant’s vigorous vine growth. Place one or two seeds in each hole and cover them with soil, ensuring they are at the recommended planting depth. Water the soil gently after planting to provide moisture for germination.
Protecting Seedlings from Frost
Monitoring Weather Forecasts
As mentioned earlier, frost can be detrimental to butternut squash plants, especially when they are still young and vulnerable. To protect your seedlings from frost, it’s important to stay informed about the weather forecasts in your area. Keep an eye on nighttime temperatures, as frost typically occurs during the early morning hours. Local weather apps, websites, or even a simple thermometer can help you stay updated.
Providing Protective Coverings
When frost is expected, you can use protective covers to shield your butternut squash seedlings. Lightweight fabrics, such as row covers or cloths, can offer some protection by trapping heat and creating a barrier against frost. Ensure that the covers are securely fastened and reach the ground to prevent cold air from circulating around the plants. Remember to remove the covers during the day to allow sunlight and air circulation.
Utilizing Cold Frames or Row Covers
For an additional layer of protection, cold frames or row covers can be valuable tools in safeguarding your butternut squash seedlings from frost. Cold frames are structures with transparent or translucent covers that capture sunlight and create a warmer microclimate around the plants. Row covers, on the other hand, provide a barrier against cold temperatures while still allowing for air circulation. These options can be especially helpful in colder climates or during unpredictable weather patterns.
Caring for Butternut Squash Plants
Watering Requirements
Proper watering is essential for healthy butternut squash plants. They require consistent moisture throughout the growing season, particularly during flowering and fruit development. Aim to water the plants deeply, providing around 1-2 inches of water per week, either through rainfall or supplemental irrigation. Avoid overwatering, as this can lead to disease and root rot. Water directly at the base of the plants, avoiding wetting the foliage.
Fertilizing Needs
Butternut squash plants benefit from regular fertilization to ensure optimal growth and fruit production. Before planting, incorporate a balanced organic fertilizer or compost into the soil to provide essential nutrients. Additionally, side-dress the plants with nitrogen-rich fertilizer or compost halfway through the growing season to support vigorous vine growth and fruit development.
Controlling Weeds and Pests
Keeping weeds under control is crucial in maintaining healthy butternut squash plants. Weeds compete with your plants for nutrients, moisture, and space. Regularly inspect the garden bed and remove any weeds promptly. Mulching can also help suppress weed growth while retaining soil moisture. Monitor your plants for any signs of pests, such as aphids, squash bugs, or vine borers. If necessary, employ organic pest control methods or consult with local experts for effective pest management strategies.
Harvesting Butternut Squash
Determining the Right Time to Harvest
Knowing when to harvest your butternut squash is essential to achieve the best flavor and texture. As a general rule, butternut squash is ready to harvest when the skin has hardened, and it becomes difficult to dent with your thumbnail. The color should be a uniform tan or beige. The vine attached to the fruit should have dried and turned brown. Harvesting too early may result in underdeveloped or unripe squash, while waiting too long can lead to overripe or spoiled fruits.
Harvesting Techniques
To harvest butternut squash, use pruning shears or a sharp knife to cut the fruit from the vine, leaving about two inches of stem attached. Be careful not to damage the stem or the fruit. Handle the squash gently to avoid any bruising or cuts. After harvesting, remove any dirt or debris from the surface and allow the squash to cure for a few weeks in a warm, dry area. This helps the squash develop its full flavor and improves its storage potential.
Storing Butternut Squash
Preparing Squash for Storage
To prepare butternut squash for storage, it’s important to clean and dry the fruits properly. Gently wipe away any dirt or residue using a soft cloth or brush. Avoid washing the squash, as excess moisture can lead to decay. Trim the stem if necessary, leaving about half an inch attached. Inspect the squash for any signs of damage or rot, and set aside any affected fruits for immediate consumption.
Choosing the Optimal Storage Conditions
Butternut squash can be stored for several months if the conditions are optimal. Choose a cool, dry, and well-ventilated storage location, such as a basement or pantry. The ideal temperature for butternut squash storage ranges from 50-55°F (10-13°C). Make sure the fruits are arranged in a single layer, without touching each other, to prevent rot or mold. Regularly inspect the stored squash and remove any spoiled fruits to avoid affecting the whole batch.
Preparing Butternut Squash for Consumption
Washing and Peeling
Before cooking and enjoying your butternut squash, it’s important to wash and peel the fruits. Start by rinsing the squash under cool running water to remove any dirt or debris from the surface. Using a sharp vegetable peeler, carefully peel off the outer skin, making sure to remove any remaining green or beige parts. Once peeled, cut the squash in half lengthwise and scoop out the seeds and fibrous pulp with a spoon.
Cooking and Enjoying
Butternut squash is incredibly versatile and can be prepared in a variety of delicious ways. It can be roasted, grilled, sautéed, or pureed, making it a perfect addition to soups, stews, pasta dishes, and even desserts. Some popular cooking methods include roasting butternut squash cubes with olive oil, salt, and pepper until they are caramelized and tender, or blending it into a velvety butternut squash soup with warming spices like cinnamon and nutmeg. Get creative in the kitchen and explore different recipes to enjoy the unique taste and texture of butternut squash.
