In this article, you will learn the step-by-step process of making brandied cherries. From selecting the perfect cherries to infusing them with a rich brandy flavor, this guide will equip you with the knowledge and techniques to create a delightful treat that can be enjoyed on its own or incorporated into various recipes. So, whether you’re an aspiring mixologist or simply looking to enhance your culinary skills, this article will provide you with a comprehensive recipe and tips to make brandied cherries that will impress your guests and elevate your dishes.
Ingredients
To make brandied cherries, you will need the following ingredients:
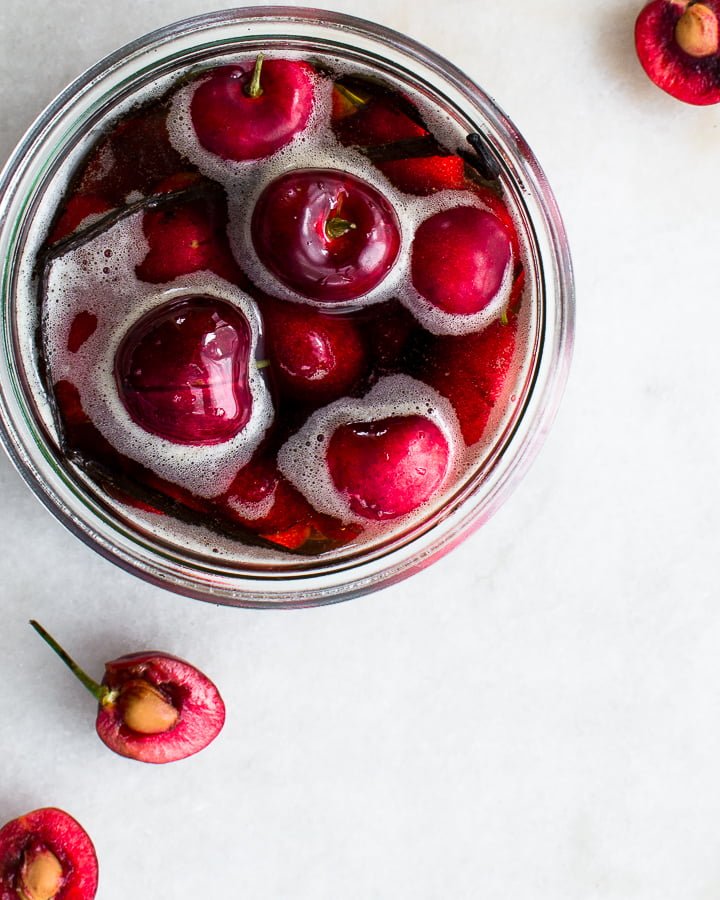
Fresh cherries
Start by selecting fresh cherries for this recipe. Choose cherries that are ripe and firm for the best flavor in your brandied cherries.
Granulated sugar
Granulated sugar will be used to make the syrup that will cover the cherries. It will add sweetness and help preserve the cherries.
Water
Water is needed to combine with the sugar to make the syrup for the brandied cherries. Make sure to use clean, filtered water for the best results.
Brandy
Brandy is a key ingredient in making brandied cherries. It adds depth and complexity to the flavor profile. You can adjust the amount of brandy used based on personal preference.
Lemon juice
Lemon juice will provide a hint of acidity and brightness to the brandied cherries. Squeeze fresh lemon juice for the best results.
Vanilla extract
A few drops of vanilla extract will enhance the flavor of the brandied cherries and add a subtle aroma. Use pure vanilla extract for the best quality.
Preparation
Before starting the process of making brandied cherries, it is essential to prepare all the necessary steps to ensure a successful outcome.
Wash and pit the cherries
Begin by washing the cherries under cold water to remove any dirt or debris. Gently pat them dry with a clean kitchen towel. Once dried, remove the stems from the cherries using a small knife or your fingers. To pit the cherries, use a cherry pitter. This tool makes it easy to remove the pits while keeping the cherries intact.
Sterilize the jars
Properly sanitizing the jars is crucial in preserving the brandied cherries and extending their shelf life. Begin by cleaning the jars and lids with hot, soapy water. Rinse them thoroughly to remove any soap residue. Next, place the jars and lids in a large pot filled with water. Bring the water to a boil and let the jars and lids boil for 10 minutes. Carefully remove them from the pot and let them air dry on a clean kitchen towel.
Make the syrup
In a saucepan, combine granulated sugar and water. Use a 1:1 ratio of sugar to water, depending on the amount of syrup needed. Stir the mixture and bring it to a boil over medium heat. Continue stirring until the sugar is completely dissolved. Once the mixture reaches a boil, reduce the heat and let it simmer for 5 minutes. Remove the saucepan from the heat and allow the syrup to cool.
Add cherries to the jars
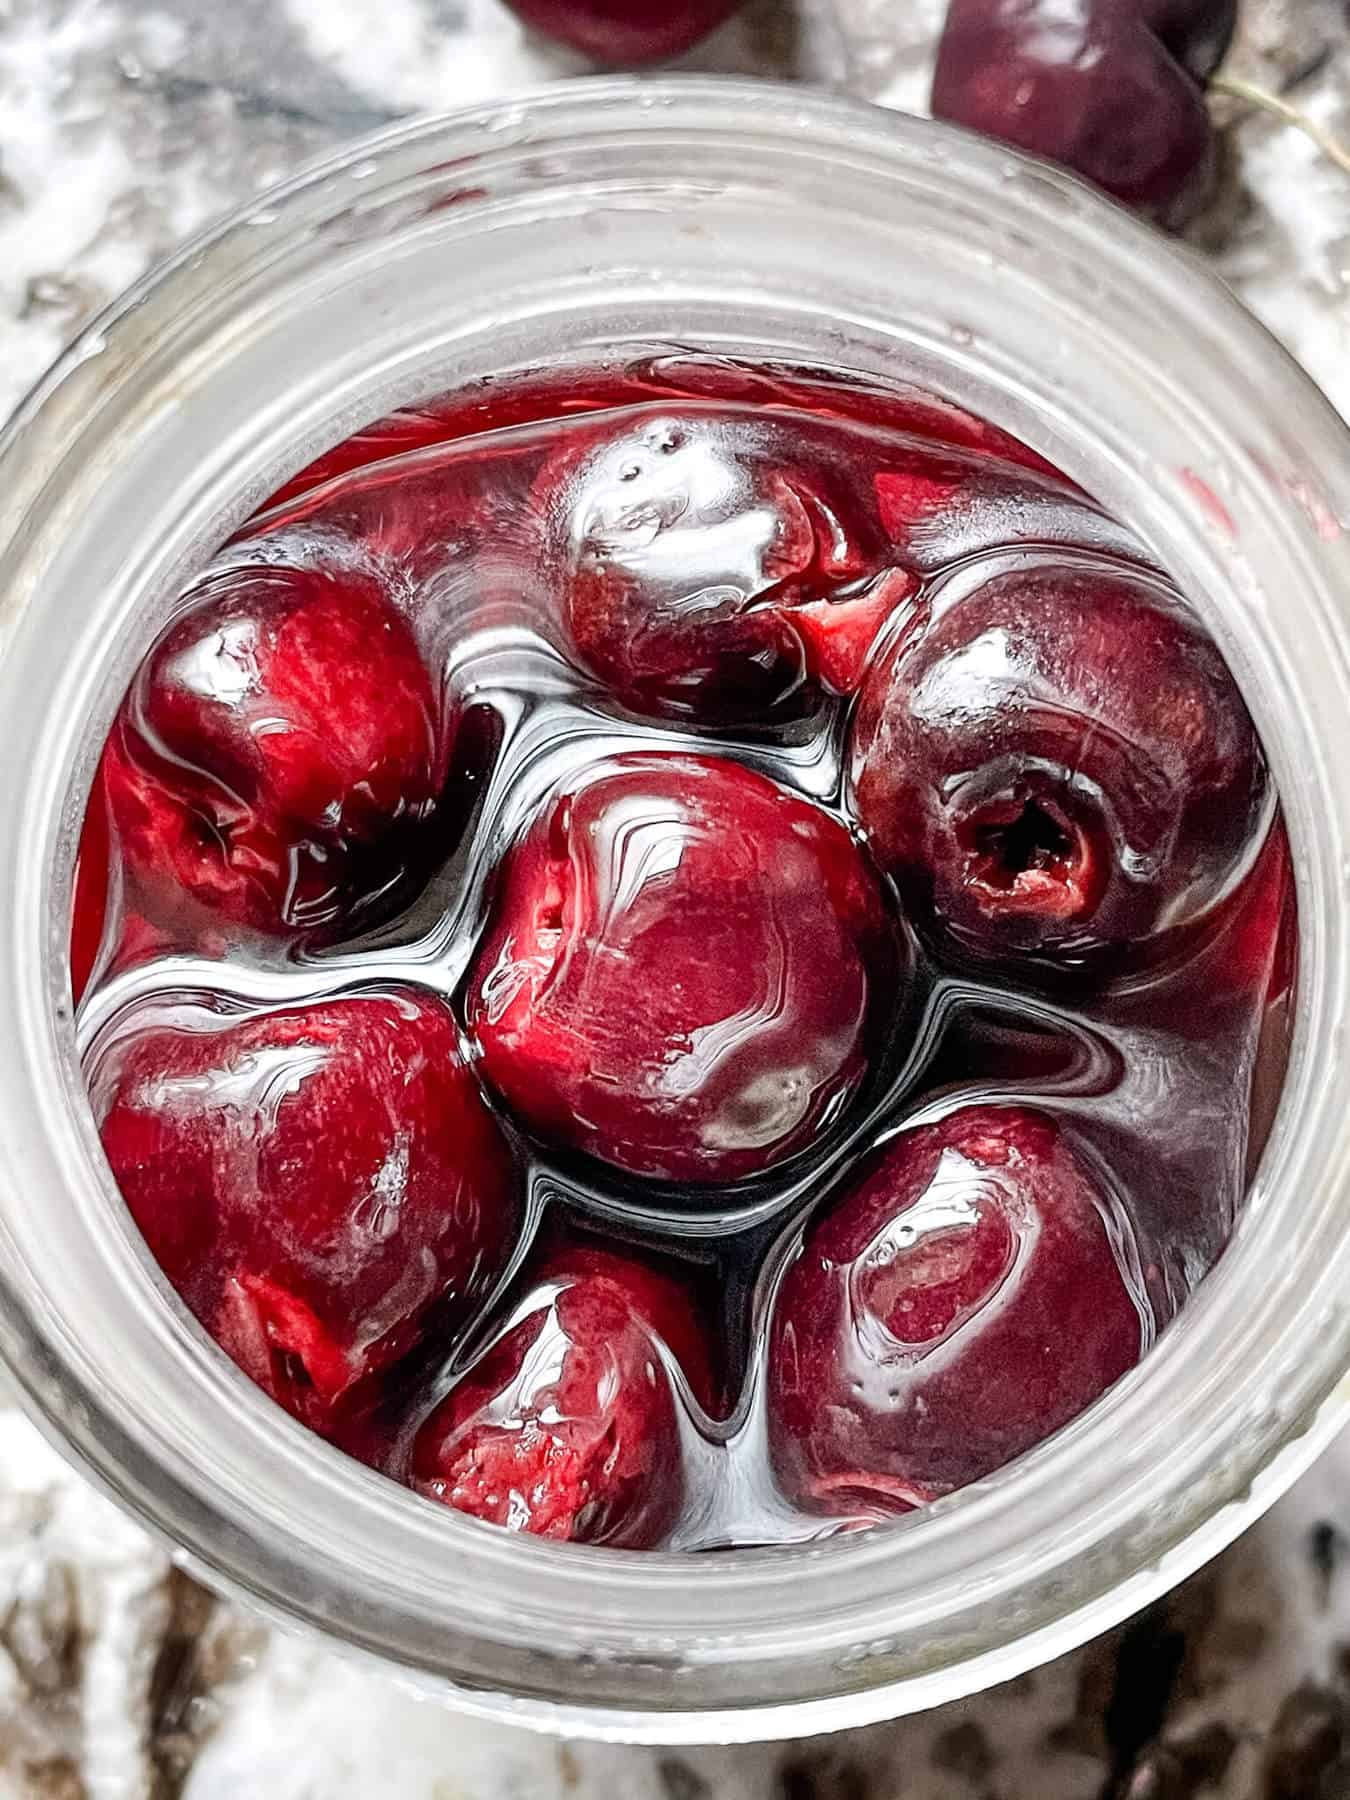
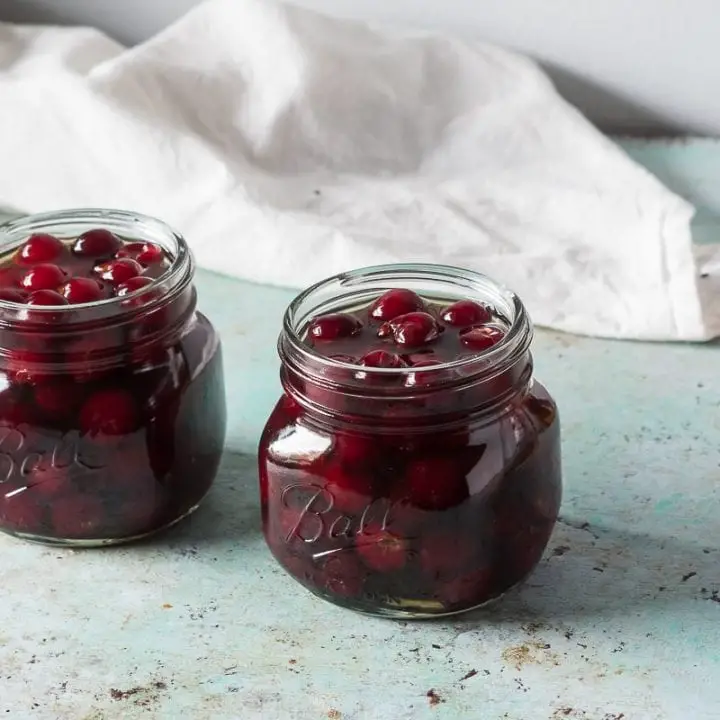
With the cherries washed, pitted, and the jars sterilized, it’s time to add the cherries to the jars. Pack the cherries tightly into the sterilized jars, ensuring there is some headspace at the top of each jar. Leaving enough headspace allows for expansion and ensures the liquid can fully cover the cherries.
Pour syrup over cherries
Divide the cooled syrup among the jars, pouring it over the cherries. It is important to ensure that each cherry is completely covered with syrup. The syrup acts as a preservative and adds sweetness to the brandied cherries.
Add brandy, lemon juice, and vanilla extract
To enhance the flavor of the brandied cherries, add brandy to each jar based on personal preference. The amount of brandy added can vary depending on how strong you’d like the flavor. Squeeze fresh lemon juice and add a small amount to each jar. The lemon juice adds a touch of brightness to the cherries. Finally, add a few drops of vanilla extract to each jar. The vanilla extract provides a subtle aroma that complements the flavors of the cherries.
Seal and store the jars
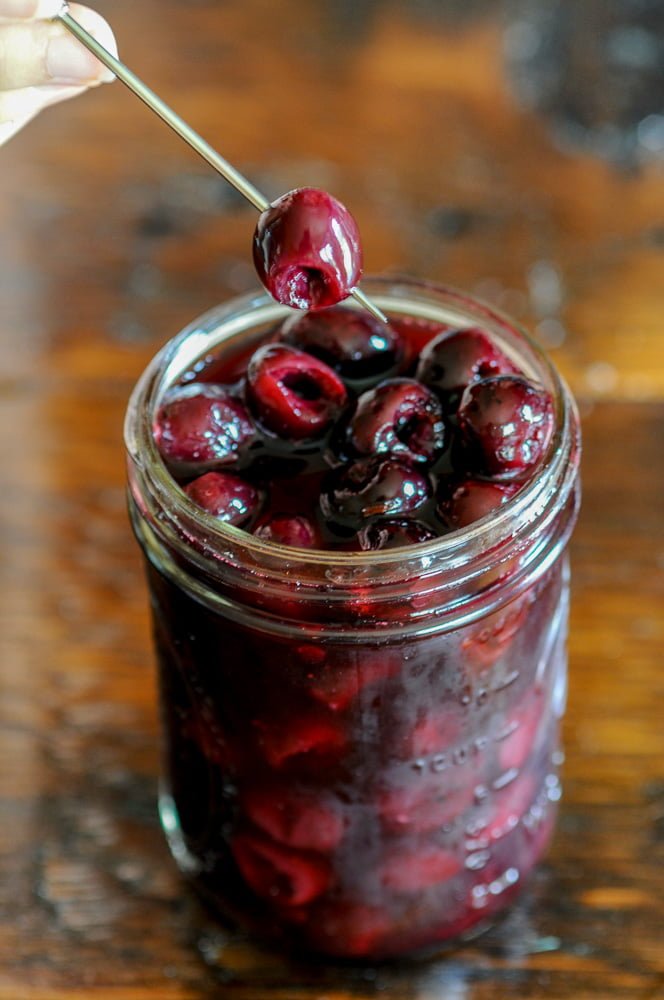
To seal the jars, wipe the jar rims clean to ensure a proper seal. Place the lids on the jars and tighten them securely. It is important to label and date the jars to keep track of the aging process. Store the sealed jars in a cool, dark place for at least 2 weeks before consuming. This allows the flavors to meld and develop, resulting in delicious brandied cherries.
Tips and Variations
Here are some useful tips and variations to consider when making brandied cherries:
Choose ripe, firm cherries for the best flavor
Picking the right cherries is crucial for a delicious outcome. Select cherries that are ripe, firm, and free from any blemishes. Ripe cherries will have the best flavor once they are preserved in brandy.
Experiment with different types of brandy for unique tastes
Brandy comes in various flavors and styles, which can greatly impact the taste of your brandied cherries. Consider using different types of brandy to create unique and distinctive flavors. Experiment and find the one that best suits your palate.
Add spices like cinnamon or cloves for extra complexity
If you want to add more complexity to your brandied cherries, try incorporating spices like cinnamon or cloves. These spices can be added to the syrup mixture or placed directly in the jars with the cherries. They add warmth and depth to the overall flavor profile.
Brandied cherries can be stored for up to a year
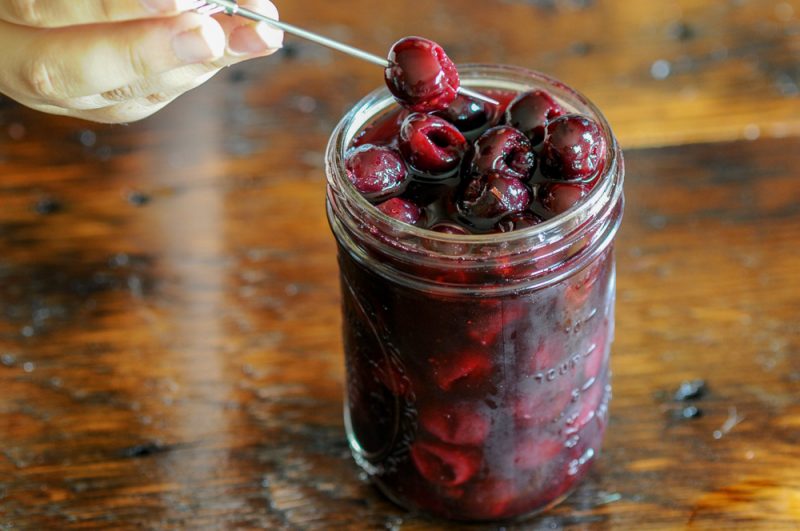
Brandied cherries have a long shelf life if stored correctly. They can be stored in a cool, dark place for up to a year. As time passes, the flavors will continue to develop and intensify. Be sure to properly label and date your jars to keep track of their aging process.
In conclusion, making brandied cherries is a delightful way to preserve and enjoy the natural essence of fresh cherries. By following these steps and incorporating your desired variations, you can create a jar of delicious brandied cherries that can be enjoyed on their own, used as a topping for desserts, or incorporated into cocktails. Get creative and savor the flavors that this timeless recipe brings. Cheers!
