In this article, you will learn the process of creating yeast from the abundance of apples. Discover the simple steps and ingredients required to transform this humble fruit into a vital component of baking. Uncover the secrets behind harnessing the natural yeast-producing agents within apples and master the art of crafting your own homemade yeast. Get ready to embark on a journey filled with scientific experimentation and culinary satisfaction as you unlock the potential of this versatile and delicious fruit.

Choosing the Right Apples
When it comes to making yeast from apples, selecting the right type of apples is crucial. Different apple varieties have varying levels of natural yeasts, which can affect the fermentation process. It is recommended to choose apples that are known to have a high yeast content, such as Granny Smith, Golden Delicious, or Jonathan apples. These varieties are generally preferred for their balanced flavor and high sugar content, which contributes to a successful fermentation process.
Determining the Varieties
Before you start gathering your apples for yeast-making, it’s important to determine the variety of apples you have. This information will help you understand the potential flavors and characteristics of the resulting yeast. If you are unsure about the apple variety, you can ask a local apple farmer, consult an apple identification guide, or seek assistance from knowledgeable individuals who can help identify the specific apple variety.
Selecting Ripe and Fresh Apples
To ensure the best results, it is essential to use ripe and fresh apples for yeast-making. Ripe apples have a natural sweetness and are more likely to contain an optimal yeast population. Avoid using spoiled or overripe apples, as they may introduce unwanted bacteria or mold into the fermentation process. Freshness is key, so try to acquire apples from local farmers’ markets or stores that prioritize high-quality produce.
Considering Organic and Local Options
When deciding which apples to use for yeast-making, consider opting for organic and local options. Organic apples are grown without the use of synthetic pesticides or fertilizers, making them a healthier choice for both you and the environment. Local apples, on the other hand, are often fresher and more flavorful since they are sourced closer to the fermentation location. Supporting local farmers also helps sustain local economies and reduce the carbon footprint associated with long-distance transportation.
Preparation and Equipment
Once you have selected your apples, it’s time to prepare for the yeast-making process. Proper preparation and the right equipment are essential to ensure a successful and efficient fermentation.
Gathering the Necessary Equipment
Before you begin, gather all the necessary equipment for making yeast from apples. You will need a sharp knife or apple corer for removing cores and seeds, a cutting board for chopping the apples, a blender or food processor for crushing the apples, and a fine-mesh strainer or cheesecloth for straining the fermented mixture later on. Additionally, prepare containers for storing the yeast, such as glass jars with airtight lids or plastic containers specifically designed for fermentation.

Cleaning and Sterilizing Utensils
Sanitation is critical when making yeast from apples. Thoroughly clean and sterilize all utensils, containers, and equipment that will come into contact with the ingredients and the fermentation process. This helps prevent the growth of harmful bacteria or other contaminants that could jeopardize the fermentation and the quality of the resulting yeast. Soaking utensils in a solution of hot water and mild dish soap, followed by rinsing with boiling water, is a reliable method for sterilization.
Preparing the Work Area
Before starting the yeast-making process, it is important to prepare a clean and organized work area. Clear any clutter and ensure that you have enough space to work comfortably. Lay down a clean towel or a silicone mat to protect the surface and make cleanup easier. Having a dedicated work area promotes a more efficient and enjoyable yeast-making experience, allowing you to focus on the task at hand.
Creating the Apple Mixture
Now that you have your equipment ready and your work area prepared, it’s time to start creating the apple mixture that will undergo natural fermentation to produce yeast.
Washing and Chopping Apples
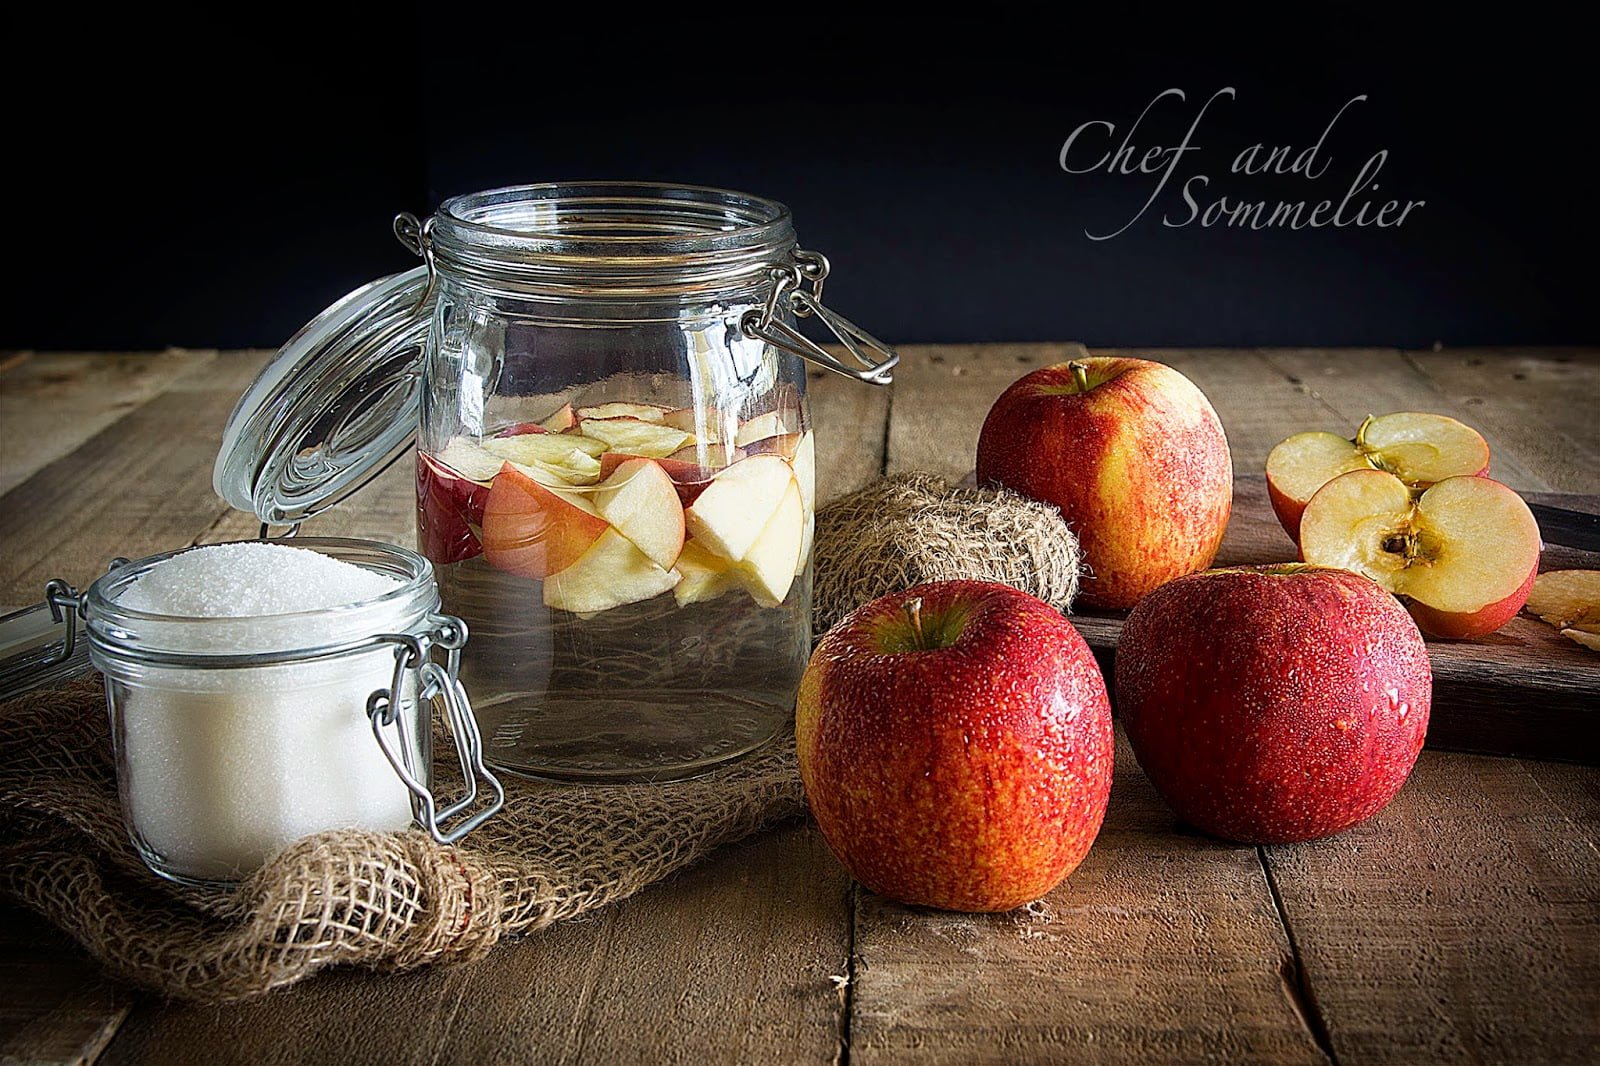
Begin by thoroughly washing the apples under cool running water. This step helps remove any dirt, debris, or potential chemical residue from the apple skins. After washing, pat them dry or let them air dry before proceeding. Once dry, use a sharp knife or an apple corer to remove the cores and seeds. Chop the apples into small, uniform pieces. Remember to remove any damaged or bruised parts.
Blending or Crushing Apples
After chopping the apples, it’s time to blend or crush them to release their natural juices and sugars. This step accelerates the fermentation process by exposing more surface area for yeast to access. Depending on your preferred method, you can use a blender or a food processor to blend the apples until they reach a pulpy consistency. Alternatively, you can crush them using a clean potato masher or a similar tool.
Adding Liquid and Sweeteners
To facilitate the fermentation process and enhance the flavor of the resulting yeast, you can add a small amount of liquid and sweeteners to the apple mixture. This can be in the form of apple juice, water, or even sweet fruit juices such as grape or pear. The liquid helps create an environment that supports yeast growth and activity. Adding a natural sweetener like honey, maple syrup, or sugar provides additional nutrients for the yeast to thrive. However, it’s important to remember that excessive sugar can inhibit yeast growth, so moderation is key.

Natural Fermentation Process
After creating the apple mixture, it’s time to let nature take its course and allow the mixture to ferment naturally.
Allowing Wild Yeasts to Settle
Cover the container with a breathable cloth or a plastic wrap with small puncture holes to allow air circulation while keeping out contaminants. By doing this, you create an environment where wild yeasts present on the apple skins and in the surrounding environment can settle onto the apple mixture and initiate fermentation. Natural fermentation occurs when the wild yeasts feed on the sugars in the apples, converting them into alcohol and carbon dioxide.
Covering the Mixture to Prevent Contamination
While it is important to allow air circulation during fermentation, it is equally crucial to protect the mixture from contamination. Covering the container prevents unwanted pests, dust, or airborne contaminants from entering and potentially ruining the fermentation process. Ensure that the covering is secure and tight enough to keep contaminants out while still allowing the release of excess carbon dioxide.
Storing the Mixture at Room Temperature
Place the covered apple mixture in a location with a consistent and moderate room temperature, ideally between 60 and 75 degrees Fahrenheit (15 and 24 degrees Celsius). This temperature range provides an optimal environment for yeast growth and fermentation. Avoid storing it in excessively hot or cold areas, as extreme temperatures can negatively impact yeast activity. Allow the mixture to ferment undisturbed for several days to several weeks, depending on the desired flavor and yeast concentration.
Monitoring the Fermentation
During the fermentation process, it is important to monitor and observe the changes taking place within the apple mixture.
Observing Bubbling and Foaming
As the yeast consumes the sugars in the apples, the fermentation process will generate bubbles and foam on the surface of the mixture. This bubbling and foaming are signs that the yeast is actively converting sugars into alcohol and carbon dioxide. The presence of carbon dioxide can create pressure inside the container, so ensure that the covering allows excess gas to escape and prevent any potential explosions. Observe the intensity and frequency of the bubbling to gain insights into the fermentation progress.

Checking for a Tangy Smell
A significant indicator of successful fermentation is the development of a tangy smell in the apple mixture. As the yeast converts sugars to alcohol, it creates various organic compounds that contribute to the distinct aroma of fermenting apples. The smell should be pleasant and tangy, reminiscent of fermentation but without any strong unpleasant odors. If you detect any off or foul odors, it may indicate contamination or a yeast strain that did not thrive.
Noting the Time Duration of Fermentation
The duration of fermentation varies depending on several factors, including the temperature, yeast concentration, and desired flavor profile. Generally, fermentation can take anywhere from a few days to a few weeks. To determine the optimal fermentation time, taste the mixture periodically and note any changes in flavor and aroma. It’s important to exercise patience and let the fermentation progress until it reaches the desired taste and consistency.
Separating the Yeast
Once the fermentation process is complete, it’s time to separate the liquid yeast from the apple mixture and prepare it for storage and future use.
Straining the Fermented Apple Mixture
Using a fine-mesh strainer or a double layer of cheesecloth, strain the fermented apple mixture to separate the liquid yeast from the residual apple pulp. Press gently on the pulp to extract as much liquid yeast as possible while leaving behind any solid apple remnants. The liquid yeast collected through straining contains viable yeast cells and can be used in various baking and fermentation recipes.
Discarding Residual Apple Pulp
After straining the fermented mixture, discard the residual apple pulp. This leftover pulp has served its purpose, and its remaining organic matter can potentially introduce contaminants or affect the taste and quality of the yeast. Properly dispose of the pulp in a compost bin or according to your local waste management guidelines.
Retrieving the Liquid Yeast
Collect the strained liquid yeast and transfer it to a designated storage container immediately. The container should be clean, airtight, and made of non-reactive materials like glass or food-grade plastic. Ensure that the container is sterilized to maintain the freshness and viability of the yeast. By storing it properly, you can extend the shelf life and use the yeast in future recipes.

Storing and Maintaining the Yeast
Storing the yeast properly is essential to maintain its viability and ensure its usability in baking or other fermentation processes. Follow these steps to store and maintain your homemade apple yeast.
Choosing Proper Storage Containers
Select storage containers that are well-sealed and suitable for storing yeast. Glass jars with airtight lids are typically the best option, as they do not react with the yeast and provide an effective barrier against oxygen and moisture. Avoid using metal containers or containers with residual food particles, as they may contaminate the yeast or affect its quality.
Refrigerating or Freezing the Yeast
To prolong the shelf life of the yeast, store it in a refrigerator or a freezer. Refrigeration slows down the yeast’s metabolic activity, prolonging its viability. If stored in a refrigerator, the yeast can remain usable for several weeks. Freezing the yeast can significantly extend its lifespan, allowing it to remain viable for several months. However, it is important to allow the yeast to come to room temperature before using it to reactivate the dormant yeast cells.
Maintaining Yeast Viability
To maintain the viability of the yeast, it is important to periodically feed it with a small amount of sugar or fruit juice while storing it. This occasional feeding provides additional nutrients for the yeast cells, keeping them alive and active. Stir the yeast gently to incorporate the sugar or fruit juice, then return it to the refrigerator or freezer for storage.
Making Yeast Starter
Before using the yeast in recipes, it’s beneficial to create a yeast starter to ensure that the yeast is active and ready for fermentation.
Preparing a Yeast Starter
To prepare a yeast starter, combine a small amount of the stored liquid yeast with equal parts water and flour. Stir the mixture well to incorporate the ingredients thoroughly. The yeast starter provides an environment for the yeast to multiply and become more active, allowing it to effectively ferment dough or other ingredients in recipes.
Activating the Yeast
After preparing the yeast starter, cover it with a breathable cloth or a plastic wrap with small puncture holes, similar to the covering used during the initial fermentation. Keep the yeast starter at room temperature and allow it to sit undisturbed for several hours or up to a day. During this time, the yeast will activate and become ready for use in recipes.
Using the Yeast Starter in Recipes
Once the yeast starter is activated, it can be used as a substitute for commercial yeast in various recipes. The yeast starter adds depth of flavor and complexity to bread, pizza dough, or any other baked goods. When substituting the yeast starter for commercial yeast, adjust the recipe accordingly, as the starter may require a longer fermentation time or additional rising cycles.
Alternative Methods
While apples are commonly used for yeast-making, there are alternative methods you can explore to expand your yeast-making repertoire.
Using Apple Peels and Cores
If you have apple peels and cores leftover from other kitchen activities, such as pie making or apple sauce preparation, you can use them to make yeast. Apple peels and cores still contain a significant amount of natural yeasts and sugars, and fermenting them can yield a flavorful and fragrant yeast. Simply follow the same steps detailed above, washing and chopping the peels and cores before blending or crushing them.
Substituting Apples with Other Fruits
Although apples are the traditional fruit of choice for yeast-making, you can experiment with other fruits as well. Fruits like grapes, pears, or berries also contain natural yeasts and sugars, making them suitable for fermentation. Explore different fruit combinations or individual fruits to create unique and flavorful yeast variations. Adjust the fermentation time and other factors based on the specific fruit you choose to use.
Exploring Commercial Yeast Starter Options
In addition to making yeast from apples or other fruits, you may also consider exploring commercially available yeast starters. These specially formulated starters offer convenience and consistent results. Products like sourdough starters or specific yeast strains developed for various types of bread or fermentation processes can provide reliable results. Commercial yeast starters are readily available in stores or online, and they offer an excellent alternative for those seeking consistent and predictable yeast outcomes.
Troubleshooting and Tips
Even with careful preparation and execution, yeast-making from apples can occasionally encounter challenges. Here are some troubleshooting tips to address common issues and enhance the yeast-making process.
Dealing with Mold or Off Odors
If you notice any signs of mold growth or off odors during the fermentation process or after straining the fermented mixture, it is crucial to discard the entire batch. Mold growth or off odors are indicators of contamination or unsuccessful fermentation. Take note of any factors that could have contributed to the issue, such as unsanitary conditions, improper storage, or insufficient temperature control. Addressing these potential causes can minimize the risk of future issues.
Adjusting Fermentation Times or Ingredients
Since yeast-making is a natural process, the fermentation time and flavor profile can vary depending on several factors. If you find that the fermentation is progressing too slowly or too quickly, you can adjust the amount of liquid or sweeteners added to the apple mixture. Increasing the liquid content can help facilitate fermentation, while reducing the sweetness may encourage a faster fermentation process. Additionally, adjusting the fermentation time can allow you to explore different flavor profiles and find the ideal balance for your preferences.
Experimenting with Different Apple Yeast Uses
Once you have successfully made yeast from apples, the possibilities for its use are endless. Experiment with incorporating the apple yeast into various recipes, such as bread, pizza dough, or other baked goods. Each apple yeast batch may have unique flavor characteristics that can enhance the taste and complexity of your culinary creations. Keep track of your experiments, flavor combinations, and baking times to find the perfect apple yeast application for your preferences.
In conclusion, making yeast from apples is an exciting and rewarding process that allows you to harness the natural yeasts and flavors present in this versatile fruit. By carefully selecting the right apples, preparing the apple mixture, and observing the fermentation process, you can create a homemade yeast that adds depth and complexity to your baking and fermentation endeavors. Whether you prefer the traditional taste of apple yeast or you choose to explore alternative fruits or commercially available yeast starters, the possibilities for culinary creativity are endless. Start your yeast-making journey today and enjoy the flavorful results of your homemade apple yeast.