Acorn squash lovers rejoice! In this article, we’ll show you the simple and effective steps on how to save your very own acorn squash seeds. Say goodbye to buying expensive seeds and embrace the gratifying process of harvesting and preserving your squash seeds for future planting. With a few basic tools and some helpful tips, you’ll soon be on your way to a never-ending supply of delicious acorn squash straight from your own backyard. Get ready to embark on a delightful gardening journey as we unlock the secrets of saving acorn squash seeds.

Choosing a Healthy Acorn Squash
Acorn squash is a nutritious and delicious vegetable that can be enjoyed in a variety of dishes. If you’re interested in saving the seeds from your acorn squash to grow your own plants in the future, it’s important to start with a healthy squash. By inspecting the squash and checking for ripeness, you can ensure that you’re selecting the best squash for seed extraction.
Inspecting the Squash
Before you even consider saving the seeds, it’s essential to inspect the squash for any signs of disease or damage. Look for uniform color and firmness throughout the squash. Avoid squash that has soft spots or shows signs of decay. Additionally, check for any physical damage, such as cuts, bruises, or punctures. By selecting a visually healthy squash, you increase the chances of harvesting viable seeds.
Checking for Ripeness
Ripeness is another crucial factor to consider when choosing a healthy acorn squash for seed extraction. A ripe squash will have a deep, even color and a hard rind. You can gently press on the squash with your thumb; if it gives slightly but springs back, it’s a good indication that it’s ripe. Avoid squash that feels mushy or has a pale color, as these may not have fully matured and may not produce viable seeds.
Avoiding Diseased or Damaged Squash
It’s important to avoid saving seeds from acorn squash that show signs of disease or damage. Squash that appears diseased, discolored, or has obvious signs of rot should be discarded. Disease or damage can affect the viability of the seeds and may result in weak or unhealthy plants in the future. Select only the healthiest squash for seed extraction to ensure successful seed saving.
Harvesting the Squash
Once you’ve selected a healthy acorn squash, it’s time to harvest it. Proper timing and technique are essential for ensuring the seeds are in their prime condition for saving.
Determining the Right Time
Acorn squash should be harvested at their peak of ripeness for optimal seed quality. This is typically when the squash reaches full maturity and the rind turns a deep, rich color. You can also gently tap the squash with your knuckles; if it produces a hollow sound, it’s a good indication that it’s ready to be harvested. Timing is crucial because if the squash is harvested too early or too late, the seeds may not be fully developed, resulting in lower viability.
Using Proper Techniques
When harvesting acorn squash, it’s important to use proper techniques to avoid any damage that could affect the quality of the seeds. Use a sharp knife or pair of shears to cut the squash from the vine, leaving a few inches of stem attached. Be careful not to cut into the squash or damage the stem, as this can increase the risk of contamination or disease. Handle the squash gently to prevent any unnecessary bruising or impact that could impact the seed quality.
Preparing the Squash for Seed Extraction
Once you’ve harvested a ripe and healthy acorn squash, it’s time to prepare it for seed extraction. This involves washing the squash to remove any dirt or debris and cutting it open to access the seed cavity.
Washing the Squash
Before cutting into the squash, it’s important to give it a thorough wash to remove any external contaminants. Fill a clean sink or basin with warm water and add a small amount of mild dish soap. Gently scrub the skin of the squash with a soft brush, being careful not to apply too much pressure that could bruise or damage the squash. Rinse the squash thoroughly with clean water to ensure all soap residue is removed before proceeding with seed extraction.
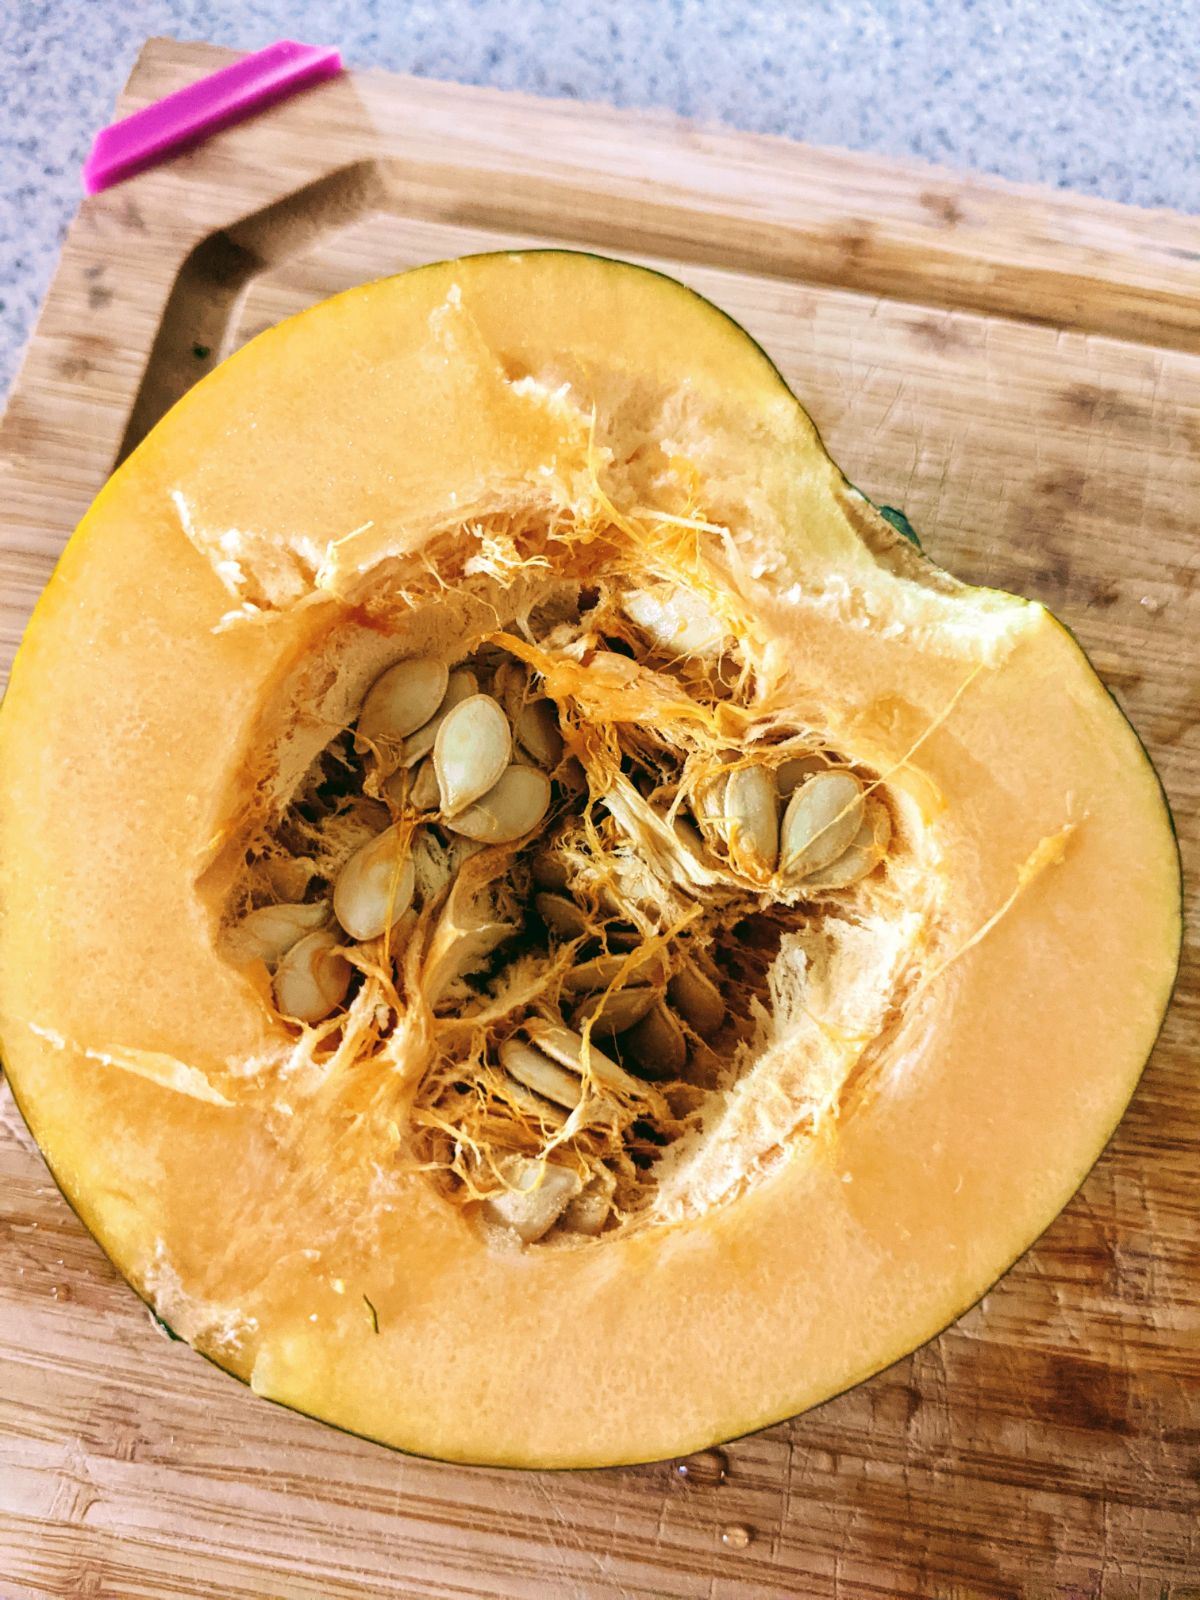
Cutting and Scooping the Squash
After washing the squash, carefully cut it open lengthwise using a sharp knife. Take caution when cutting to avoid injuring yourself. Once the squash is open, use a spoon or scoop to remove the seeds and stringy membrane from the seed cavity. Be thorough in scooping out all the seeds, as any remaining flesh or membrane can affect the ability of the seeds to dry properly. Place the seeds and membrane in a clean bowl or container for further processing.
Extracting the Seeds
Now that you’ve prepared the squash by removing the seeds and membrane, it’s time to extract the seeds from the membrane and clean them thoroughly.
Removing the Membranes
The seeds of acorn squash are enclosed in a thick, fibrous membrane. To extract the seeds, immerse the bowl or container containing the seeds and membrane in water. Use your fingers to gently rub the seeds against the membrane, loosening them from its grasp. The seeds will often separate easily, while the membrane floats to the top of the water. Once most of the seeds are removed, drain the water and discard the membranes.
Cleaning the Seeds
After removing the membranes, it’s important to clean the seeds thoroughly to remove any remaining pulp or debris. Fill a clean container with water and add the seeds. Swish the seeds around in the water, agitating them gently to loosen any clinging debris. Pour off the water, and any floating debris should be discarded. Repeat this process until the water appears clear and free of any remaining pulp or debris. Proper cleaning ensures that the seeds are ready for drying and storage.

Drying the Seeds
Drying the extracted seeds is a crucial step in the seed saving process. Proper drying conditions help prevent mold or rot, and ensure the seeds remain viable for future planting.
Air Drying
Air drying is a simple and effective method for drying acorn squash seeds. Spread the seeds in a single layer on a clean, dry surface. This can be a drying rack, a screen, or even a tray lined with paper towels. Place the seeds in a well-ventilated area away from direct sunlight. Allow the seeds to air dry for a period of 1 to 2 weeks, or until they feel completely dry to the touch. Stir or shake the seeds every few days to ensure even drying.
Oven Drying
If you prefer a faster drying method, you can use your oven to dry the acorn squash seeds. Preheat the oven to the lowest temperature setting, typically around 140°F (60°C). Spread the seeds in a single layer on a baking sheet lined with parchment paper. Place the baking sheet in the oven and leave the oven door slightly ajar to allow for airflow. Allow the seeds to dry for approximately 2 to 3 hours, or until they feel thoroughly dry. Avoid using higher temperatures, as they can damage the seeds.
Storing the Seeds
Proper storage is essential for maintaining seed viability over an extended period. By choosing the right containers and ensuring proper storage conditions, you can protect the seeds and extend their shelf life.
Choosing the Right Containers
When storing acorn squash seeds, it’s important to choose containers that provide protection from moisture, light, and air. Ideally, opt for glass jars with airtight lids or seed storage envelopes made from moisture-resistant material. Avoid using plastic bags or containers that can allow moisture to accumulate, leading to mold or rot. Ensure the containers are completely dry before adding the seeds, as any residual moisture can also impact their quality.
Ensuring Proper Storage Conditions
To maintain seed viability, it’s crucial to store the seeds in optimal conditions. Store the containers in a cool, dry, and dark place, such as a pantry or cellar. Avoid storing the seeds in areas prone to temperature fluctuations or high humidity, as this can shorten their shelf life. Regularly check on the stored seeds to ensure there is no moisture or signs of mold. Keeping the seeds in ideal storage conditions will help preserve their quality for years to come.

Testing Seed Viability
Before planting saved acorn squash seeds, it’s wise to test their viability to ensure a successful germination rate. Two common tests that can be performed at home are the float test and the germination test.
Performing the Float Test
The float test is a quick and easy way to determine the viability of seeds. Fill a bowl or container with water and carefully place the acorn squash seeds into the water. After a few minutes, observe the seeds. Viable seeds will sink to the bottom of the bowl, while non-viable seeds will float on the surface. Discard any seeds that float, as they are unlikely to germinate successfully.
Conducting the Germination Test
The germination test provides a more accurate assessment of seed viability. Take a damp paper towel or cotton pad and place it in a shallow dish or Ziploc bag. Arrange a few acorn squash seeds on the damp surface and cover the dish or seal the bag. Place the dish or bag in a warm location, such as on top of a refrigerator or near a sunny window. Check the seeds regularly for signs of germination, typically within 7 to 10 days. Seeds that show signs of sprouting are viable and can be confidently planted. Discard any seeds that do not germinate.
Using Saved Acorn Squash Seeds
Once you have successfully saved and tested the viability of your acorn squash seeds, you can confidently use them for planting in your garden. Follow these guidelines to ensure successful growth and prevent cross-pollination.
Planting Guidelines
Choose a suitable location in your garden to plant the acorn squash. Ensure the soil is well-drained and rich in organic matter. Plant the seeds at a depth of approximately 1 inch, spacing them at least 12 inches apart. Water the seeds regularly to keep the soil consistently moist but not waterlogged. As the plants grow, provide support or trellising to prevent them from sprawling. Monitor the plants for pests or diseases and address them promptly to avoid any damage or loss of the crop.
Preventing Cross-Pollination
If you have other squash varieties or related plants in your garden, it’s crucial to prevent cross-pollination to maintain the purity of your saved acorn squash seeds. Squash plants are susceptible to cross-pollination by insects, which can result in hybridization. To prevent this, consider hand-pollinating the plants or using physical barriers like netting or cages to isolate the acorn squash plants from other varieties. This way, you can ensure that the seeds you save will produce true-to-type acorn squash plants in the future.

Troubleshooting
Even with careful preparation and storage, issues may arise when saving acorn squash seeds. Here are some common troubleshooting tips for addressing mold or fungus issues and dealing with pest infestations.
Addressing Mold or Fungus Issues
Mold or fungus growth on saved acorn squash seeds can be detrimental to their viability. If you notice any signs of mold or fungus, such as a musty smell or fuzzy growth, take immediate action. Discard any affected seeds to prevent the spread of contamination. To prevent mold or fungus, ensure seeds are thoroughly dry before storage. Consider adding a desiccant, such as silica gel packets, to absorb any excess moisture in the storage containers.
Dealing with Pest Infestations
Pests can pose a threat to stored acorn squash seeds, especially if proper precautions were not taken during the drying and storage process. If you discover any signs of pests, such as holes in the storage containers or evidence of insects, take immediate action. Remove the affected seeds and inspect the rest of the stored seeds for any signs of infestation. To prevent future pest infestations, store the seeds in airtight containers and keep them in a cool, dry place. Consider adding organic pest repellents, such as neem leaves or diatomaceous earth, to the storage containers as a preventive measure.
Final Thoughts
Saving acorn squash seeds not only allows you to enjoy a bountiful harvest year after year but also contributes to seed diversity. By selecting healthy squash, harvesting at the right time, properly preparing the seeds, and following the steps for drying, storing, and testing viability, you can successfully save acorn squash seeds for future planting. Remember to follow planting guidelines and prevent cross-pollination to maintain the integrity of the saved seeds. Happy seed saving and may your future acorn squash plants thrive!


