Imagine growing your own yellow squash and being able to save the seeds to plant again next year. It may sound like a daunting task, but fear not! In this article, you will discover the secret to saving yellow squash seeds in a simple and efficient way. By following a few easy steps, you can ensure a bountiful harvest of delicious yellow squash year after year. So, grab your gardening gloves and let’s unlock the secret to saving yellow squash seeds together!
Choosing the Right Yellow Squash for Seed Saving
Selecting Open-Pollinated Varieties
When choosing yellow squash varieties for seed saving, it is important to select open-pollinated varieties. Open-pollinated varieties will produce true-to-type offspring, meaning that the seeds saved from these plants will grow into plants with the same characteristics as the parent plant. This is crucial for maintaining the desired traits of the squash variety over generations.
Choosing Disease-Free and Healthy Plants
To ensure the health and vigor of future generations of yellow squash, it is essential to choose disease-free and healthy plants for seed saving. Look for plants that have no signs of disease or pest damage. Healthy plants will have vibrant leaves, strong stems, and a robust overall appearance. By selecting healthy plants, you are increasing the chances of producing viable and resilient seeds.
Allowing Squash to Fully Mature
To obtain high-quality seeds, it is crucial to allow the yellow squash to fully mature on the vine before harvesting it for seed saving. The squash should reach its peak in terms of size and color before harvesting. When the squash is fully mature, the seeds inside will have reached their maximum size and will be more likely to germinate successfully in the future.
Harvesting Yellow Squash for Seed Saving
Determining Seed Maturity
Before harvesting yellow squash for seed saving, it is important to determine if the seeds have reached maturity. To check for seed maturity, press your thumbnail into a few seeds. If the seeds are hard and cannot be easily dented, they are mature and ready for harvest. Immature seeds will be soft and pliable.
Harvesting at the Right Time
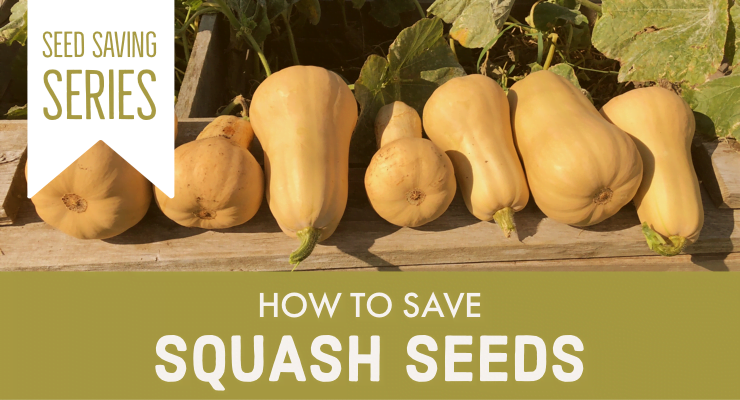
Harvesting yellow squash for seed saving should be done when the fruits are fully ripe. This is typically when the skin of the squash is firm and the color is bright yellow. Avoid harvesting squash that is underripe or overripe, as this can negatively affect the quality of the seeds.
Using Proper Harvesting Techniques
To harvest yellow squash for seed saving, use a sharp knife or pruning shears to cut the squash from the vine, leaving a small stem attached to the fruit. Avoid twisting or pulling the squash off the vine, as this can damage the seeds inside. Handle the harvested squash with care to prevent any bruising or injury that could impact seed viability.
Extracting and Cleaning Yellow Squash Seeds
Preparing the Squash for Seed Extraction
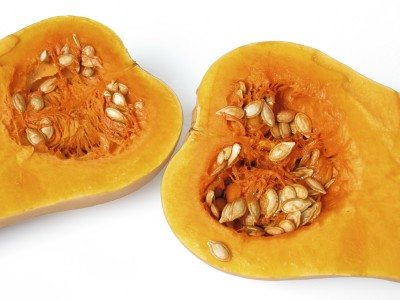
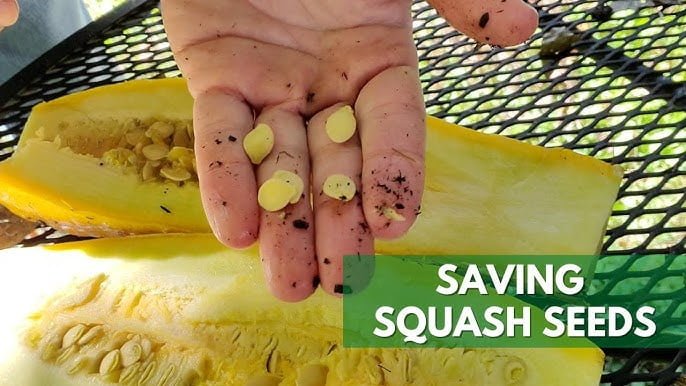
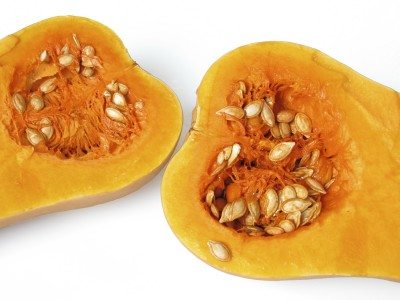
Before extracting the seeds from yellow squash, it is important to prepare the squash properly. Start by washing the squash thoroughly to remove any dirt or debris. Then, cut the squash open lengthwise and use a spoon or your hands to scoop out the seeds and pulp from the center of the squash.
Extracting Seeds from Yellow Squash
To extract the seeds from yellow squash, separate them from the pulp. You can do this by placing the seeds and pulp in a bowl of water and manually separating them. The viable seeds will sink to the bottom, while the non-viable seeds and pulp will float. Skim off the floating material and collect the sunken seeds for further processing.
Cleaning and Removing Debris from the Seeds
After extracting the seeds, it is important to clean them thoroughly to remove any remaining pulp or debris. Rinse the seeds in a sieve under running water, gently rubbing them between your fingers to remove any stubborn residue. Once the seeds are clean, spread them out on a paper towel or a clean, dry surface to air-dry completely before storage.
Drying Yellow Squash Seeds
Importance of Drying Seeds
Properly drying yellow squash seeds is crucial for long-term storage and maintaining seed viability. Drying the seeds thoroughly helps to prevent mold, rot, and other forms of deterioration. Additionally, drying the seeds ensures that they will remain dormant until conditions are suitable for germination.
Choosing the Right Drying Location
When drying yellow squash seeds, it is important to choose a well-ventilated and dry location. Avoid areas with high humidity or direct sunlight, as these conditions can negatively impact the quality of the seeds. A cool, dry room with good air circulation is ideal for drying seeds.
Proper Drying Techniques
To dry yellow squash seeds, spread them out in a single layer on a clean, dry surface. Ensure that the seeds are not touching or overlapping each other to allow for proper air circulation. Stir the seeds occasionally to promote even drying. Depending on the humidity levels, the seeds may take several days to a few weeks to dry completely.

Storing Yellow Squash Seeds
Importance of Proper Seed Storage
Proper storage of yellow squash seeds is essential for maintaining their viability for future planting. If not stored correctly, seeds can lose their ability to germinate and grow healthy plants. By providing the right storage conditions, you can prolong the lifespan of the seeds and ensure successful germination rates.
Choosing the Right Storage Containers
When storing yellow squash seeds, it is important to choose the right containers that will protect the seeds from moisture, pests, and temperature fluctuations. Use airtight glass jars or seed storage envelopes made of paper or breathable material. Avoid using plastic bags or containers that may trap moisture and lead to seed deterioration.
Creating Optimal Storage Conditions
To create optimal storage conditions for yellow squash seeds, place the sealed containers in a cool, dry, and dark environment, such as a pantry or refrigerator. The temperature should be consistent and not subject to extreme fluctuations. Keep the seeds away from direct sunlight and moisture, as these factors can reduce seed viability.
Labeling and Organizing Yellow Squash Seeds
Importance of Proper Labeling
Properly labeling yellow squash seeds is crucial for keeping track of the variety, age, and any unique characteristics of the seeds. Clear and accurate labeling will help you quickly identify the desired traits of each seed batch, making it easier to select seeds for future plantings.
Organizing Seeds by Variety
Organize your yellow squash seeds by variety to ensure easy access and efficient seed management. Sort and group the seeds according to the different cultivars or varieties. This will allow you to quickly locate specific seeds when needed and maintain the desired traits of each variety.
Keeping Track of Seed Age
To ensure optimal seed viability, it is important to keep track of the age of your yellow squash seeds. Seeds typically have a shelf life, and their germination rates may decrease over time. By labeling the seeds with the year of harvest or purchase, you can prioritize using the older seeds first and replenishing your seed stock accordingly.
Testing Seed Viability
Methods to Test Seed Viability
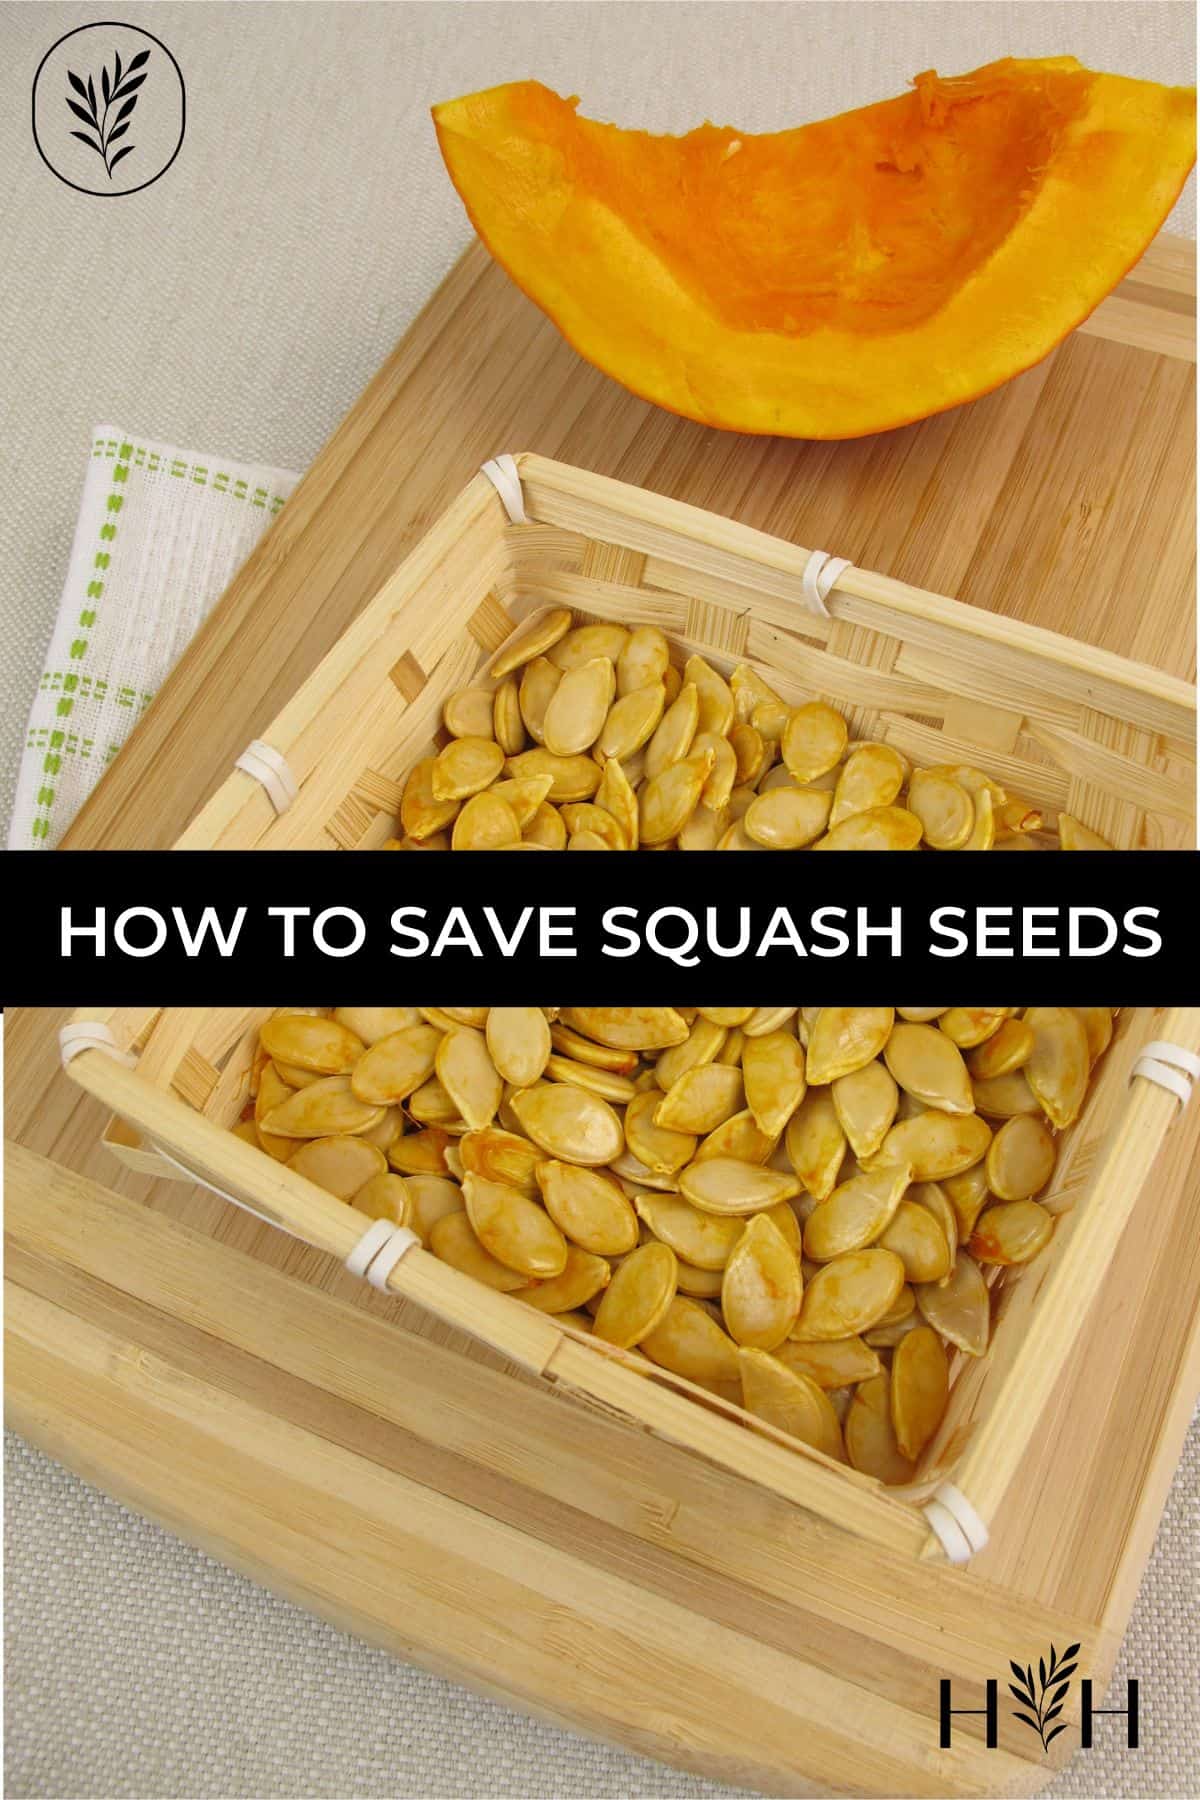
Testing the viability of yellow squash seeds is essential to determine whether they are still capable of germinating and producing healthy plants. Popular methods for testing seed viability include the germination test, the tetrazolium test, and the seedling vigor test. These tests help assess the percentage of viable seeds in a batch.
Determining Seed Germination Rates
Seed germination rates indicate the percentage of seeds that successfully produce healthy seedlings. To determine the germination rate of yellow squash seeds, conduct a germination test by planting a sample of seeds and observing their sprouting. A high germination rate signifies high seed viability.
Knowing When to Replace Old Seeds
Over time, the viability of yellow squash seeds may decline, resulting in lower germination rates. It is important to know when to replace old seeds to ensure successful plantings. If the germination rate of a batch of seeds falls below an acceptable threshold, it is advisable to replace them with fresh, viable seeds.
Propagating Yellow Squash from Saved Seeds
Understanding Seed Saving Techniques
To successfully propagate yellow squash from saved seeds, it is crucial to understand seed saving techniques. Familiarize yourself with the specific requirements and characteristics of yellow squash seeds. Implement proper seed saving practices, including isolation techniques to prevent cross-pollination and maintaining genetic purity.
Preparation for Future Planting
Before planting saved yellow squash seeds, it is important to ensure proper preparation. This includes selecting a suitable planting site, preparing the soil, and providing optimal growing conditions. Following recommended planting guidelines increases the chances of successful germination and healthy plant growth.
Ensuring Seed Health for Successful Propagation
To maximize the chances of successful propagation, it is important to ensure the health of the saved yellow squash seeds. Properly stored seeds with high viability will yield healthier seedlings. Additionally, conducting regular seed viability tests and replacing old seeds as needed will help maintain the health and vigor of future generations of yellow squash plants.
Sharing Yellow Squash Seeds
Benefits and Importance of Seed Sharing
Sharing yellow squash seeds benefits both gardeners and the overall preservation of plant biodiversity. Seed sharing allows for the exchange of different varieties and cultivars, increasing diversity in home gardens and communities. It also helps to preserve rare and heirloom varieties that may otherwise be lost over time.
Finding Seed Exchange Networks
To participate in seed sharing, join local seed exchange networks or online gardening communities. These platforms connect individuals who are passionate about seed saving and exchange. Participating in seed swaps, attending seed libraries, or joining gardening clubs can also provide opportunities for seed sharing.
Proper Packaging and Shipping of Seeds
When sharing yellow squash seeds, proper packaging and shipping are crucial to ensure seed viability. Use envelopes or small seed packets to protect the seeds from damage during transit. Place the envelopes in padded envelopes or small boxes to prevent crushing. Include clear labeling and instructions to guide the recipient on planting and care.
Challenges and Tips for Saving Yellow Squash Seeds
Common Challenges in Seed Saving
Saving yellow squash seeds can present various challenges. Issues such as cross-pollination with other squash varieties, improper drying or storage, and the presence of pests or diseases can affect seed viability. It is essential to be aware of these challenges and implement appropriate techniques to overcome them.
Tips for Overcoming Obstacles
To overcome challenges in yellow squash seed saving, consider implementing isolation techniques to prevent cross-pollination, ensuring proper drying and storage conditions, and regularly inspecting seeds for pests or diseases. Maintaining a comprehensive record and continuous learning about seed saving practices can also help overcome obstacles.
Maintaining Genetic Diversity
Saving yellow squash seeds contributes to the preservation of genetic diversity within the squash species. By saving seeds from a variety of cultivars, you are helping to maintain different traits, flavors, and adaptability to different growing conditions. This genetic diversity is important for the long-term health and resilience of yellow squash plants.
In conclusion, saving yellow squash seeds is a rewarding endeavor that allows you to preserve the desirable traits of specific varieties, ensure their longevity, and contribute to the wider seed-saving community. By following the steps outlined in this comprehensive guide, you will be well equipped to successfully save, store, and share yellow squash seeds for future generations of gardeners to enjoy.
