You’re in for a sweet treat! In this ultimate guide, you’ll discover the secrets of drying cherries to perfection. Whether you’re an avid baker or simply love the burst of flavor that dried cherries bring to your dishes, we’ve got you covered. From selecting the best cherries to achieving that wonderful chewy texture, we’ll walk you through the entire process. So grab a bunch of cherries and get ready to become a master at drying these delectable fruits!

Choosing the Right Cherries
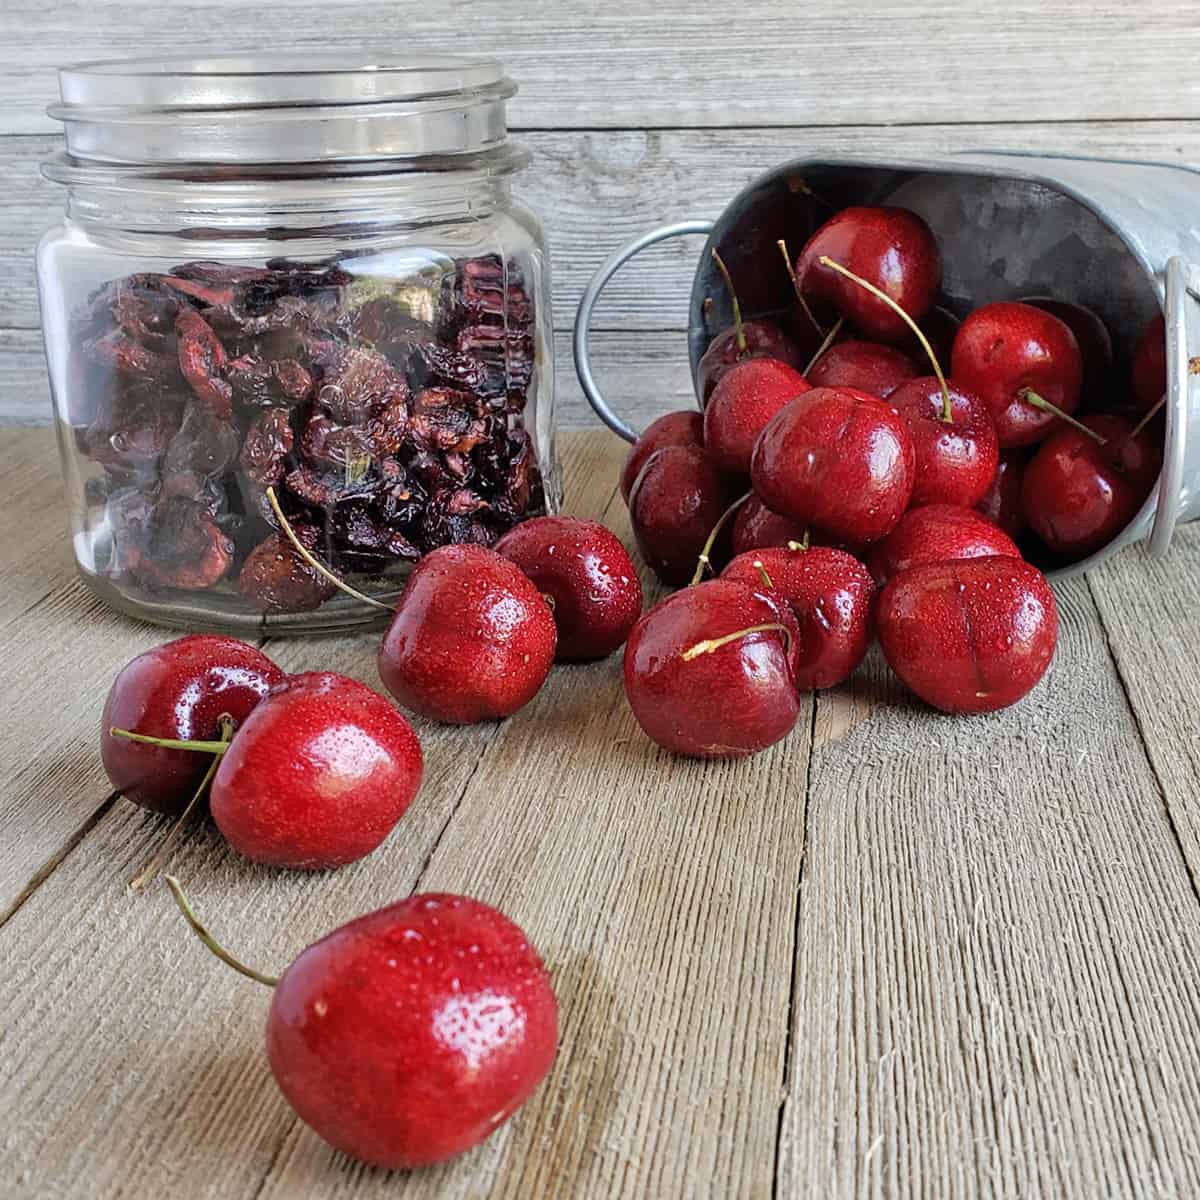
Selecting ripe cherries
When it comes to drying cherries, selecting ripe fruit is crucial. Look for cherries that are plump, firm, and evenly colored. Avoid cherries that are bruised, wrinkled, or have any signs of mold. The ideal cherries for drying are sweet-tart varieties such as Bing, Rainier, or Montmorency.
Choosing the right variety
Different cherry varieties offer unique flavors and characteristics, so it’s important to choose the right one for your drying purposes. For a sweeter and juicier dried cherry, opt for varieties like Bing or Rainier. If you prefer a tart and tangy flavor, Montmorency cherries are a perfect choice. Consider your personal preference and the specific recipe you plan to use the dried cherries in when selecting the variety.
Preparation
Washing the cherries
Before drying the cherries, it’s essential to give them a thorough wash to remove any dirt, debris, or pesticide residues. Start by placing the cherries in a colander and rinsing them under cool running water. Gently rub the cherries with your fingers to ensure all sides are clean. Avoid using any soap or detergent as it can leave a residue on the cherries.
Pitting the cherries
To pit the cherries, you will need a cherry pitter, a handy tool specifically designed for this purpose. Simply place each cherry in the pitter and press down gently to remove the pit. Alternatively, you can use a small paring knife to cut around the stem and remove the pit manually. Pitting the cherries before drying will prevent any unwanted hardness or bitterness in the final dried product.

Methods of Drying
Sun drying
Sun drying is a traditional method of drying fruits that relies on the natural heat and airflow of the sun. It’s a simple and cost-effective method, although it requires sunny and warm weather conditions. To sun dry cherries, follow these steps:
Preparing the cherries for sun drying
After washing and pitting the cherries, spread them out in a single layer on a clean and dry surface. Make sure there is enough space between each cherry for airflow to promote even drying.
Setting up the drying area
Choose a sunny and well-ventilated location for drying the cherries. You can use a drying rack, clean window screens, or even a clean sheet with good air circulation. Make sure to protect the cherries from any pests or birds by covering them with a fine mesh or cheesecloth.
Monitoring and flipping the cherries
During the sun drying process, it’s essential to monitor the cherries regularly. Check for any signs of spoilage or mold and discard any cherries that are not drying properly. Additionally, flip the cherries occasionally to ensure even drying on all sides and prevent sticking.
Oven Drying
Preparing the cherries for oven drying
After washing and pitting the cherries, preheat the oven to a low temperature, ideally around 135°F (57°C). Line a baking sheet with parchment paper and arrange the cherries in a single layer, leaving a small gap between each one.
Setting the oven temperature and time
Place the baking sheet with the cherries in the preheated oven and leave the oven door slightly ajar to promote airflow. The drying process typically takes around 4-6 hours, but the exact time may vary depending on the size and moisture content of the cherries. It’s important to keep a close eye on the cherries and periodically check for dryness.
Checking the cherries for dryness
To check if the cherries are dry enough, remove one cherry from the oven and allow it to cool for a few minutes. Squeeze it gently between your fingers – it should feel leathery, pliable, and free of any moisture. If the cherry still feels moist, return it to the oven for additional drying time.

Dehydrator Drying
Preparing the cherries for dehydrator drying
After washing and pitting the cherries, arrange them in a single layer on the dehydrator trays, making sure there is enough space between each cherry for proper airflow. Avoid overcrowding the trays, as it may result in uneven drying.
Setting the dehydrator temperature and time
Consult the manufacturer’s instructions for your specific dehydrator model to determine the optimal temperature. In general, the recommended temperature for drying cherries is around 135°F (57°C). Set the dehydrator to this temperature and let it run for approximately 8-12 hours, or until the cherries are completely dry to your liking.
Rotating the trays of cherries
To ensure even drying, it’s advisable to rotate the trays every few hours. This will help distribute the heat and promote uniform drying throughout the cherries. Pay attention to any cherries that may be drying faster or slower than others, moving them accordingly on the trays.
Storing the Dried Cherries
Cooling and conditioning the cherries
Once the cherries are completely dry, remove them from the drying area and let them cool to room temperature. Place the cooled cherries in an airtight container and allow them to “condition” for a few days. Conditioning helps equalize any remaining moisture among the cherries, ensuring their long-term quality.
Packaging and storing the dried cherries
After the conditioning period, transfer the dried cherries to an airtight container or resealable bags. Store them in a cool, dry, and dark place away from direct sunlight. When properly stored, dried cherries can retain their quality for up to a year.

Using Dried Cherries in Recipes
Incorporating dried cherries in baked goods
Dried cherries add a delightful burst of flavor and texture to various baked goods. Whether you’re making cookies, muffins, cakes, or bread, simply chop the dried cherries into smaller pieces and fold them into the batter. The cherries will rehydrate during the baking process, infusing your baked treats with their delicious sweetness.
Dried cherries in salads and savory dishes
Dried cherries can also elevate your salads and savory dishes to new heights. Toss them into green salads for a refreshing touch, or sprinkle them on top of roasted vegetables for a unique twist. You can also add dried cherries to grain salads, such as quinoa or couscous, to impart a sweet and tangy flavor.
Enjoying dried cherries as a snack
Of course, dried cherries are a delightful snack on their own! Their natural sweetness and chewy texture make them a perfect alternative to candy or sugary treats. Pack a handful of dried cherries in your bag for a quick and nutritious snack on the go, or mix them with other dried fruits and nuts for a homemade trail mix.
Tips and Tricks
Optimal cherry thickness for drying
When slicing or pitting the cherries, aim for a uniform thickness of around 1/2 inch. This thickness allows the cherries to dry evenly without becoming overly dry or chewy. Consistency in size will ensure that all the cherries dry at the same rate and provide a consistent texture in your recipes.
Preventing browning during drying
To prevent the cherries from browning during the drying process, you can soak them briefly in a solution of lemon juice and water. The acid in the lemon juice helps inhibit oxidation and preserves the cherries’ natural color. After soaking, drain the cherries well before proceeding with the drying method of your choice.
Rehydrating dried cherries
If your recipe calls for rehydrated dried cherries, simply soak them in warm water or your preferred liquid for approximately 15-30 minutes. The dried cherries will absorb the moisture and plump up, becoming similar in texture to fresh cherries. Remember to adjust the liquid content of your recipe accordingly.

Troubleshooting
Cherries not drying evenly
If you notice that some cherries are drying faster or slower than others, it could be due to variations in size or moisture content. To address this issue, rotate the cherries during the drying process to ensure consistent exposure to heat and airflow. Consider sorting the cherries by size and drying them separately to avoid over-drying or under-drying.
Mold or spoilage issues
Mold or spoilage can occur if the cherries have not been properly washed or dried, or if they are stored in a humid environment. To prevent this, ensure that the cherries are thoroughly washed and dried before beginning the drying process. Additionally, store the dried cherries in airtight containers in a cool, dry place to minimize moisture exposure. Regularly check for any signs of mold or spoilage, and discard any cherries that appear questionable.