If you’re looking to explore the joys of gardening and want to add some vibrant color to your harvest, then this guide to harvesting yellow squash is just for you. From the moment the seeds are planted to the satisfying experience of picking the ripe and succulent fruits, this article will walk you through the step-by-step process of cultivating and gathering yellow squash. Get ready to learn the best practices for ensuring a bountiful yield and discover the secrets to harvesting this delectably versatile vegetable.
Choosing the Right Time
Checking the Plant’s Maturity
When it comes to harvesting yellow squash, timing is everything. You want to ensure that the squash is mature enough to be picked but not overly ripe. One way to determine if your yellow squash is ready for harvest is by checking the plant’s maturity. Look for plants that are mature and producing healthy-looking fruit. The leaves should be vibrant and green, and the plants should be actively producing flowers. If your squash plants meet these criteria, it’s a good indication that the fruits are ready for picking.
Monitoring the Color and Texture
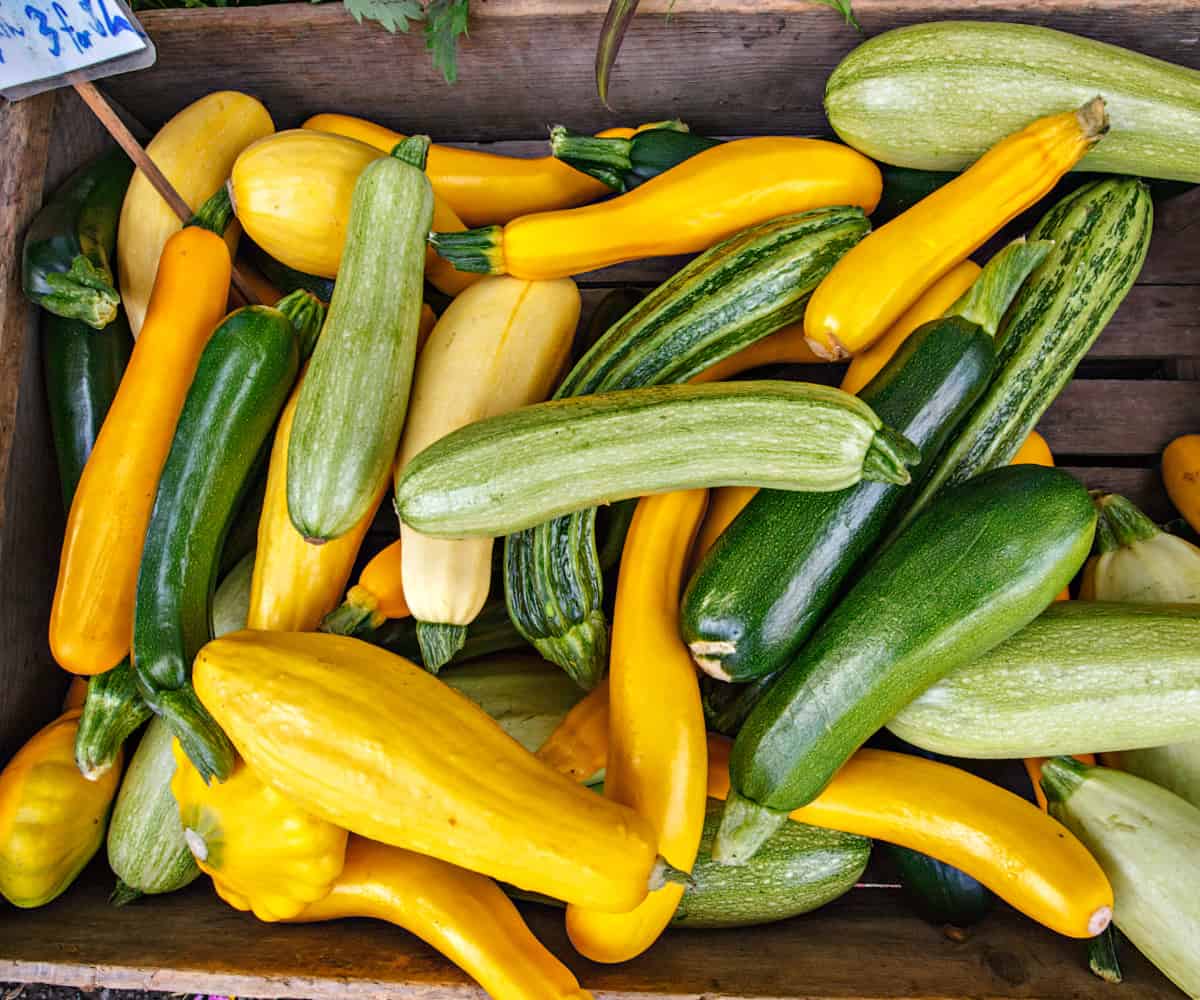
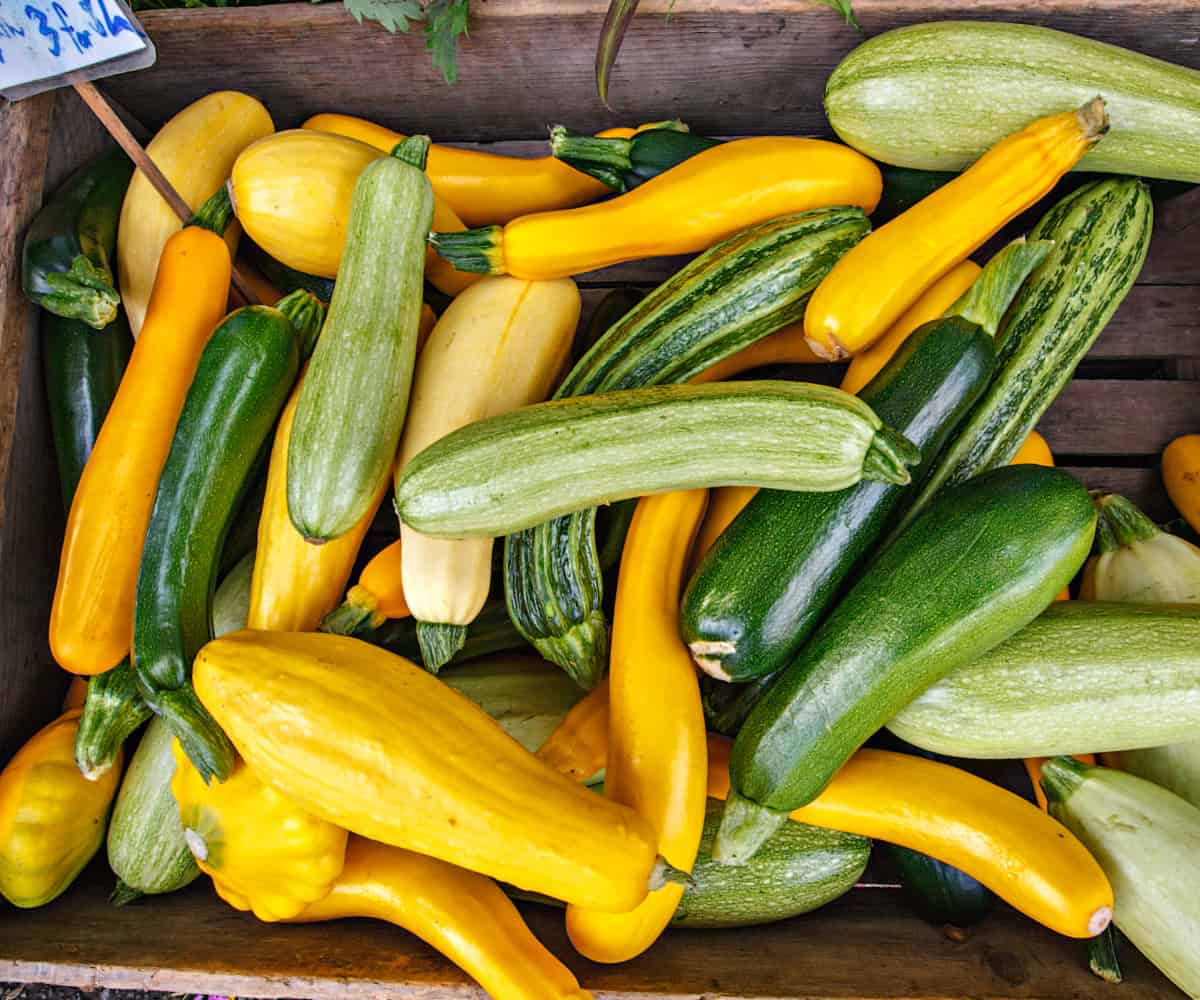
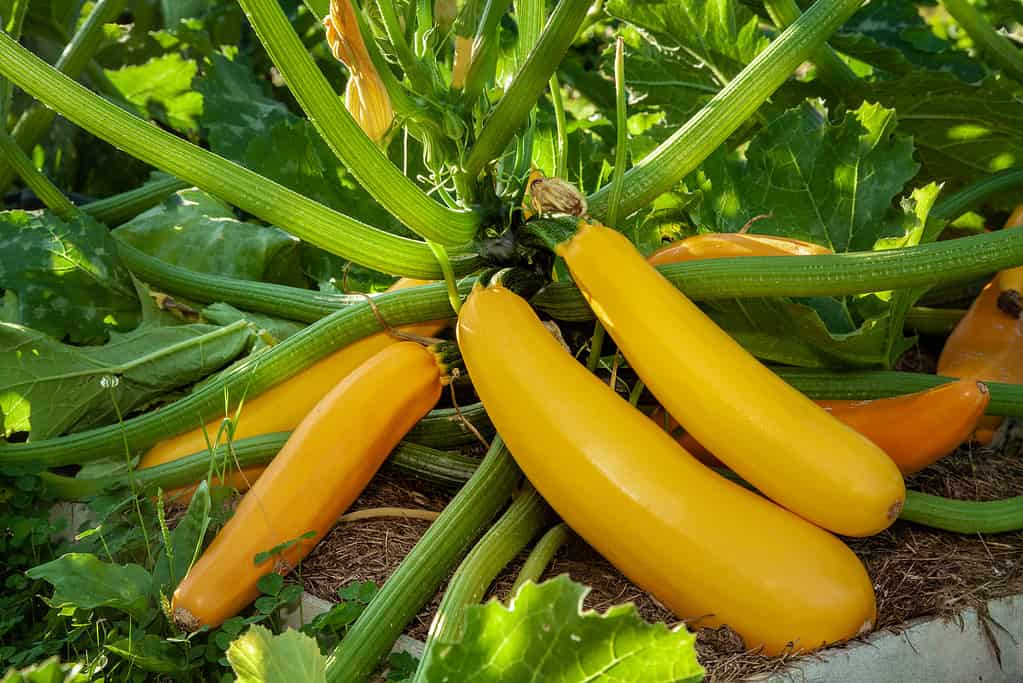
Another way to determine if your yellow squash is ready to be harvested is by monitoring its color and texture. Mature yellow squash will have a bright, vibrant color. The skin should be glossy and free from blemishes or discoloration. Additionally, the texture of the squash should be firm but not too hard. You should be able to press your thumb into the skin and leave a slight indentation. If the squash feels overly soft or mushy, it may be overripe and should be discarded.
Considering the Ideal Size
Size matters when it comes to harvesting yellow squash. Ideally, you want to harvest the squash when it reaches a length of about 6 to 8 inches. At this size, the squash will be tender and flavorful. If you allow the squash to grow much larger, it may become tough and less enjoyable to eat. Keep in mind that smaller squash may still be tasty, but they might not have developed their full flavor profile. It’s important to strike a balance between size and taste when deciding on the right time to harvest.
Preparing for Harvest
Gathering the Necessary Tools
Before you start harvesting your yellow squash, it’s essential to gather the necessary tools. You’ll need a pair of sharp scissors or a pruning shear, a pair of gloves, and a basket or container to collect the harvested squash. Having these tools readily available will make the harvesting process much smoother and more efficient. By preparing in advance, you’ll be able to harvest the squash without any unnecessary delays or interruptions.
Wearing Protective Gear
While yellow squash may seem harmless, it’s always a good idea to wear protective gear while harvesting. You’ll want to protect your hands from potential scratches or cuts, so wearing a pair of gloves is highly recommended. Additionally, some squash plants may have prickly stems or leaves, so it’s best to wear long sleeves and pants to avoid any discomfort. By taking these simple precautions, you can ensure a safe and enjoyable harvesting experience.
Harvesting Techniques
Using a Pair of Scissors
Using a pair of scissors is one of the most commonly used techniques for harvesting yellow squash. To begin, hold the stem of the squash firmly with one hand and use the scissors to cut it away from the plant. Make sure to cut the stem at the point where it connects to the fruit. Be careful not to apply too much force as you may risk damaging the plant or the neighboring fruits. Repeat this process for each squash you wish to harvest.
Using a Pruning Shear
If you have a large harvest or prefer a more efficient method, using a pruning shear can be a great option. Similar to using scissors, hold the stem with one hand and use the pruning shear to make a clean cut. Pruning shears are especially useful for larger squash varieties, as they provide more leverage and precision. Just like with scissors, make sure to cut the stem at the base of the fruit. Remember to handle the pruning shear with care to avoid any accidents or injuries.
Using Your Hand
For smaller and more delicate squash, using your hand to pluck them from the plant can be an effective technique. Gently grasp the squash near the base and twist it off the stem. Be careful not to pull too forcefully, as this may cause damage to the plant or the fruit. Using your hand allows for a more hands-on approach and can be a great option if you have a smaller harvest or prefer a more direct connection with your plants.
Harvesting Tips
Harvesting Frequently
To maximize your yield and enjoy a continuous harvest, it’s important to harvest your yellow squash frequently. As the plants produce new fruits, make it a habit to check for ripe squash every few days. Harvesting frequently ensures that you pick the squash at their peak ripeness and encourages the plant to continue producing more fruit. By staying diligent and keeping a close eye on your plants, you’ll be able to enjoy a bountiful harvest throughout the growing season.
Harvesting Early in the Morning
Harvesting your yellow squash early in the morning is a wise choice. During the early hours, the weather is usually cooler, which helps preserve the quality of the squash. Additionally, cooler temperatures reduce the chances of the squash becoming damaged or bruised during the harvesting process. By picking your squash in the morning, you’ll also prevent them from sitting in the heat for an extended period, ensuring that they remain fresh and flavorful.
Checking for Overripe Squash
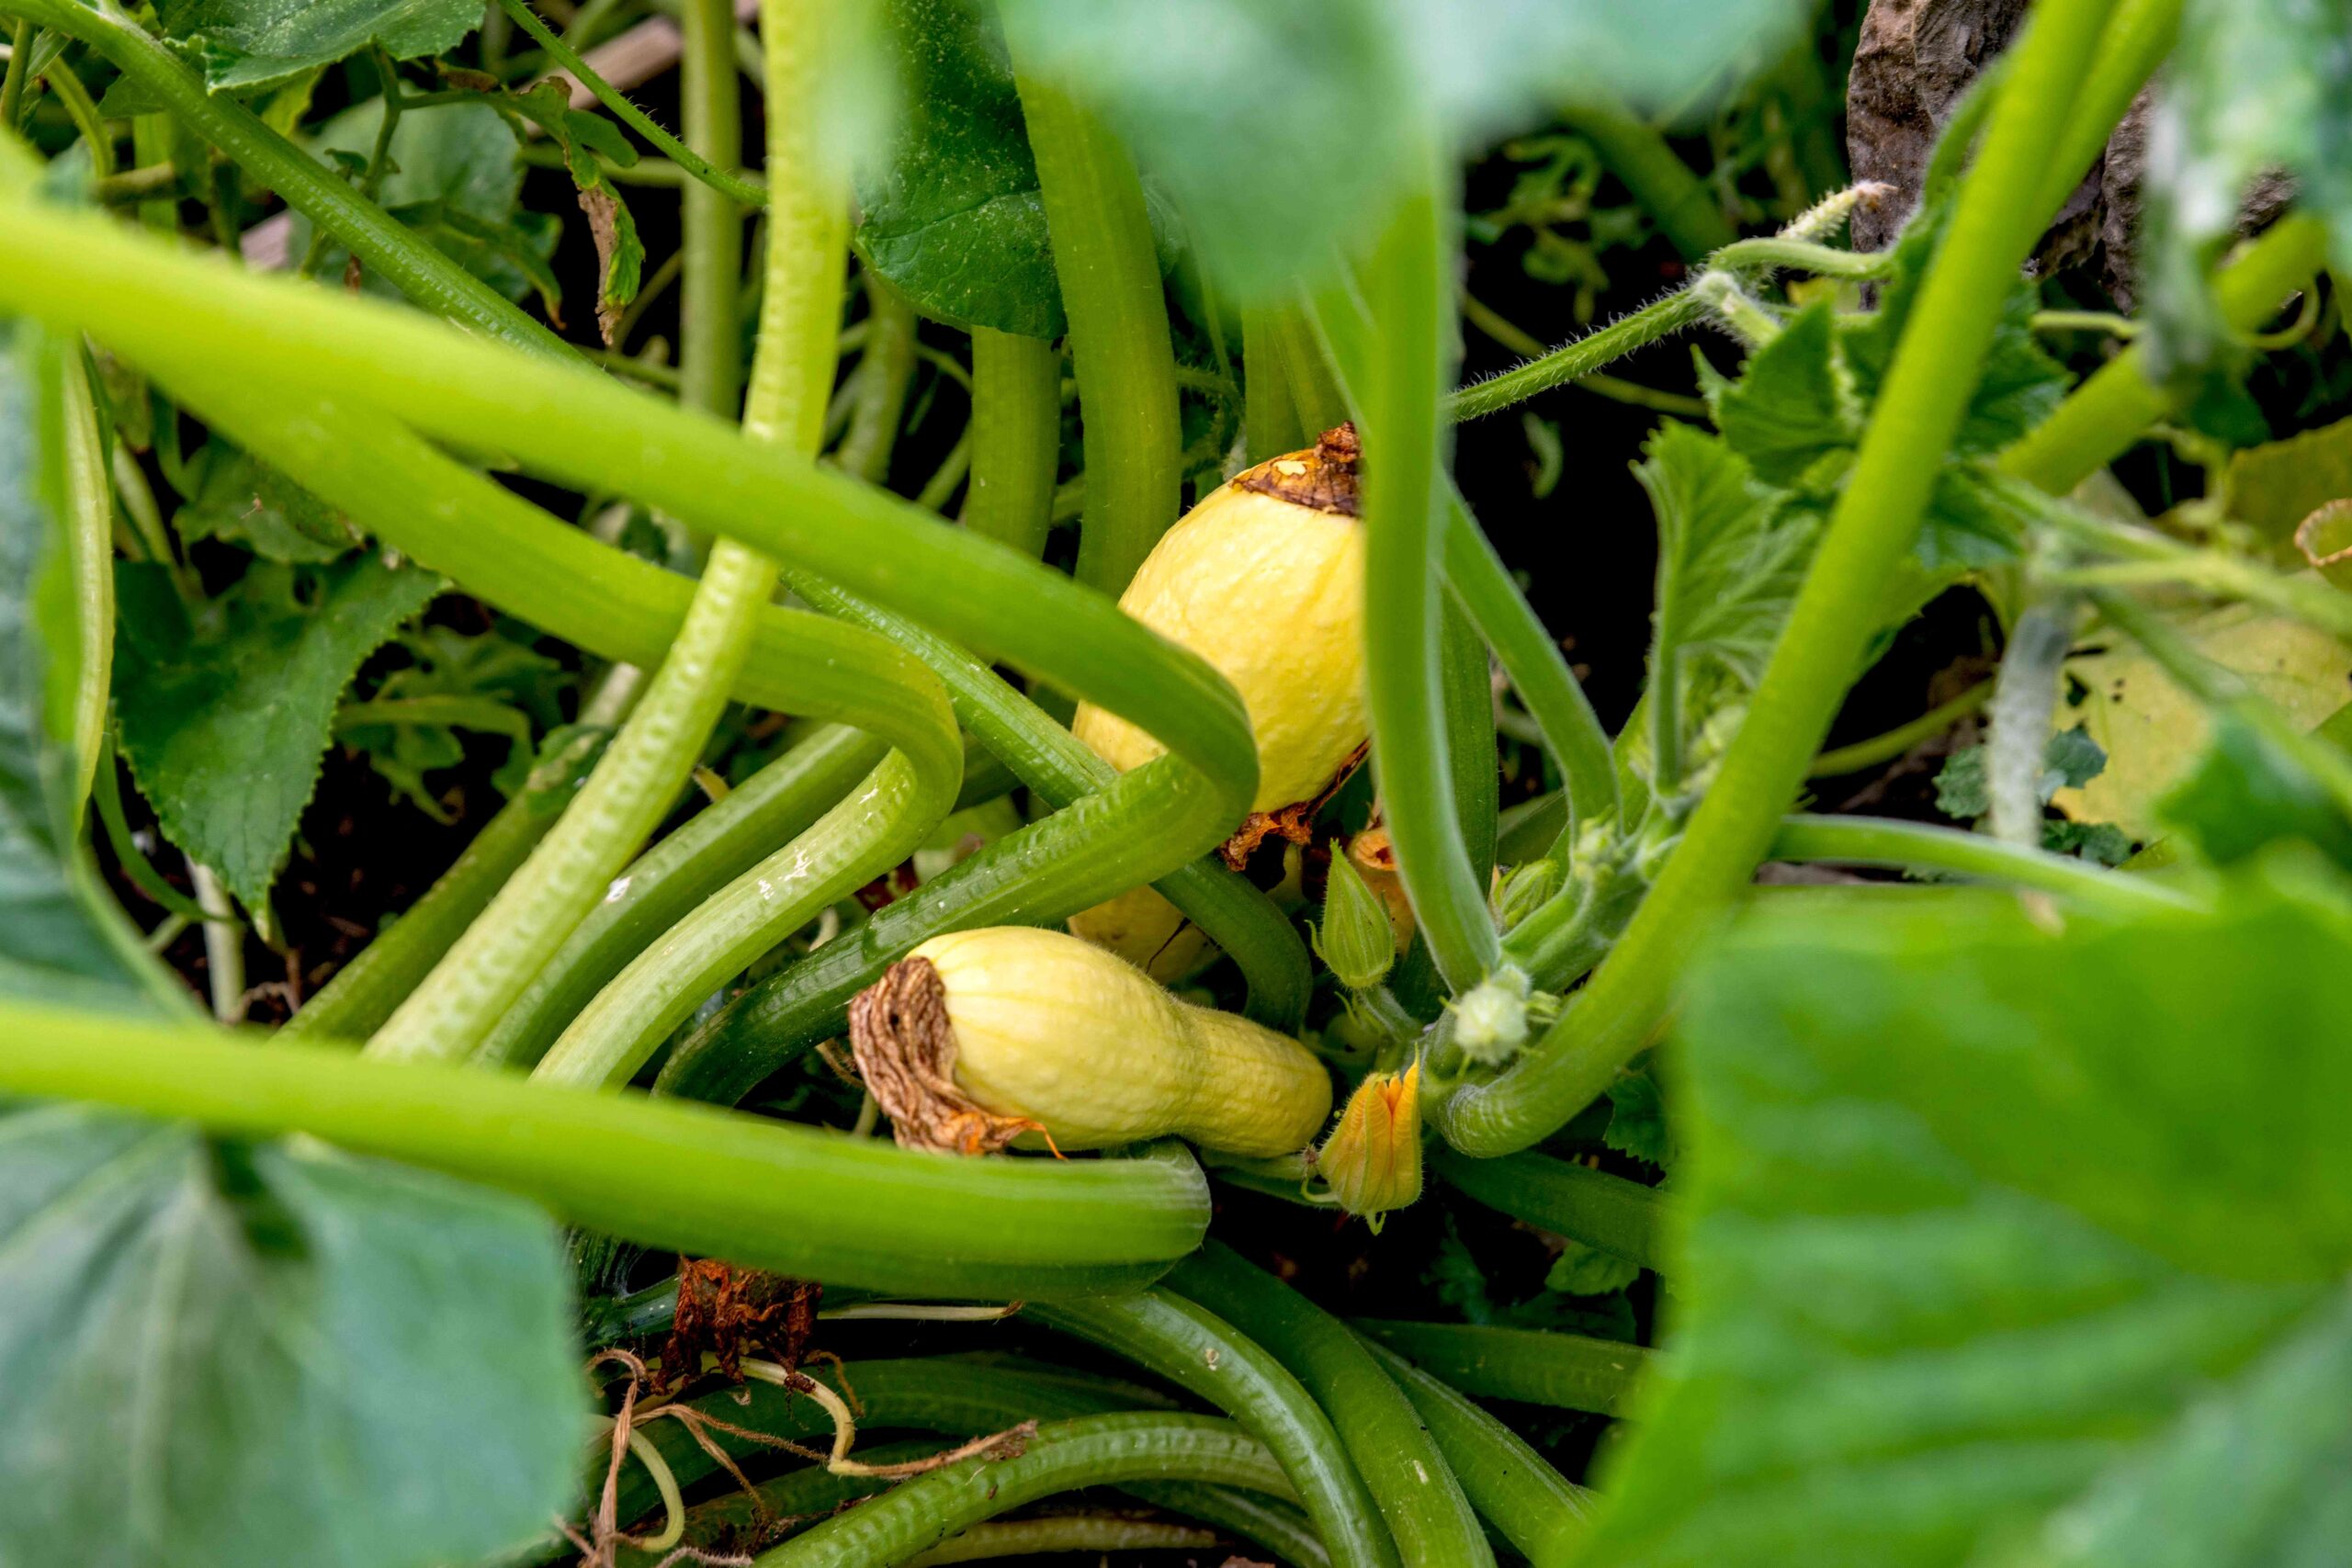
While it’s important to harvest your yellow squash at the right time, it’s equally crucial to watch out for overripe squash. As squash becomes overripe, it may develop a dull or faded color and a softer texture. Overripe squash can be less enjoyable to eat and may have a mushy consistency. To avoid harvesting and consuming overripe squash, regularly inspect your plants for any signs of decay or deterioration.

Dealing with Pests and Diseases
Identifying Common Yellow Squash Pests
Like any other plant, yellow squash is susceptible to pests and diseases. Some common pests that may affect yellow squash include aphids, cucumber beetles, and squash bugs. These pests can cause damage to the plants, affecting their growth and productivity. By familiarizing yourself with the appearance and behavior of these pests, you’ll be better equipped to identify and address any infestations before they become severe.
Controlling Pests and Diseases
To control pests and diseases, it’s essential to implement preventive measures and take proactive steps. Regularly inspect your squash plants for any signs of infestation, such as chewed leaves or discolored patches. In case of minor infestations, you can manually remove the pests or use organic pest control methods, such as spraying a mixture of neem oil and water. For more severe infestations or infections, it may be necessary to consult with a professional or employ stronger pest control solutions.
Using Organic Pest Control Methods
Using organic pest control methods is a great way to protect your yellow squash plants without the use of harmful chemicals. Organic pest control options include introducing beneficial insects, such as ladybugs or lacewings, that feed on squash pests. You can also make natural pest repellents using ingredients like garlic, hot peppers, or soap. These methods are environmentally friendly and help maintain the overall health and balance of your garden.
Processing Yellow Squash
Washing the Squash
After harvesting your yellow squash, it’s important to wash them thoroughly before consumption or further processing. Rinse the squash under cool running water to remove any dirt or debris. Gently rub the surface of the squash with your hands or a soft brush to ensure a thorough cleaning. Once washed, pat the squash dry with a clean towel or allow them to air dry before storing or using them in recipes.
Storing Yellow Squash
To store yellow squash, it’s best to keep them in a cool and dry place. Avoid exposing the squash to direct sunlight or humid environments, as they can accelerate spoilage. If you have harvested more squash than you can consume immediately, consider storing them in a paper bag or a perforated plastic bag in the refrigerator. Proper storage will help prolong the freshness and flavor of the squash, allowing you to enjoy them for a longer period.
Freezing Yellow Squash
Freezing yellow squash is a convenient way to preserve their freshness for an extended period. To freeze yellow squash, start by washing and cutting them into desired shapes, such as slices or cubes. Blanch the squash by quickly boiling them for a few minutes and then transferring them to an ice bath to halt the cooking process. Drain the cooled squash and place them in freezer-safe containers or bags. Properly sealed, frozen yellow squash can last for several months and can be used in various recipes.

Recipes and Cooking Ideas
Grilled Yellow Squash
Grilled yellow squash is a simple and delicious way to enjoy the flavors of this versatile vegetable. Start by slicing the squash into thin strips. Toss the strips with olive oil, salt, and pepper, and then grill them over medium heat until they are tender and slightly charred. Serve the grilled yellow squash as a side dish, or incorporate it into salads, sandwiches, or pasta dishes for added flavor and texture.
Yellow Squash Casserole
Yellow squash casserole is a popular dish that combines the creamy goodness of cheese and the natural sweetness of yellow squash. To make this comforting dish, slice the squash and sauté it with onions until they are tender. Combine the cooked squash with a mixture of eggs, cheese, breadcrumbs, and seasonings. Pour the mixture into a greased casserole dish and bake until golden and bubbly. Yellow squash casserole makes a perfect side dish for any meal or can even be enjoyed as a hearty main course.
Yellow Squash Soup
If you’re looking for a light and refreshing way to enjoy yellow squash, consider making yellow squash soup. Start by sautéing diced onions and garlic in a pot until they are fragrant and golden. Add sliced yellow squash and vegetable broth to the pot and simmer until the squash is tender. Use an immersion blender or a regular blender to puree the soup until smooth. Season with salt, pepper, and your choice of herbs, and serve hot or chilled. Yellow squash soup is a versatile recipe that can be customized with different spices and garnishes to suit your taste.
Tips for Harvesting Seeds
Choosing the Right Squash for Seed Saving
If you’re interested in saving yellow squash seeds for future planting, it’s essential to choose the right squash variety. Make sure that the squash you select is open-pollinated or heirloom, as hybrid varieties may not produce viable seeds. Look for healthy and disease-free fruits from mature plants to ensure the quality of the seeds. By choosing the right squash for seed saving, you’ll be able to preserve the characteristics and flavors of your favorite varieties.
Extracting and Drying Seeds
Once you have selected the squash for seed saving, it’s time to extract and dry the seeds. Start by cutting the squash open and scooping out the seeds with a spoon. Place the seeds in a colander or sieve and rinse them under cool running water to remove any pulp or residue. Spread the seeds in a single layer on a paper towel or a screen and allow them to dry in a well-ventilated area. Once completely dry, store the seeds in a cool and dry place in an airtight container until you’re ready to plant them.
Common Troubleshooting
Squash Rotting on the Vine
If you notice your yellow squash rotting on the vine before you have the chance to harvest them, it can be quite disappointing. Squash rot usually occurs due to excessive moisture or fungal infections. To prevent squash rot, ensure that your plants are properly spaced to allow for good airflow and avoid overwatering. If you notice any signs of rot, promptly remove and discard the affected fruits to prevent the spread of the disease.
Sunscald on Yellow Squash
Sunscald occurs when the skin of the squash gets damaged or burnt due to prolonged exposure to intense sunlight. The affected areas may become discolored or appear bleached. To prevent sunscald on yellow squash, provide shade to the plants during the hottest part of the day, either through natural shading from other plants or by using shade cloth. Regularly inspect your squash plants and harvest the fruits promptly to avoid any further damage from prolonged sun exposure.
Yellow Squash with Hollow Centers
Finding yellow squash with hollow centers can be frustrating, as it indicates poor fruit development. There can be several causes for hollow centers in squash, including improper fertilization, inconsistent watering, or insect damage. To prevent hollow centers, make sure to provide consistent watering and nourishment to the plants. Additionally, regularly check your plants for any signs of pest infestations and take appropriate measures to control them.
FAQs
How long does yellow squash take to grow?
Yellow squash typically takes about 45 to 55 days to reach maturity from the time of planting. However, the exact time may vary depending on the specific variety and growing conditions. It’s important to monitor your plants closely and harvest the squash when they reach the appropriate size and maturity.
Can I harvest yellow squash too early?
It’s best to wait until yellow squash reaches the recommended size and maturity before harvesting. Harvesting the squash too early may result in underdeveloped fruit with a less desirable taste and texture. While smaller squash can still be consumed, allowing them to grow to the ideal size ensures optimal flavor and quality.
What should I do with overgrown yellow squash?
If you have overgrown yellow squash, don’t worry! While they may be tough and less suitable for certain recipes, there are still ways to utilize them. Overgrown yellow squash can be grated and used in baked goods like bread or muffins, or they can be chopped and added to soups, stews, or stir-fries. Don’t let your overgrown squash go to waste; get creative and experiment with different cooking methods to make the most out of them.
